What you'll need
Tools
- PaintbrushFind it →
Find it links go to Amazon. As an Amazon Associate we earn from qualifying purchases. How we make money
How to make it
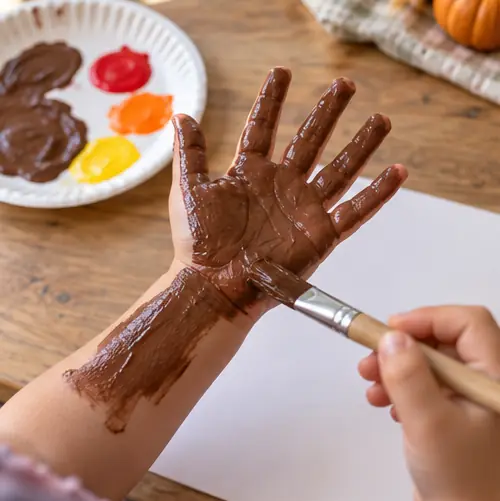 1
Paint the hand
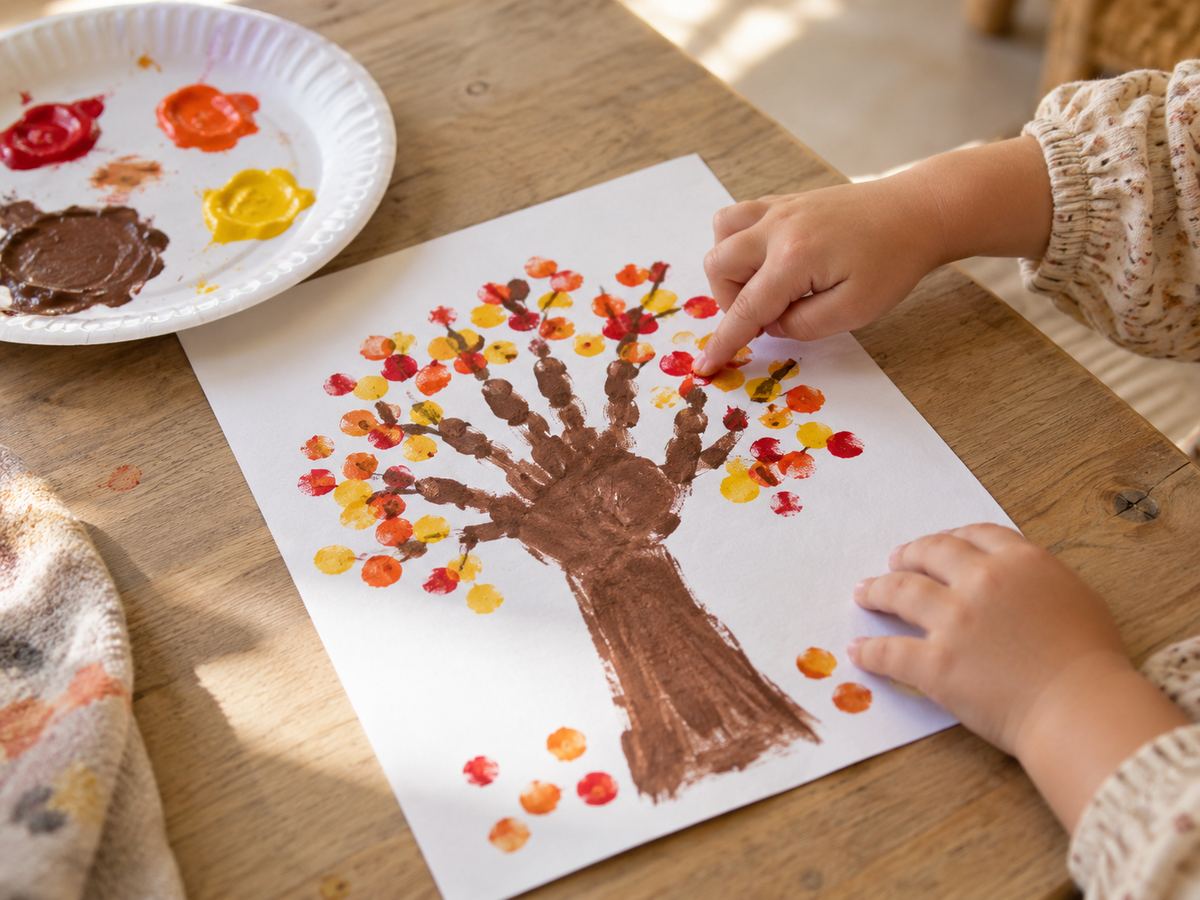
Brush brown paint on your child's palm, fingers and the lower part of their arm. It tickles. Expect giggles.
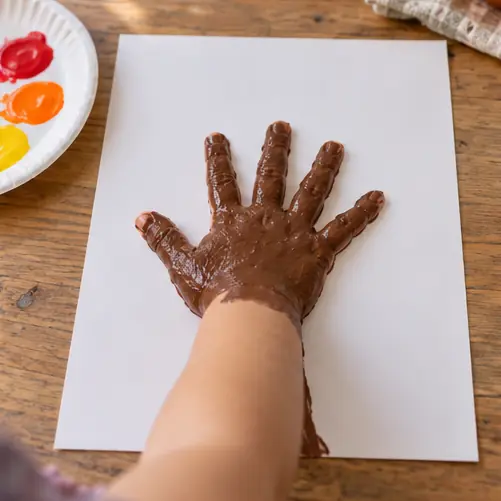 2
Press the trunk
Have them spread their fingers wide and press hand and wrist flat at the bottom of the paper. Count to 3, then lift straight up.
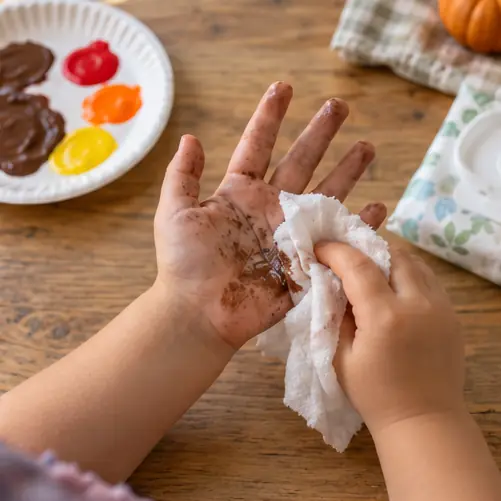 3
Wipe the hand
Clean the brown off with a baby wipe before the next color.
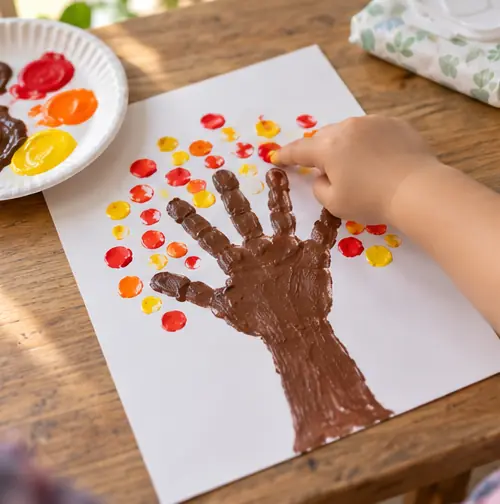 4
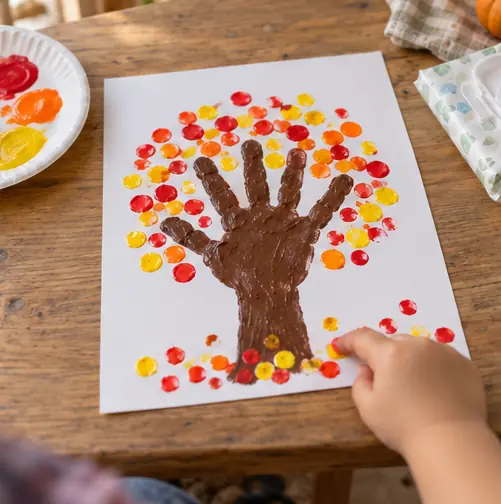
Dot the leaves
Dip a fingertip in red and dot it all around the branches. Switch fingers for each color.
 5
Drop some falling leaves
Add a few dots near the bottom of the page, like leaves on the ground.
 6
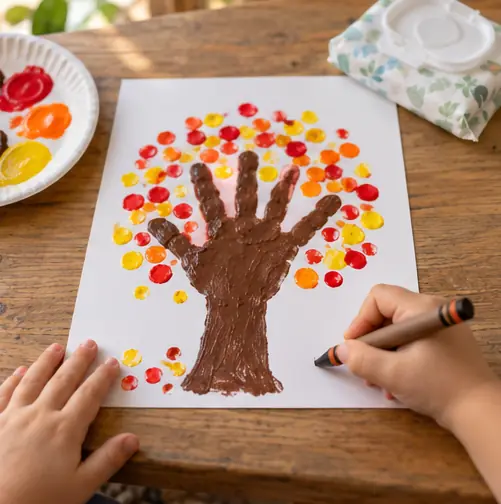
Write the date
Write their name and the date in a corner. This one is a keeper for grandparents.
 Edie's tip
Do the handprint first and the leaf dots after a snack break. Short sessions keep 3 year olds happy.
Written by the DIY Project team. How we check · Report a mistake