What you'll need
Find it links go to Amazon. As an Amazon Associate we earn from qualifying purchases. How we make money
How to make it
Safety
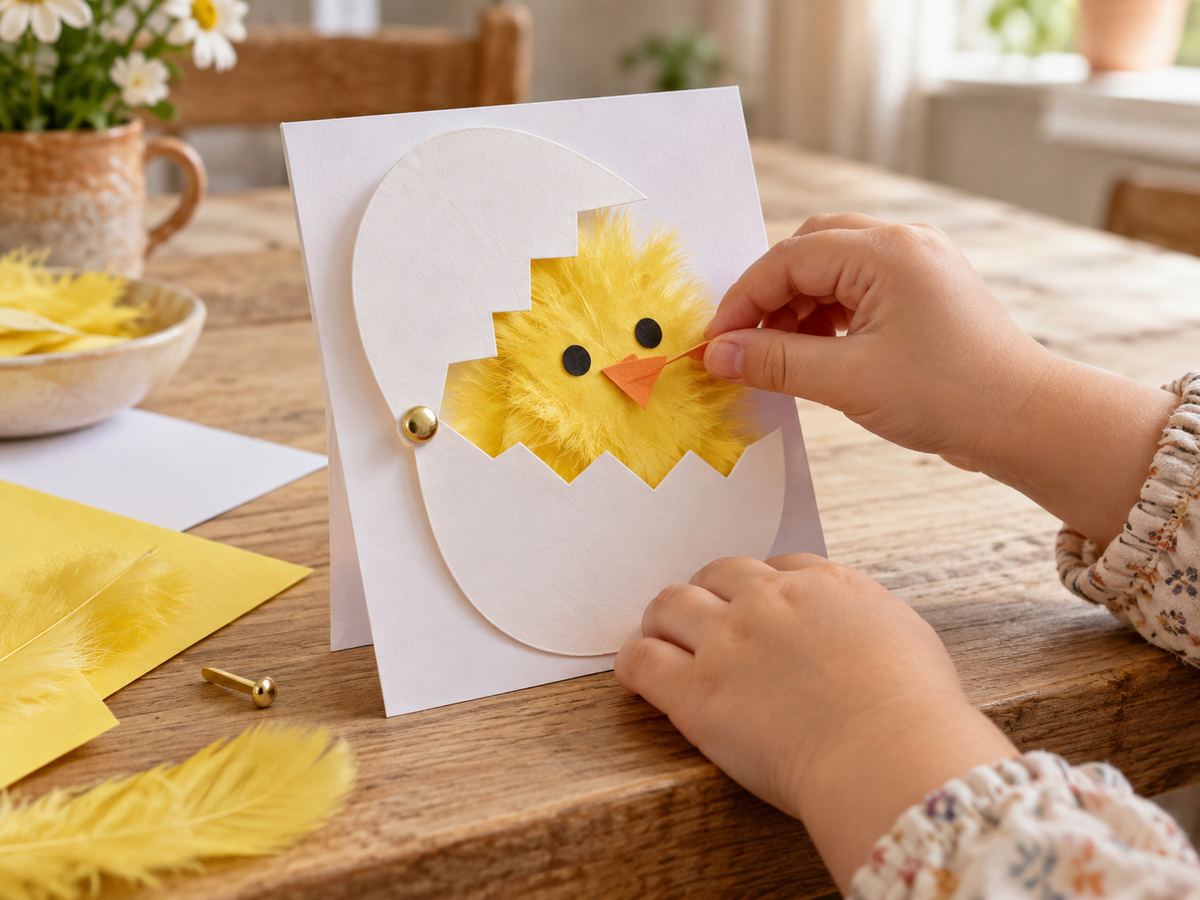
Paper fasteners are small and sharp, so the grown-up handles them and tapes the prongs down.
 1
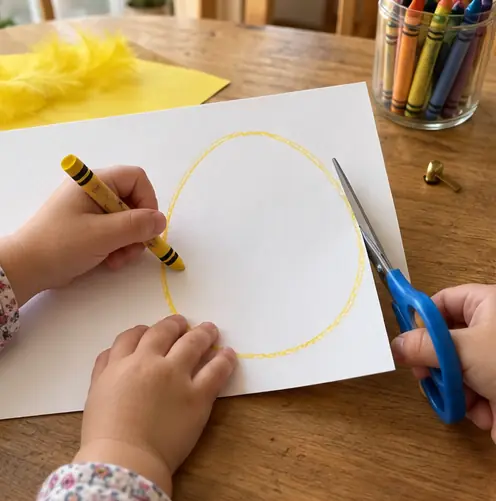
Draw and cut the egg
Draw a big egg on cardstock and cut it out.
 2
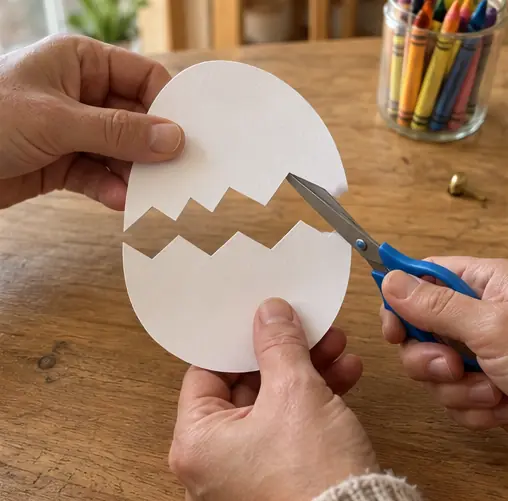
Crack the egg
Grown-up cuts a zigzag across the middle to make 2 halves.
 3
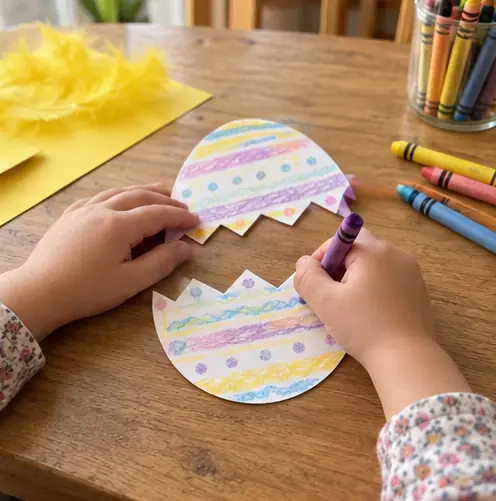
Decorate the shell
Let your child color both halves with stripes and dots.
 4
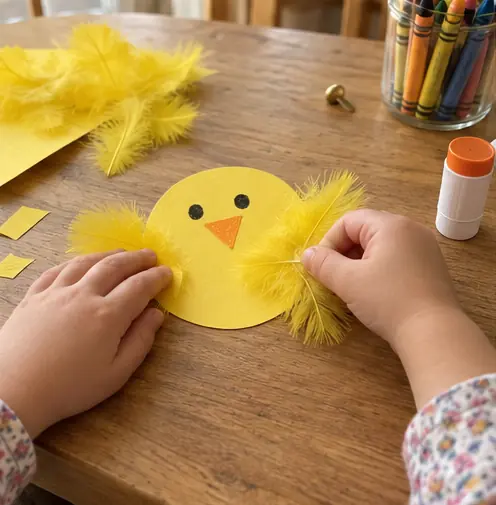
Make the chick
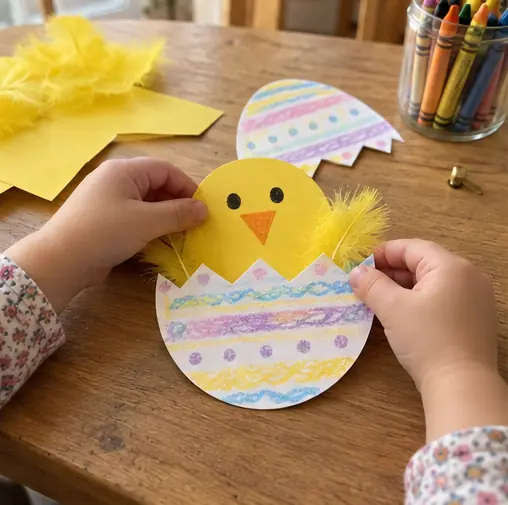
Have them cut a yellow circle and glue on feathers or tissue scraps. Draw eyes and a beak.
 5
Glue in the chick
Glue the chick to the bottom half so its head peeks over the zigzag.
 6
Grown-up step: Add the hinge
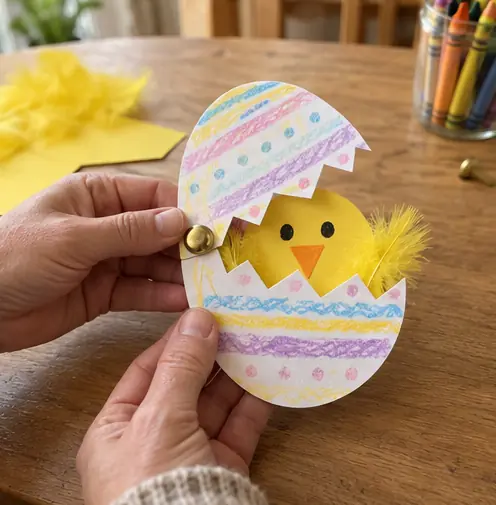
Poke a paper fastener through 1 side of both halves and open the prongs flat on the back.
 Edie's tip
Cover the fastener prongs on the back with a piece of tape so they don't scratch.
Written by the DIY Project team. How we check · Report a mistake