What you'll need
Find it links go to Amazon. As an Amazon Associate we earn from qualifying purchases. How we make money
How to make it
Safety
Choose rocks too big to fit in a mouth if younger siblings will play with them.
 1
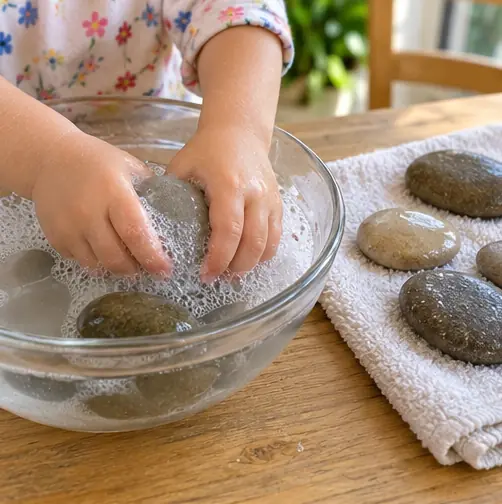
Wash the rocks
Scrub the rocks in soapy water and let them dry.
 2
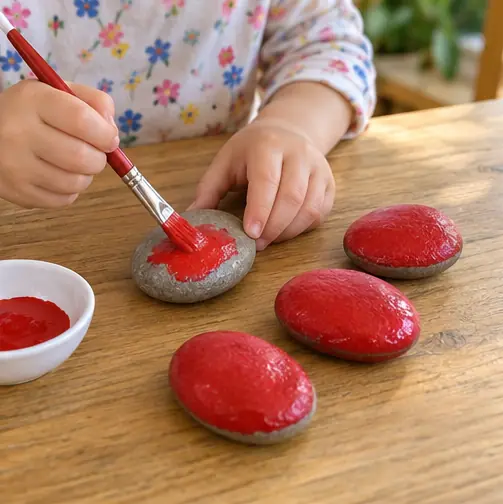
Paint them red
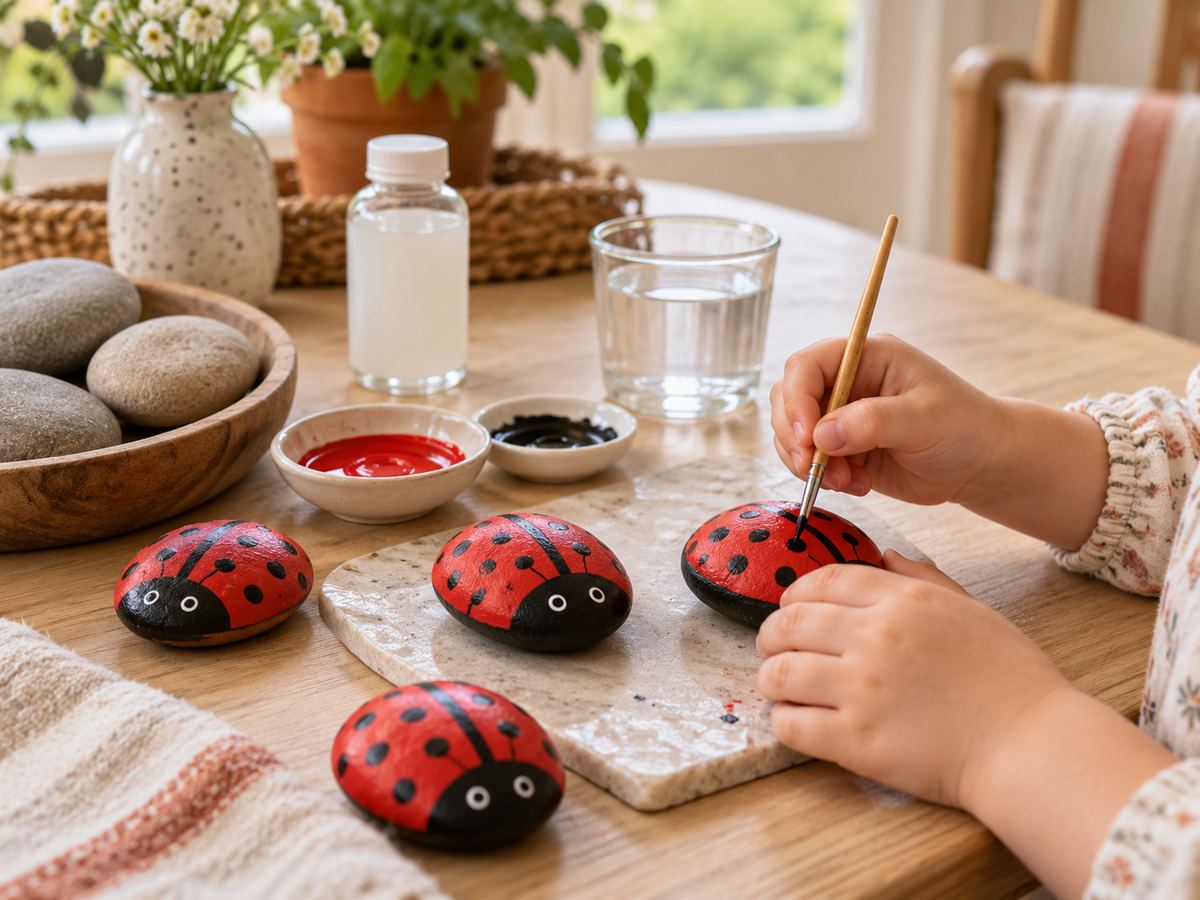
Have your child paint the top of each rock red.
 3
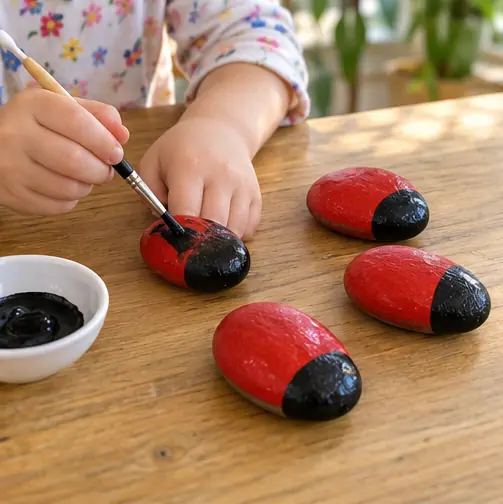
Paint the head
Once dry, paint 1 end black for the head.
 4
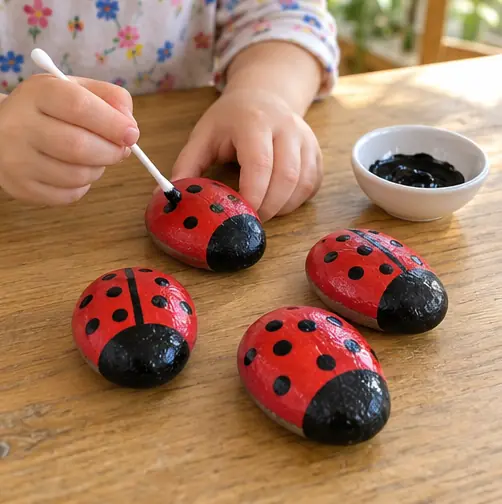
Dot the spots
Dip a cotton swab in black and dot spots on the back. Count them out loud.
 5
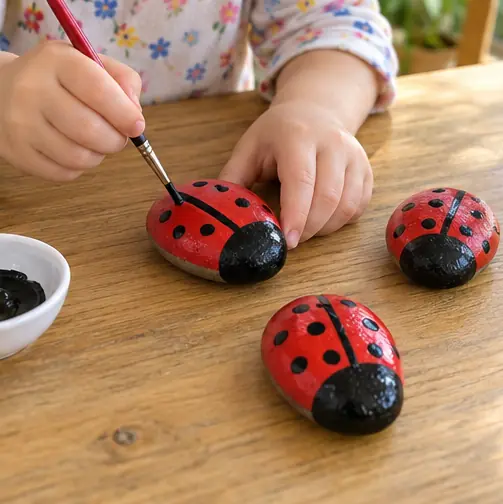
Add a line
Paint a black line down the middle of the back for the wings.
 6
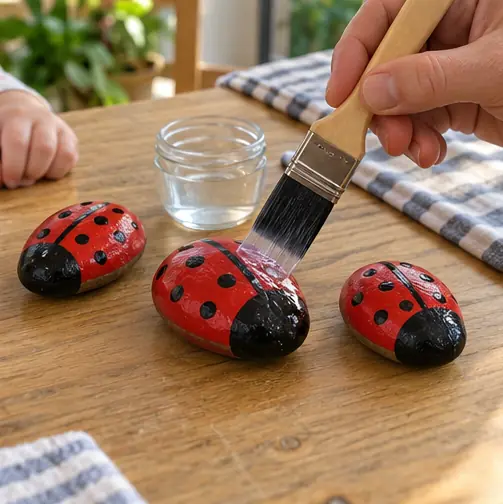
Seal for outside
Grown-up brushes on sealer if the ladybugs will live in the garden.
 Edie's tip
Pick rocks bigger than your child's fist. Big rocks sit steady in small hands.
Written by the DIY Project team. How we check · Report a mistake