What you'll need
Find it links go to Amazon. As an Amazon Associate we earn from qualifying purchases. How we make money
How to make it
Keep the craft knife with the grown-up the whole time and put it away before the coloring starts.
 1
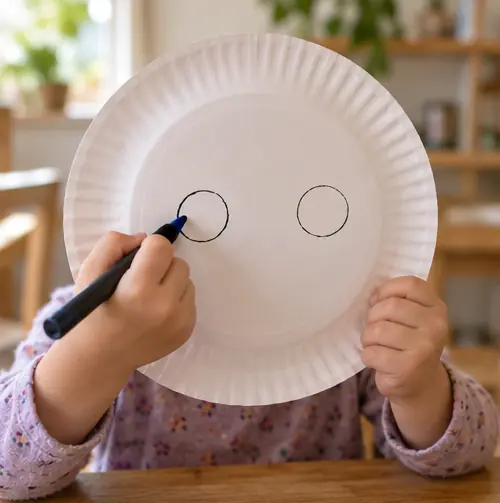
Mark the eye holes
Hold the plate up to your child's face and mark where their eyes are.
 2
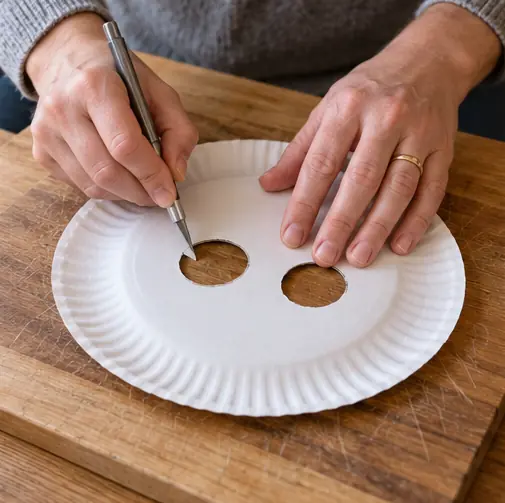
Grown-up step: Cut the eye holes
Cut out 2 eye holes with a craft knife on a cutting board. Make them big so your child can see well.
 3
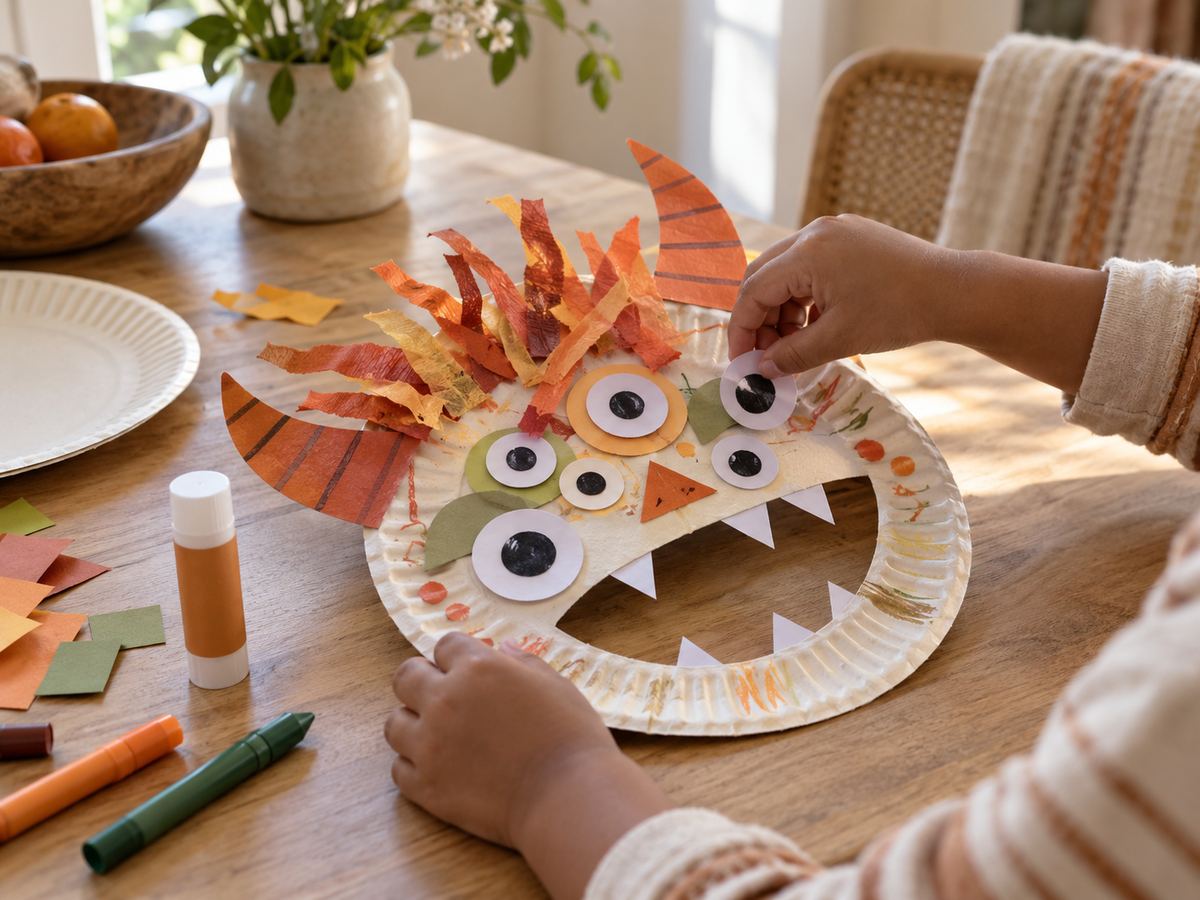
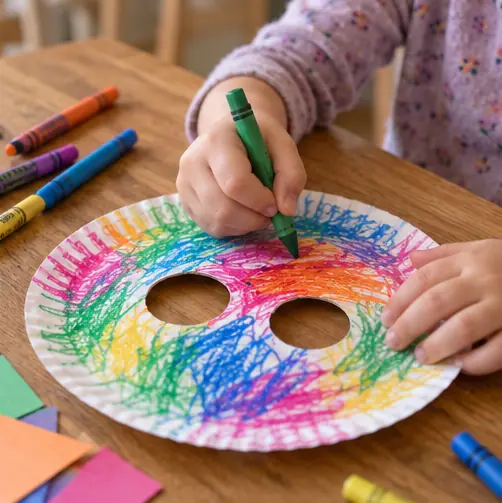
Color the monster
Let your child color the plate any wild color they like.
 4
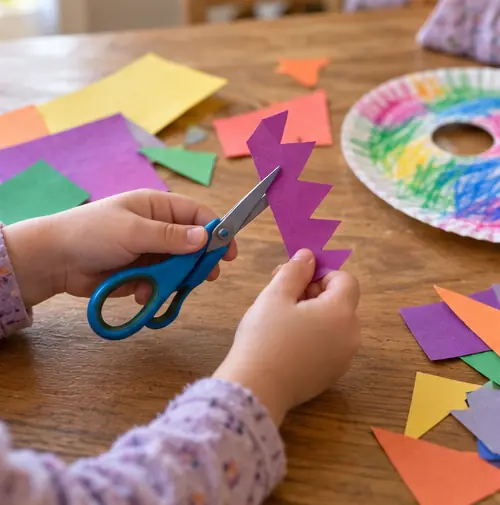
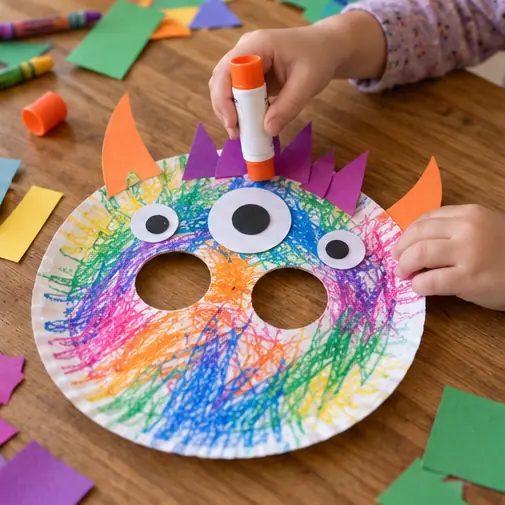
Cut horns and hair
Have them cut horns, spikes or fringe hair from scrap paper.
 5
Glue it all on
Glue the horns and hair around the top edge. Extra eyes go anywhere.
 6
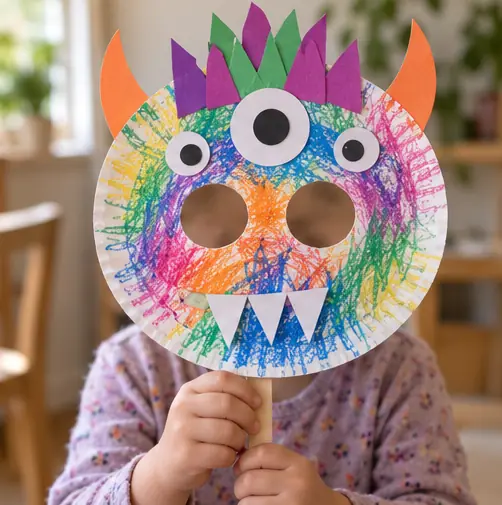
Add the handle
Tape a craft stick to the bottom so they can hold it up to their face.
 Edie's tip
Use a handle instead of an elastic strap. Many preschoolers dislike things around their head.
Written by the DIY Project team. How we check · Report a mistake