What you'll need
Find it links go to Amazon. As an Amazon Associate we earn from qualifying purchases. How we make money
How to make it
 1
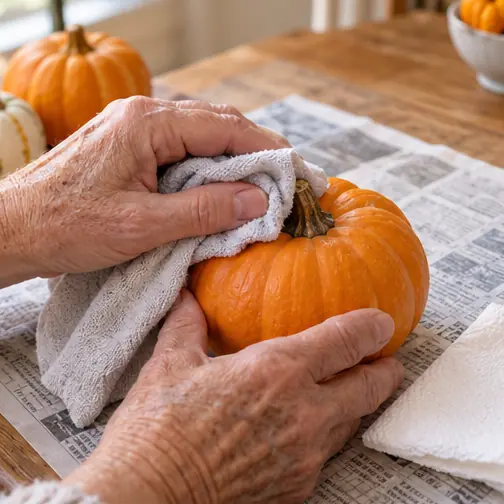
Wipe the pumpkin
Wash it with a damp cloth and dry it well. Paint sticks better to a clean skin.
 2
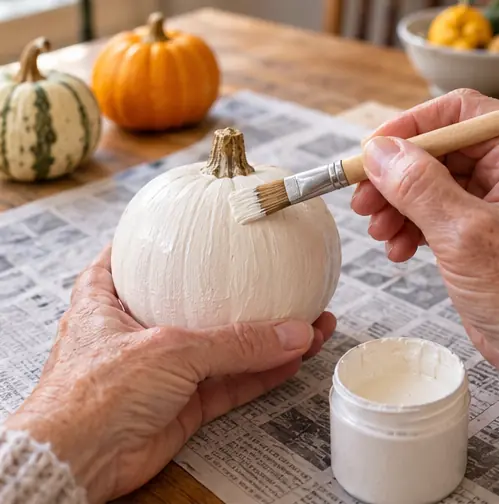
Paint the base
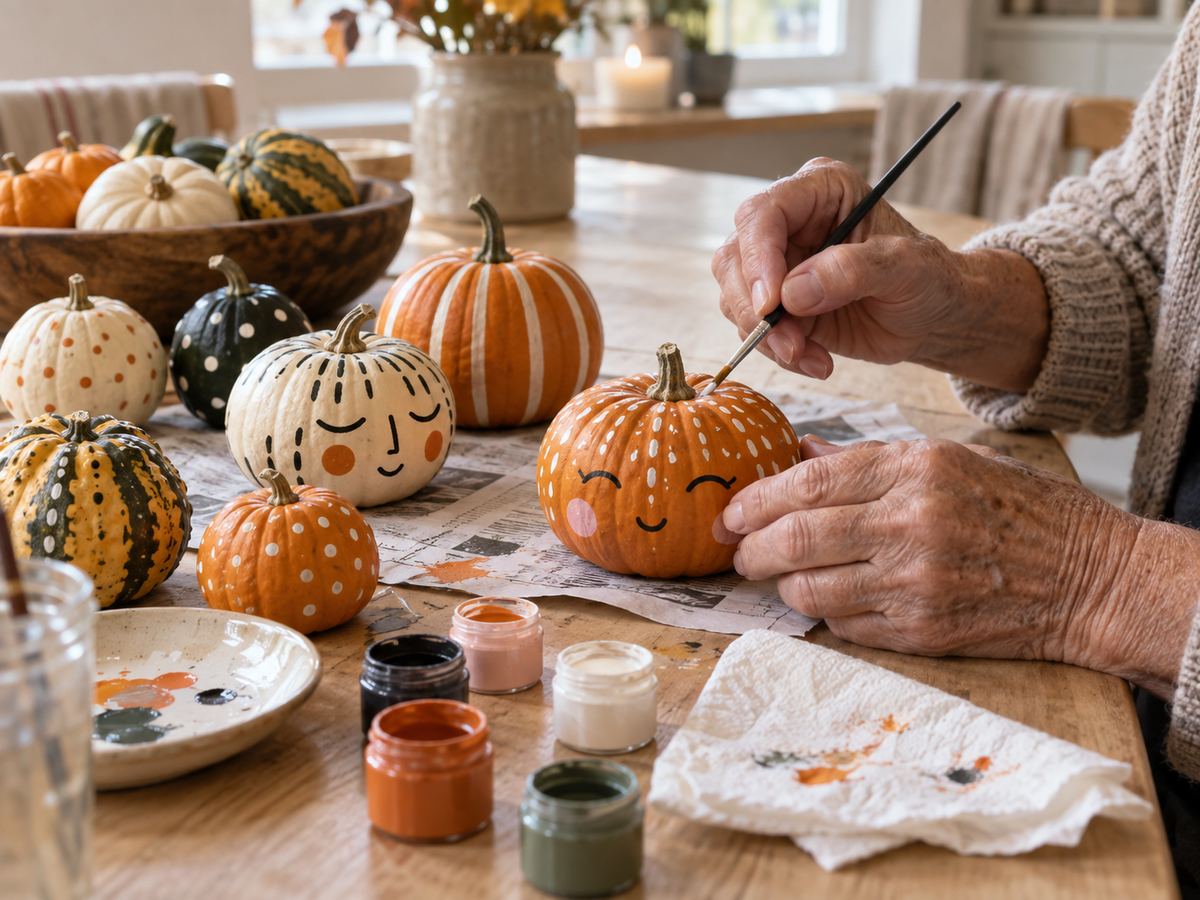
Paint the whole pumpkin white, black or cream, or leave it orange. Let it dry 20 minutes.
 3
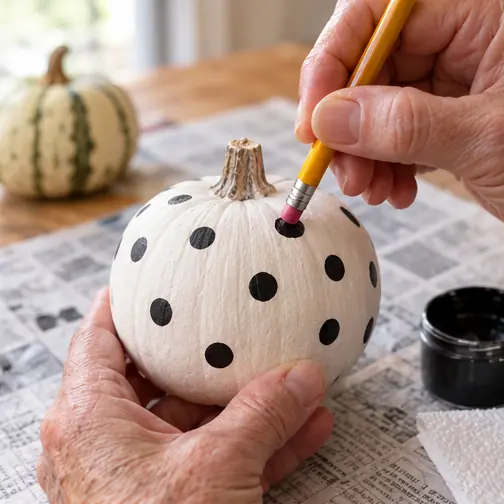
Stamp polka dots
Dip the pencil eraser in paint and press it on. Perfect circles every time.
 4
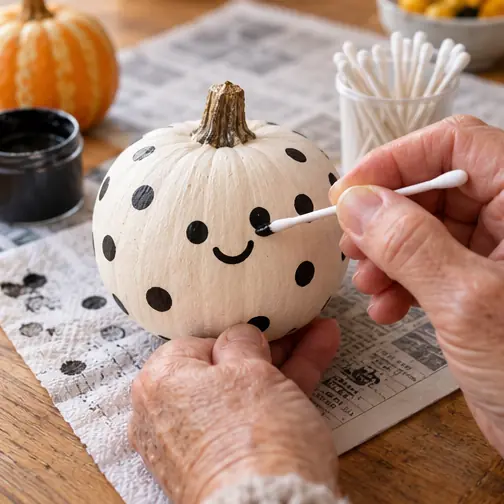
Add a face or pattern
Use cotton swabs for eyes, stripes or little leaves.
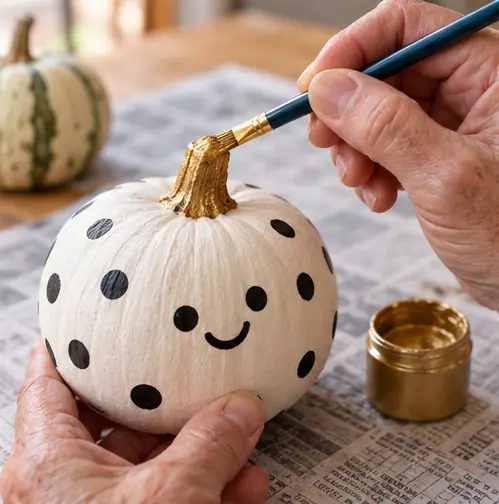 5
Paint the stem
Give the stem a dab of gold or brown for a finished look.
 Edie's tip
Rest the pumpkin on a lazy Susan or a dinner plate. Turn the plate instead of lifting the pumpkin.
Written by the DIY Project team. How we check · Report a mistake