What you'll need
Find it links go to Amazon. As an Amazon Associate we earn from qualifying purchases. How we make money
How to make it
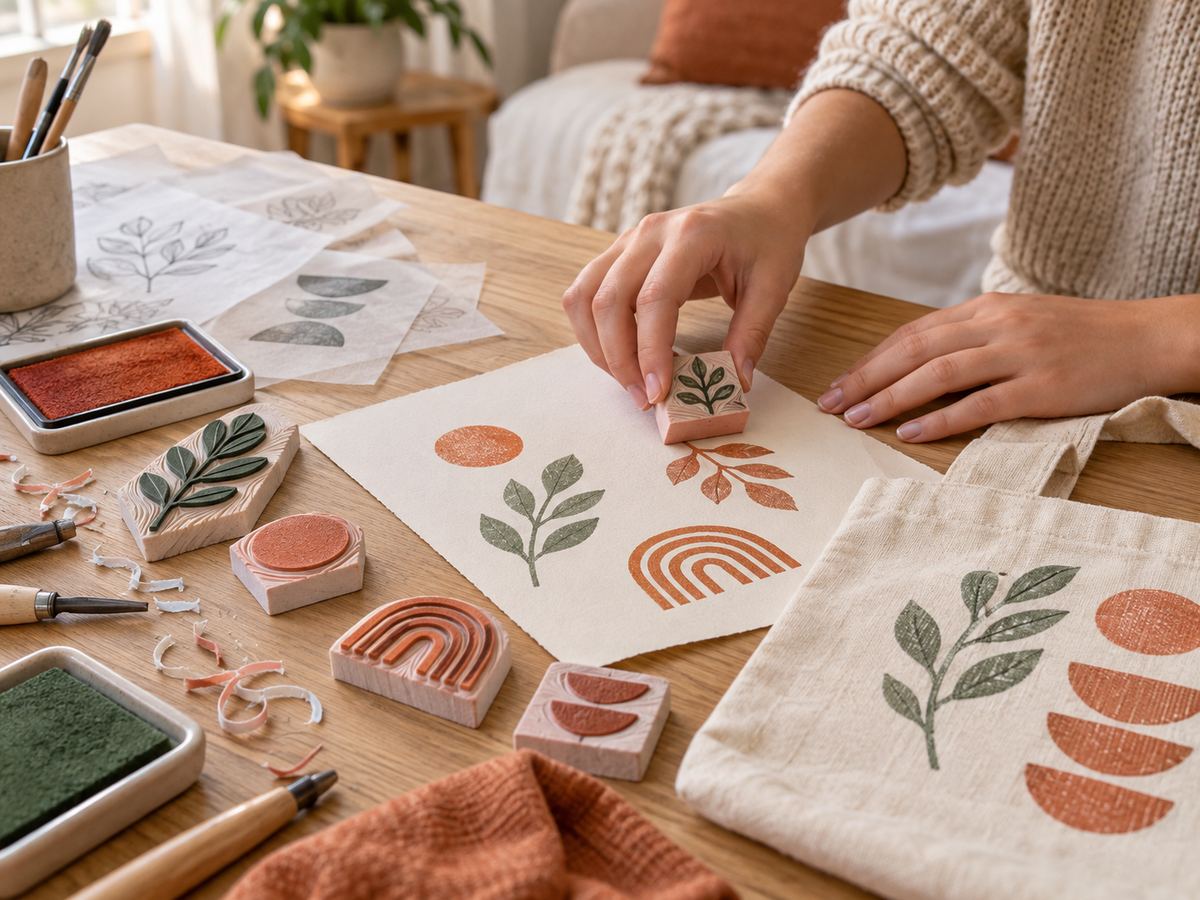
Carving gouges are sharp, so carve away from your body and keep your holding hand behind the blade.
 1
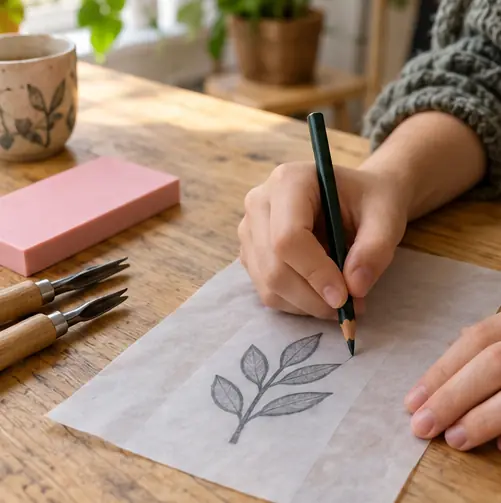
Draw the design
Draw it on tracing paper in soft pencil. Bold shapes carve best.
 2
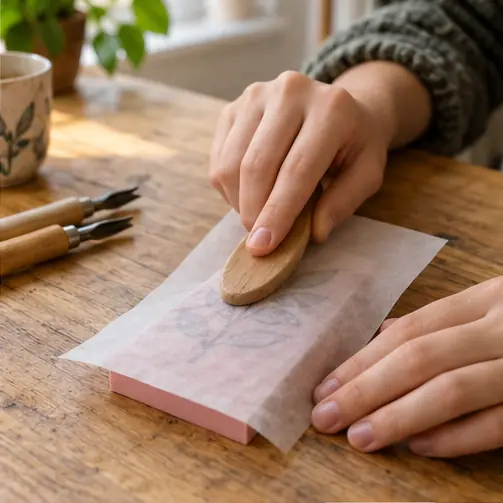
Transfer it
Flip the paper onto the rubber and rub the back. The design goes on reversed, which is right.
 3
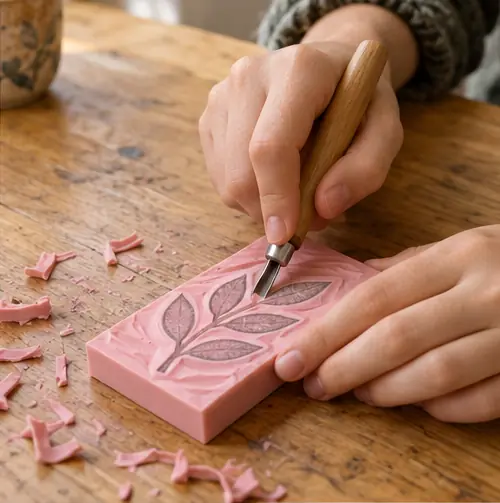
Carve the outline
Use the small V gouge. Always push away from your other hand.
 4
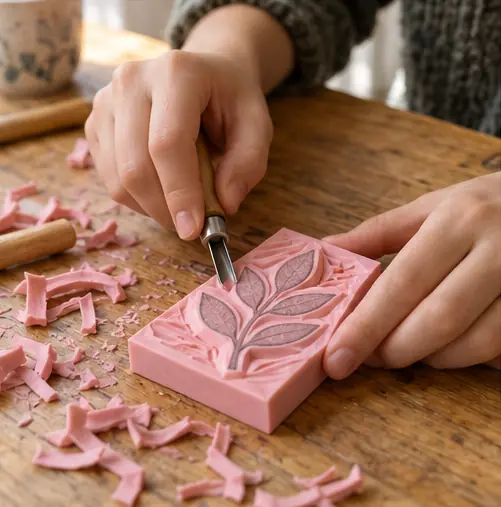
Clear the background
Switch to the U gouge and scoop out everything that shouldn't print.
 5
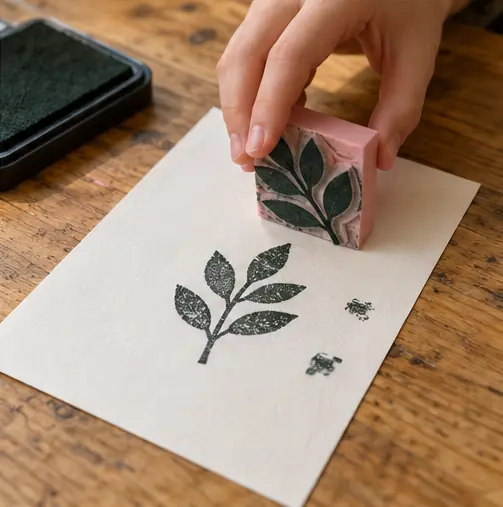
Test print
Ink it and press on scrap paper. Carve away any spots that print by accident.
 6
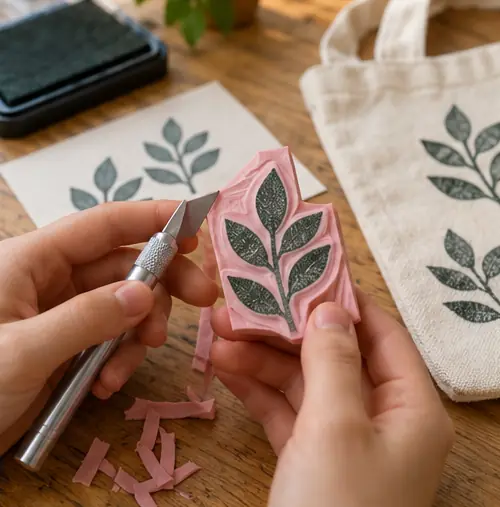
Trim the block
Cut the extra rubber off around the design with the craft knife.
 Edie's tip
Words have to be carved backward. Trace them from the back of the paper.
Written by the DIY Project team. How we check · Report a mistake