What you'll need
Find it links go to Amazon. As an Amazon Associate we earn from qualifying purchases. How we make money
How to make it
 1
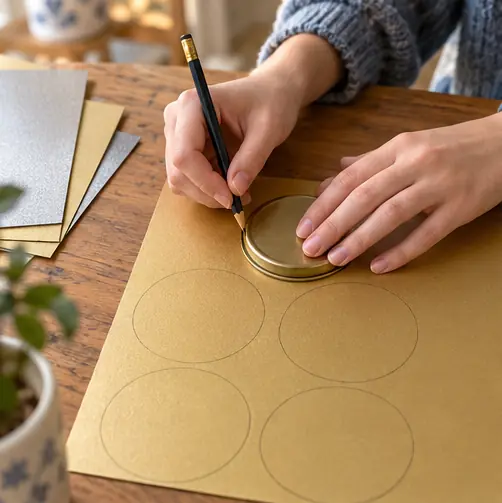
Trace 9 circles
Trace around the lid 9 times. One sheet fits about 4 circles.
 2
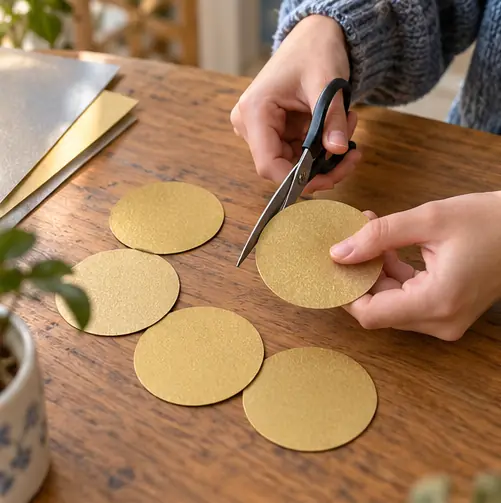
Cut the circles
Cut them all out. These are your full moons for now.
 3
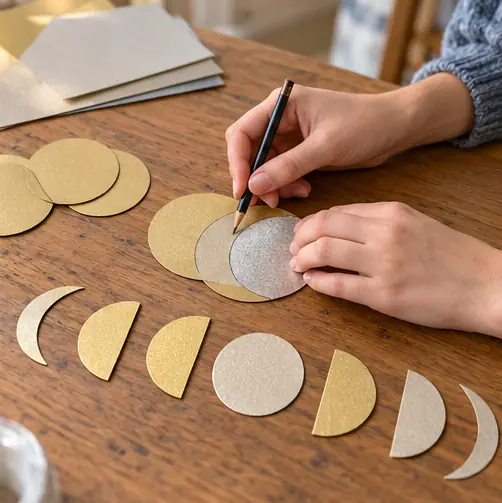
Shape the phases
Lay 2 circles over each other with an offset and trace a crescent. Make thin, thicker and half shapes on both sides.
 4
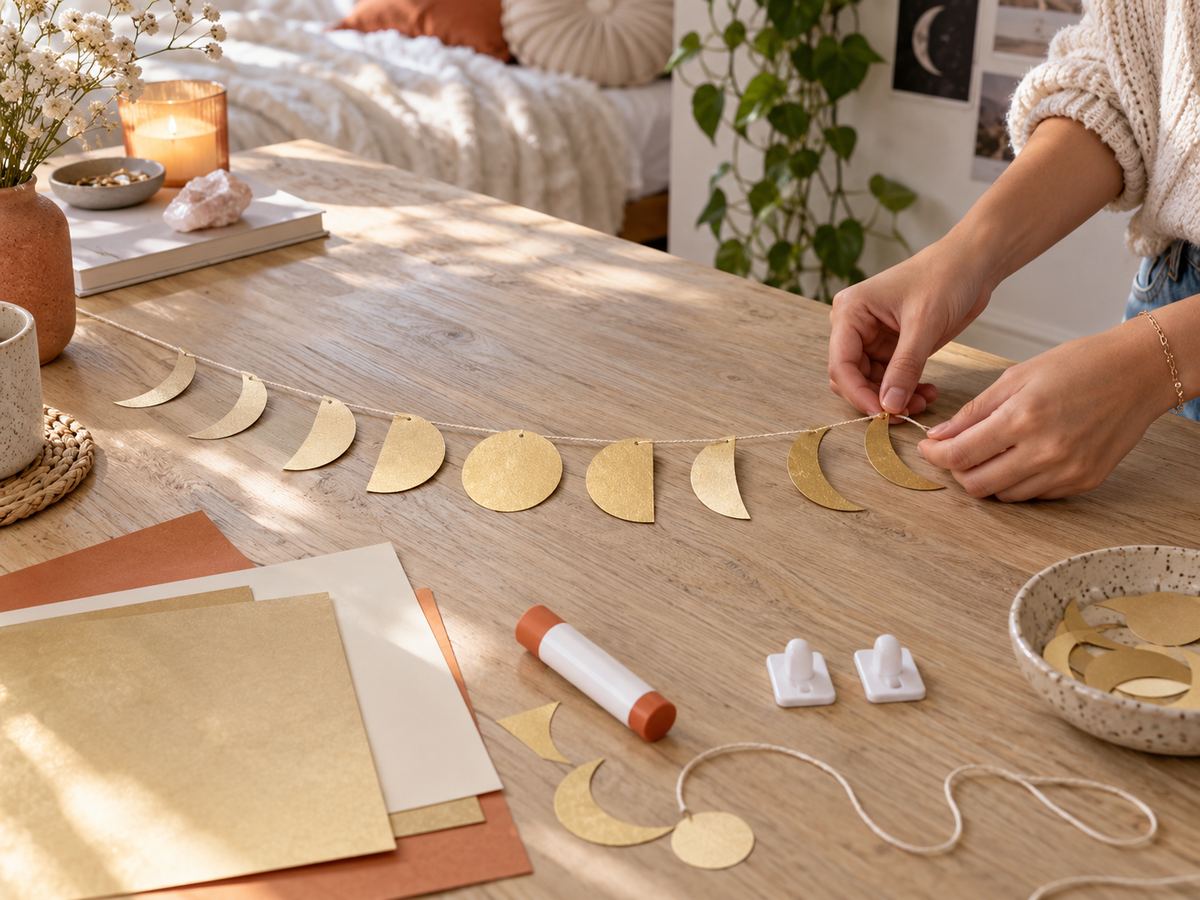
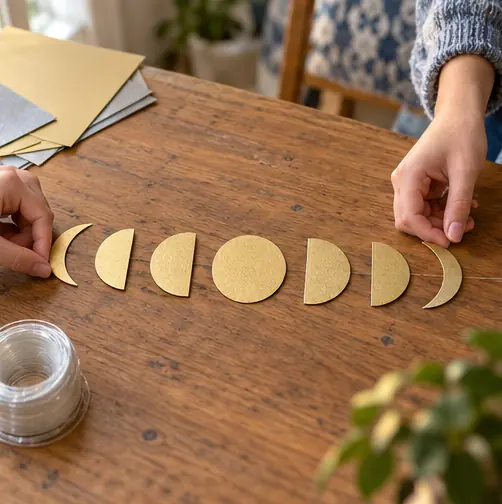
Lay them in order
Put them on the table: crescent, half, gibbous, full, then the same shapes flipped.
 5
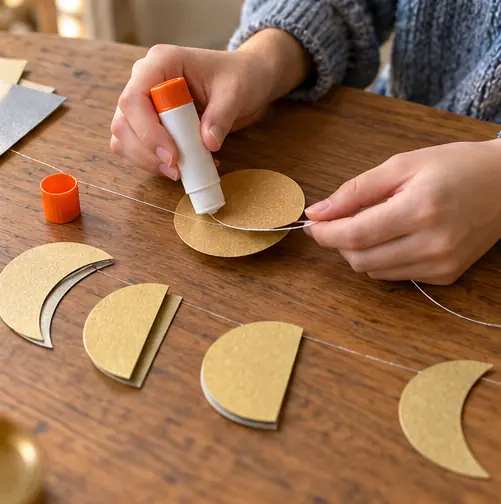
Glue them on
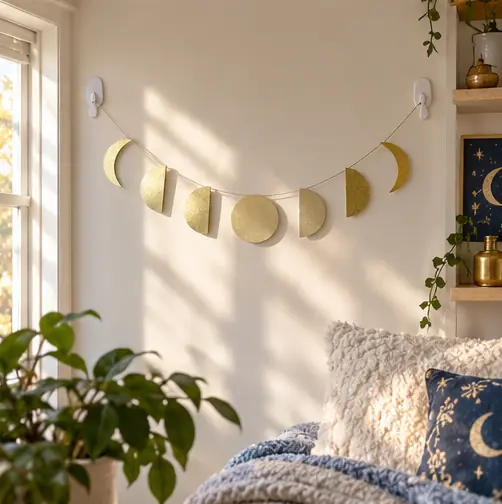
Glue each moon over the cord. Sandwich the cord between 2 matching shapes so both sides look finished.
 6
Hang it
Stick a hook at each end of your wall or window frame. Loop the cord over them.
 Edie's tip
Look up a moon phase chart before cutting so the shadows go the right way.
Written by the DIY Project team. How we check · Report a mistake