What you'll need
Tools
- Knife (grown-up use)Find it →
- Paper towels
Find it links go to Amazon. As an Amazon Associate we earn from qualifying purchases. How we make money
How to make it
Safety
Keep the knife and forks with you. Toss the painted apples when you're done so nobody takes a bite.
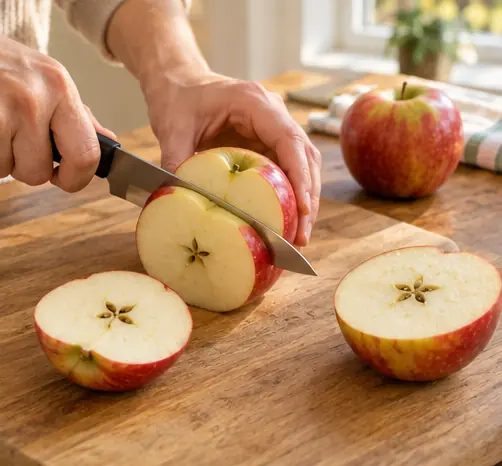 1
Cut the apples
Grown-up step: Cut 1 apple top to bottom and the other across the middle to show the star.
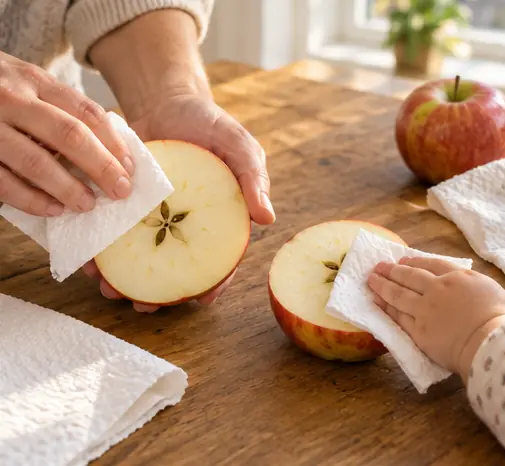 2
Dry the faces
Pat the cut sides with a paper towel so the paint sticks.
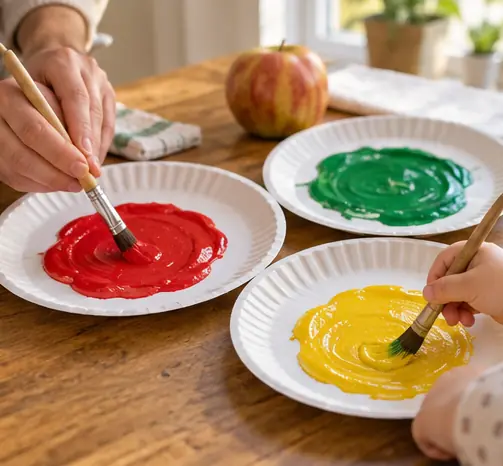 3
Spread the paint
Spread a thin layer of each color on its own plate.
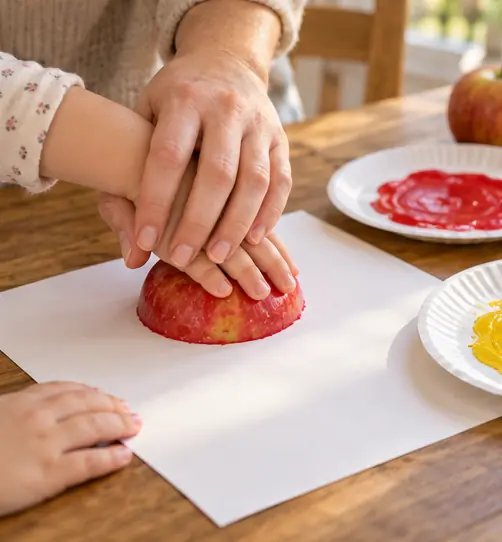 4
Dip and press
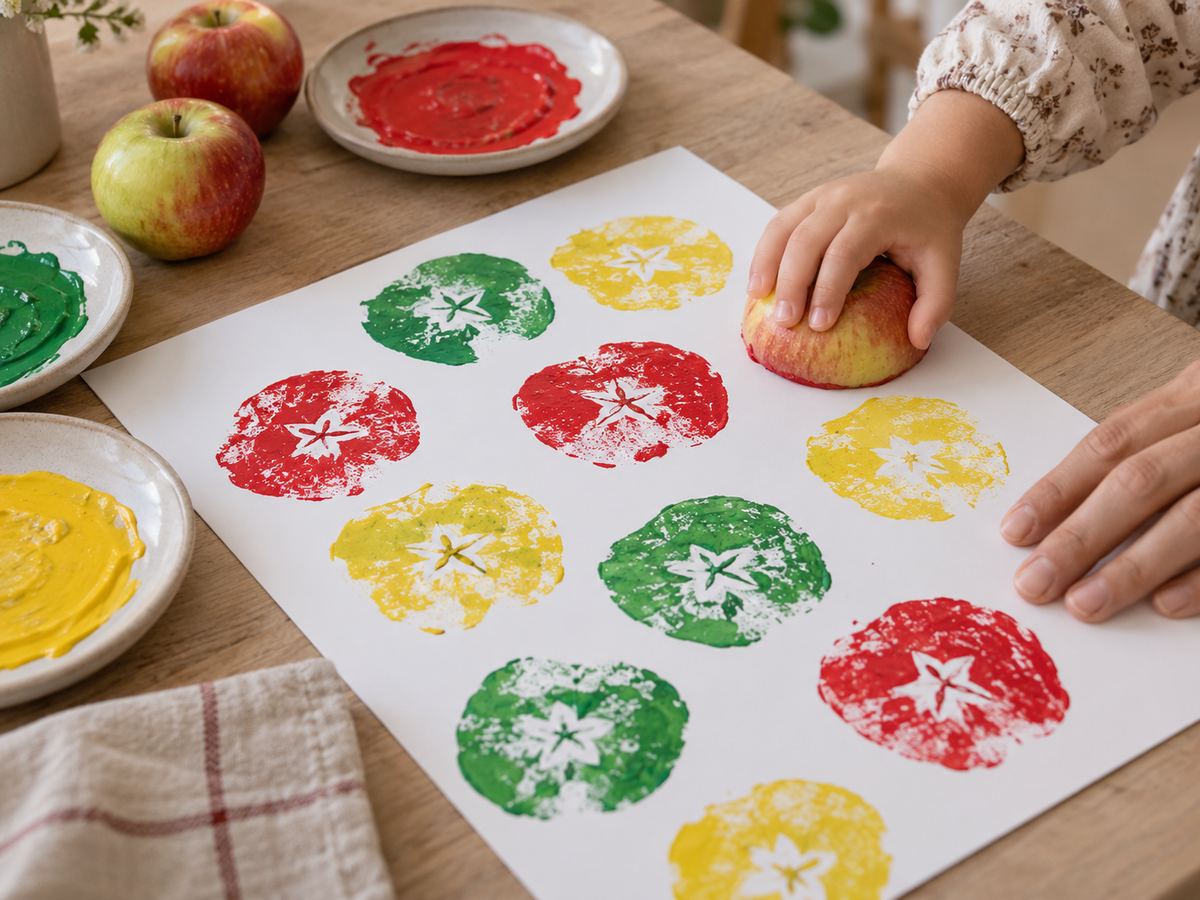
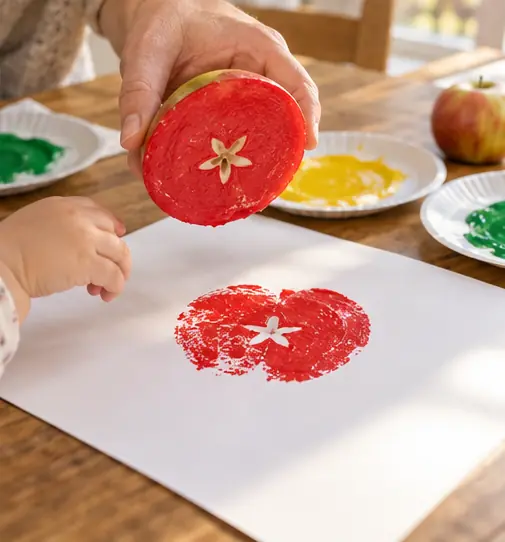
Show your toddler how to dip the apple and press it on the paper. Hold for 2 seconds.
 5
Peek
Lift it off and look for the star in the middle.
 6
Fill the page
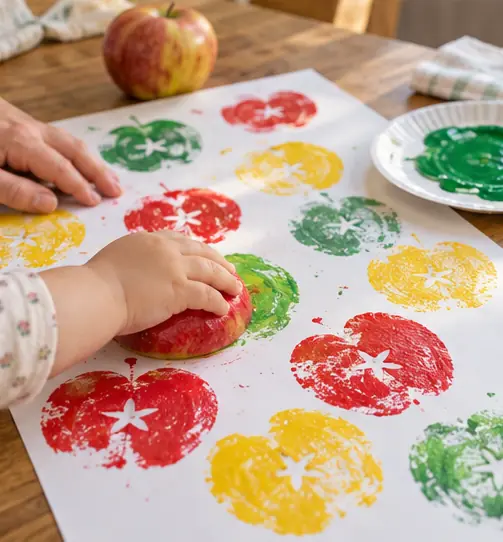
Let them stamp as many as they want.
 Edie's tip
Push a fork into the back of each apple half as a handle. Grown-up step for the fork.
Written by the DIY Project team. How we check · Report a mistake