What you'll need
Find it links go to Amazon. As an Amazon Associate we earn from qualifying purchases. How we make money
How to make it
Safety
Use paint labeled washable and non-toxic (look for the AP seal), and wipe hands before snack time.
 1
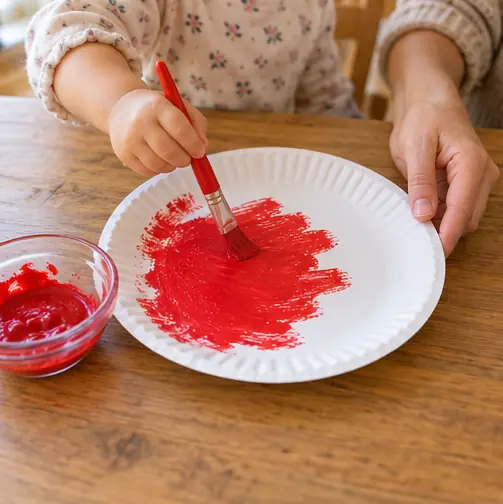
Paint the plate
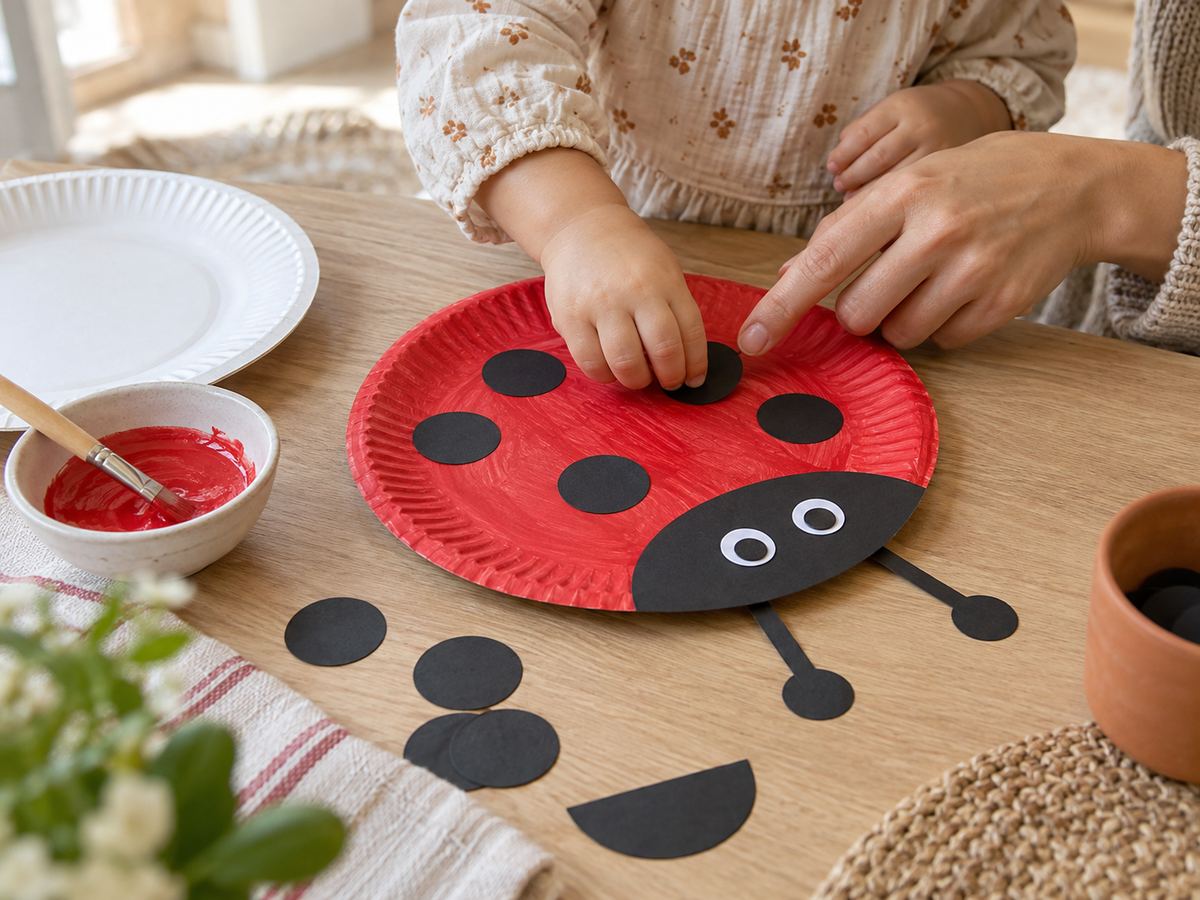
Let your toddler paint the plate red. Dry for 20 minutes.
 2
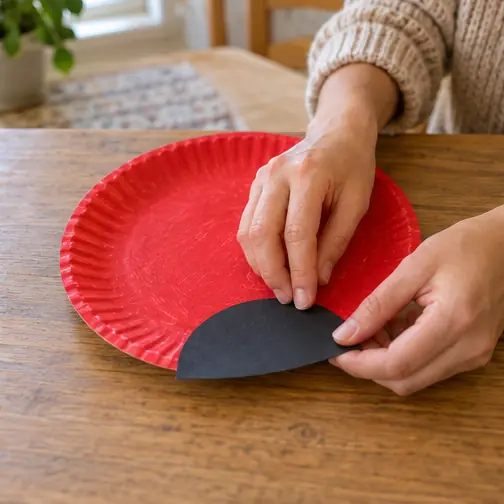
Glue the head
Glue the black half circle to 1 edge.
 3
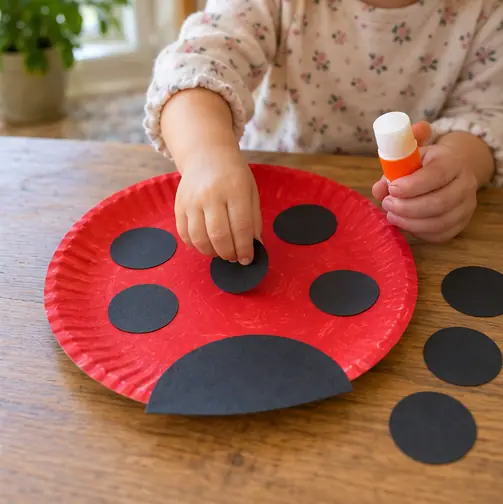
Add spots
Rub glue on the back of each spot. Let them stick them anywhere.
 4
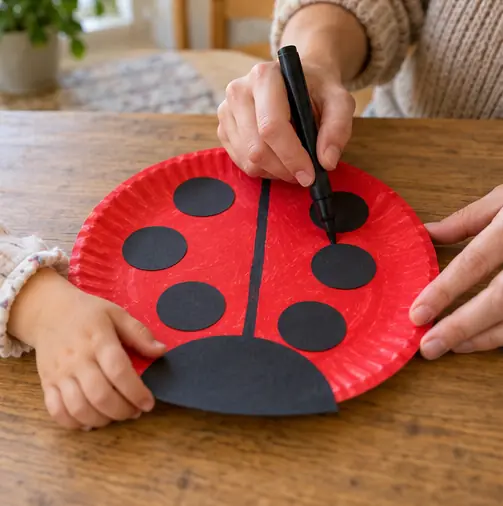
Draw a line
Draw a black line down the middle for the wings.
 5
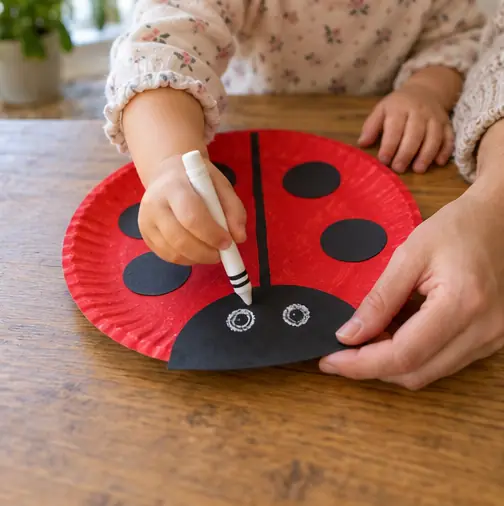
Add eyes
Let them scribble eyes on the head with white crayon.
 Edie's tip
Count the spots together. 3 spots is a great ladybug. So is 12.
Written by the DIY Project team. How we check · Report a mistake