What you'll need
Tools
- Black permanent markerFind it →
Find it links go to Amazon. As an Amazon Associate we earn from qualifying purchases. How we make money
How to make it
Stay close and check the seams often. Toss the bag if it starts to leak, and never leave a toddler alone with a plastic bag.
 1
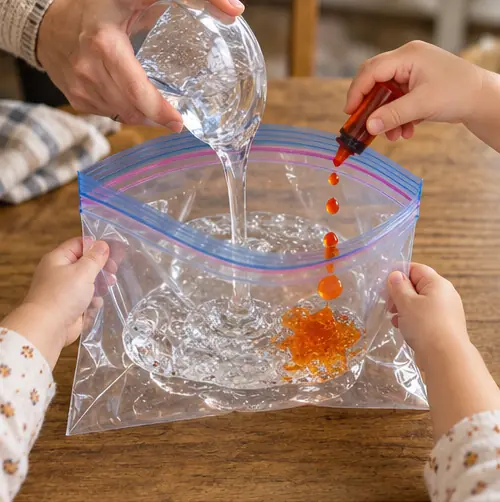
Fill the bag
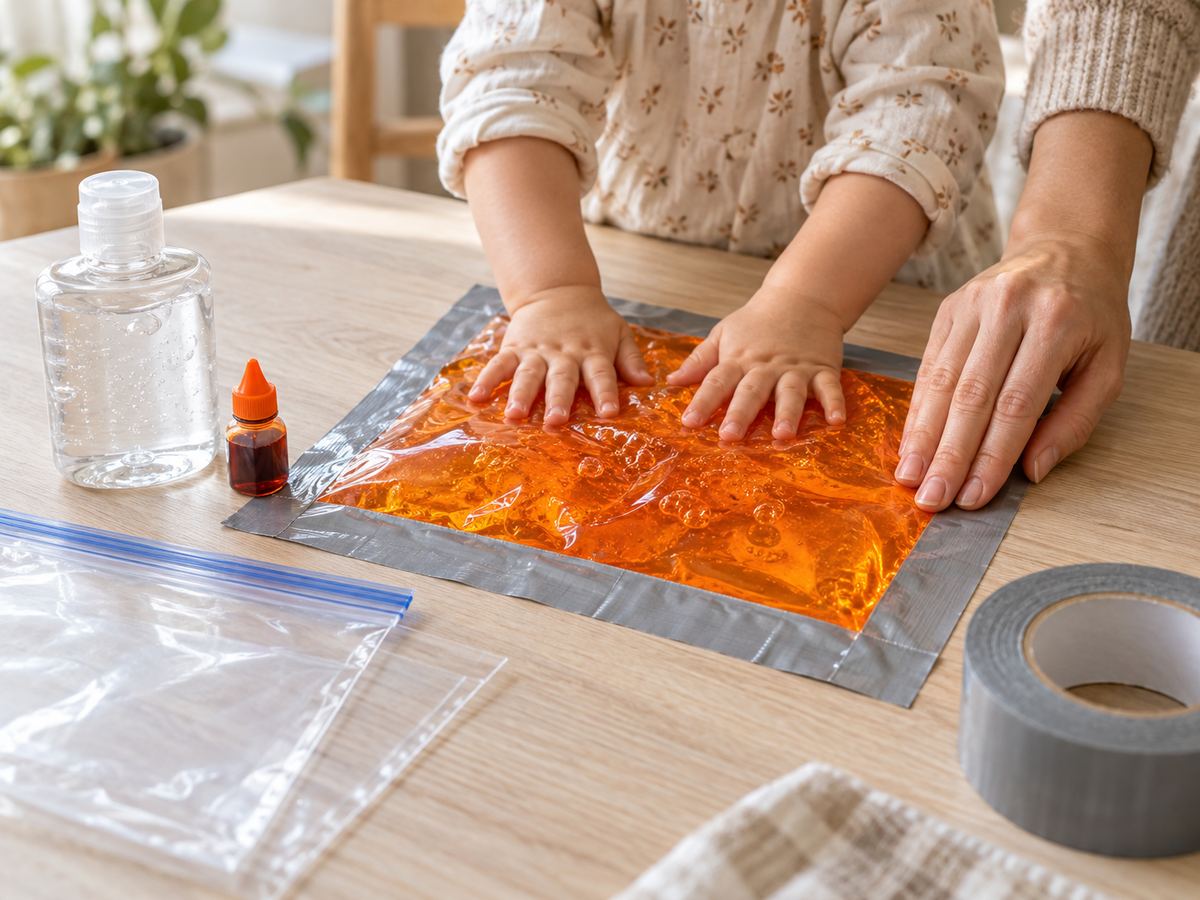
Squeeze the gel into the bag. Add 3 or 4 drops of orange coloring.
 2
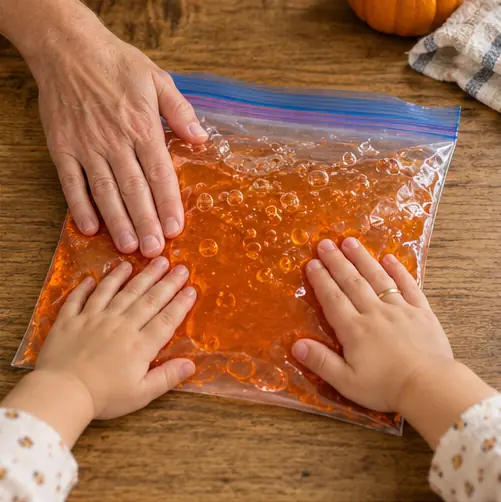
Push out the air
Press the bag flat to squeeze out the air bubbles. Zip it closed.
 3
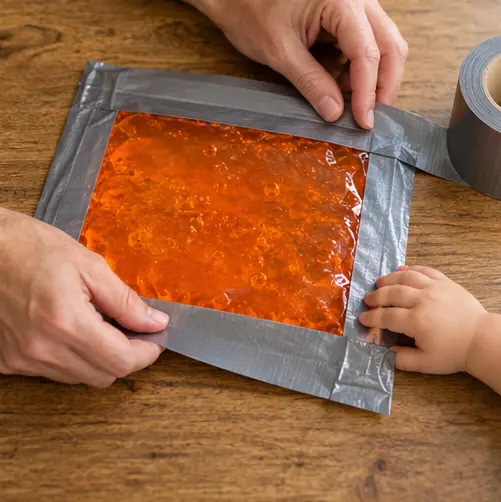
Tape every edge
Fold duct tape over all 4 edges, including the zipper. Belt and suspenders.
 4
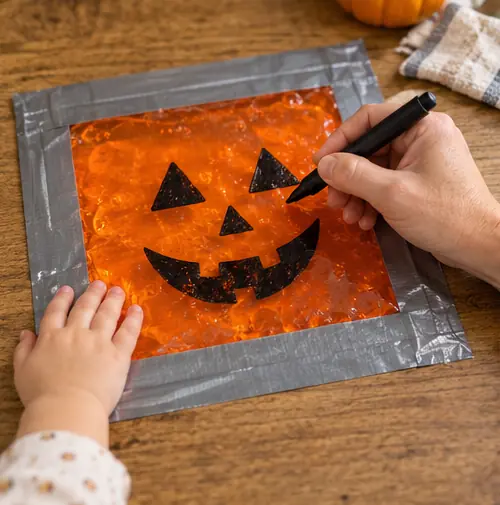
Draw the face
Draw a jack-o-lantern face on the outside with marker.
 5
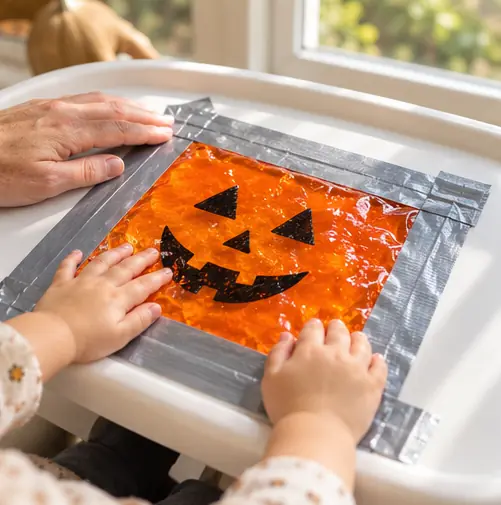
Tape it down
Tape the bag to the floor, a high chair tray, or a sunny window.
 6
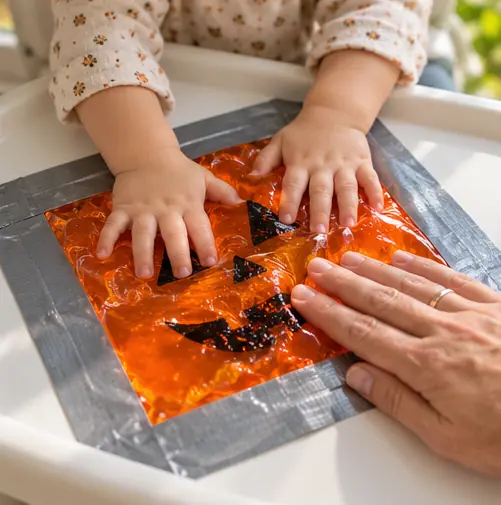
Let them squish
Show them how to press and slide the orange around the face. Then sit back and watch.
 Edie's tip
Taped to a window, the light shines through and the color glows. Good for a gray afternoon.
Written by the DIY Project team. How we check · Report a mistake