What you'll need
Find it links go to Amazon. As an Amazon Associate we earn from qualifying purchases. How we make money
How to make it
Safety
Skip this if your child has a dairy allergy.
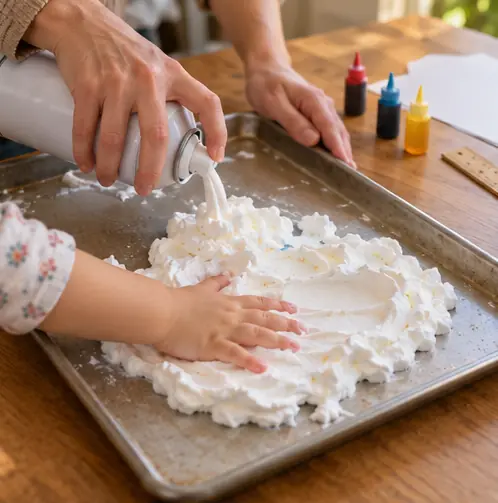 1
Spread the cream
Spray a layer on the baking sheet. Let your toddler spread it flat.
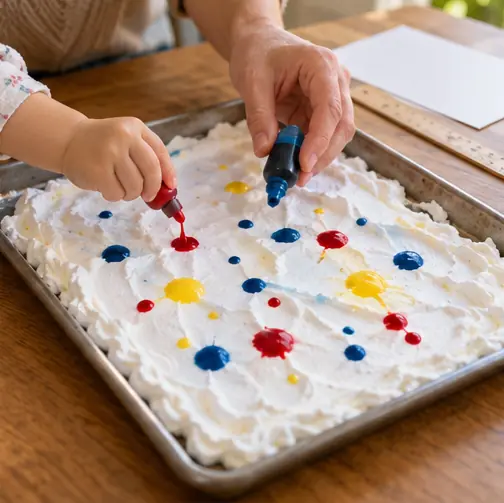 2
Drop in color
Add drops of 2 or 3 colors.
 3
Swirl
Drag a finger through to swirl. Don't mix too much.
 4
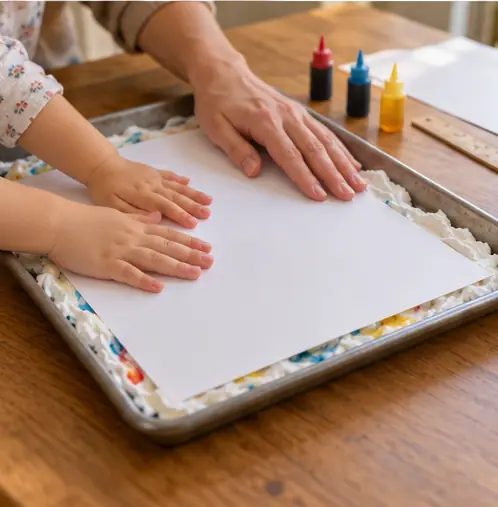
Press the paper
Lay the cardstock on top. Pat it.
 5
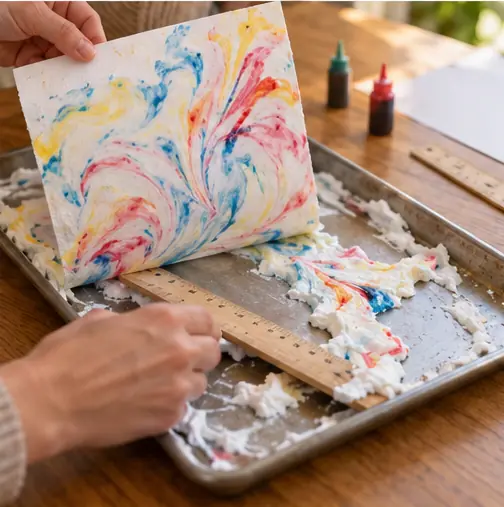
Scrape it
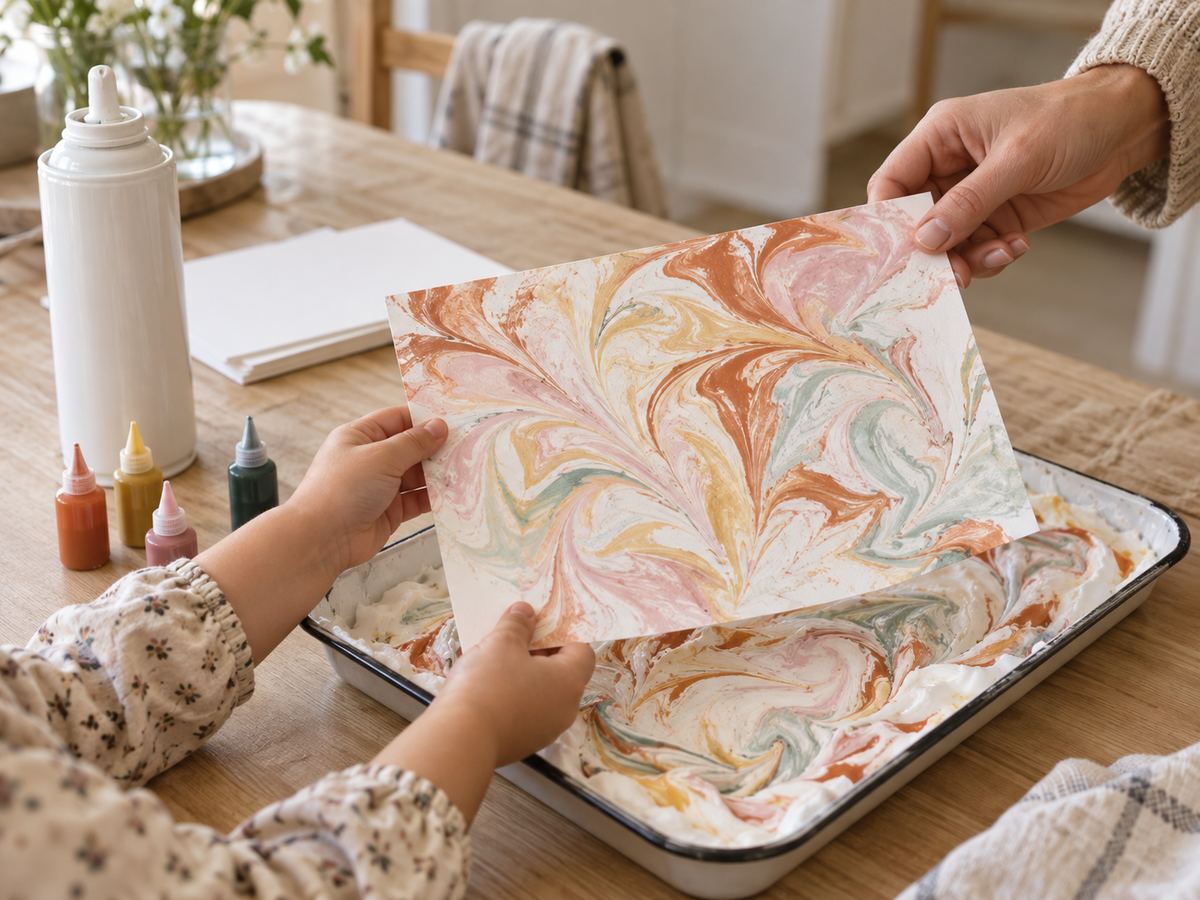
Lift and scrape the cream off with the ruler. The swirls stay.
 6
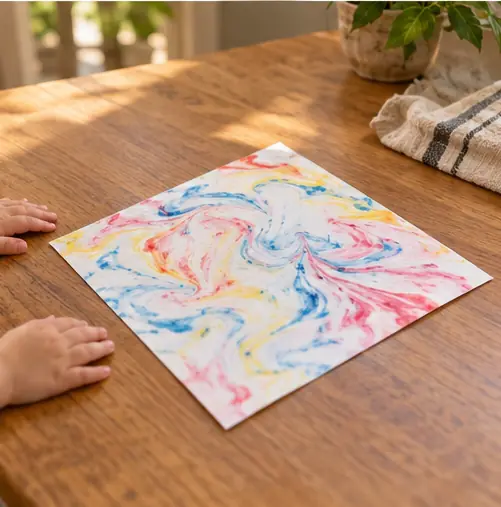
Dry it
Let it dry flat for 1 hour.
 Edie's tip
This is a taste-safe swap for the shaving cream version, which isn't safe for mouths.
Written by the DIY Project team. How we check · Report a mistake