What you'll need
Find it links go to Amazon. As an Amazon Associate we earn from qualifying purchases. How we make money
How to make it
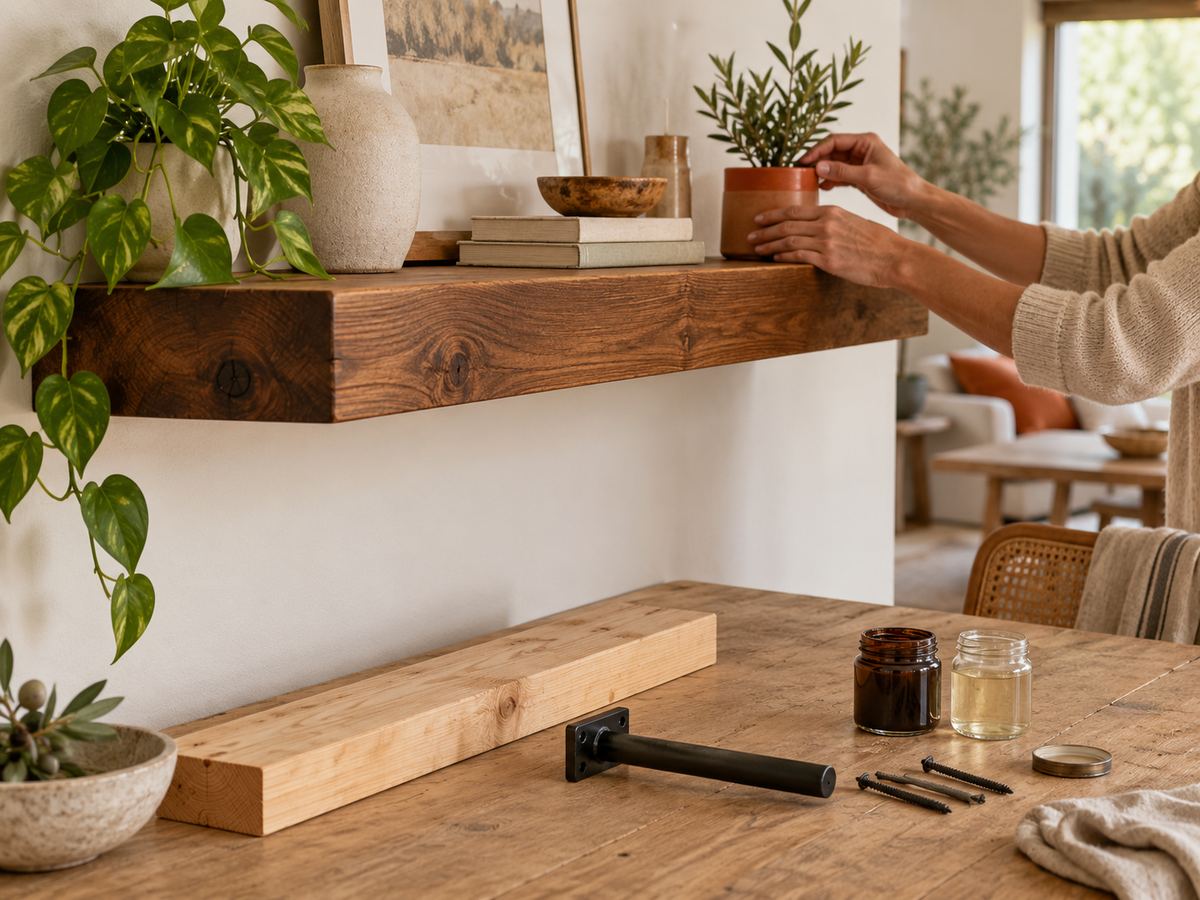
Mount the bracket into at least 2 studs and never load the shelf past the bracket's rated weight.
 1
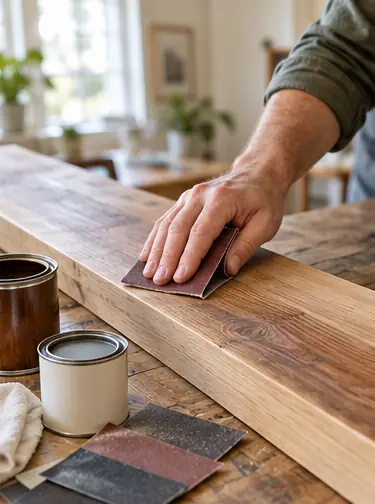
Sand and finish the board
Sand with 80, 120, then 180 grit. Stain and topcoat it now, before it goes on the wall.
 2
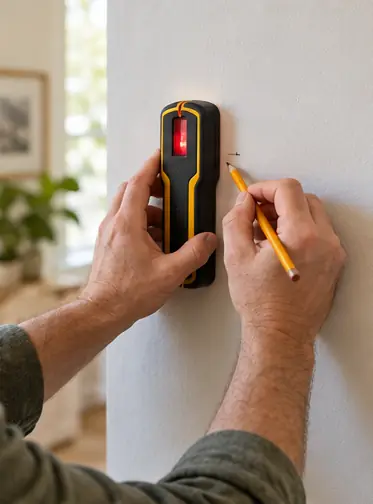
Mark the studs
Find and mark the studs where the shelf will go. You want the bracket screwed into at least 2.
 3
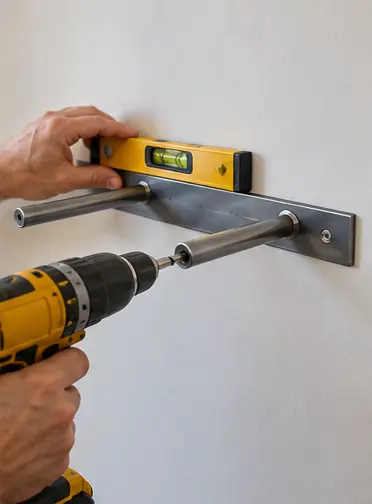
Mount the bracket
Hold the bracket level and drive its screws into the studs. Check it again with the level once it's tight.
 4
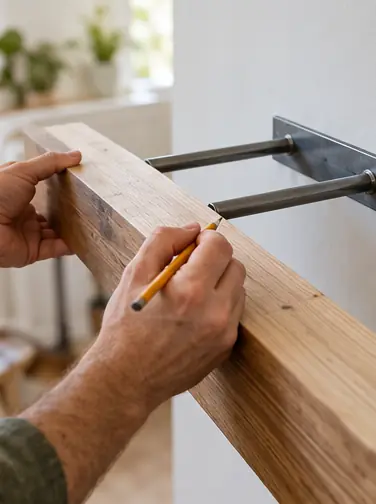
Mark the rod holes
Hold the shelf's back edge against the rods and mark each rod's position. Center the marks in the board's thickness.
 5
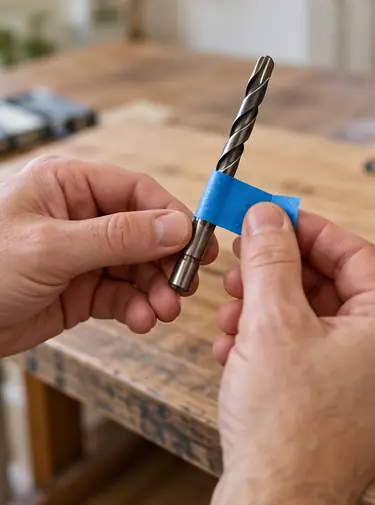
Flag your bit
Wrap tape on the drill bit at the rod length plus 1/4 in. That's your depth stop.
 6
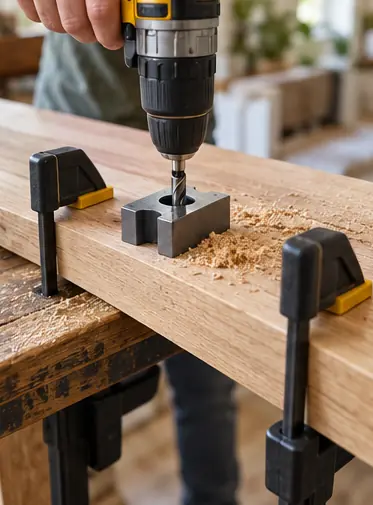
Drill straight holes
Clamp the board and use a drill guide to keep each hole dead straight. Crooked holes make the shelf droop or bind.
 7
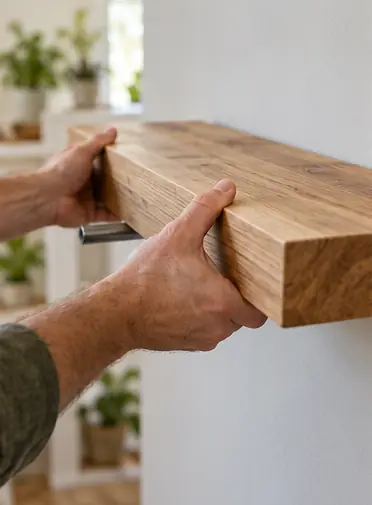
Slide it on
Push the shelf onto the rods until it's tight to the wall. It should feel solid when you press down on the front edge.
 Edie's tip
Drill a test hole in a scrap of 2x8 first. Slide it onto one rod to check the fit before touching your good board.
Written by the DIY Project team. How we check · Report a mistake