What you'll need
Find it links go to Amazon. As an Amazon Associate we earn from qualifying purchases. How we make money
How to make it
The pen tip runs hotter than 750 F, so rest it in its stand, open a window and never burn painted or treated wood.
 1
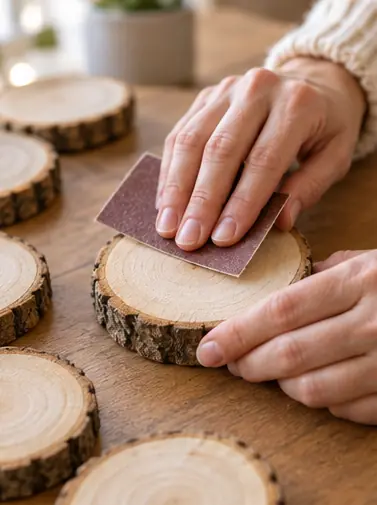
Sand the faces
Sand the front of each slice with 220 grit. The smoother it is, the cleaner your burned line.
 2
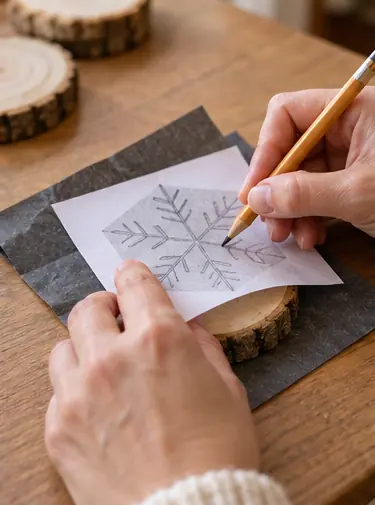
Transfer the design
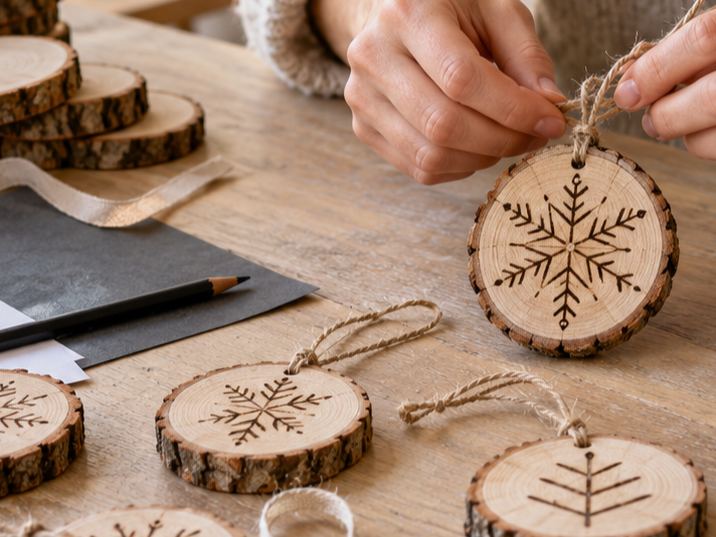
Lay graphite paper under your printout and trace over the lines with a pencil.
 3
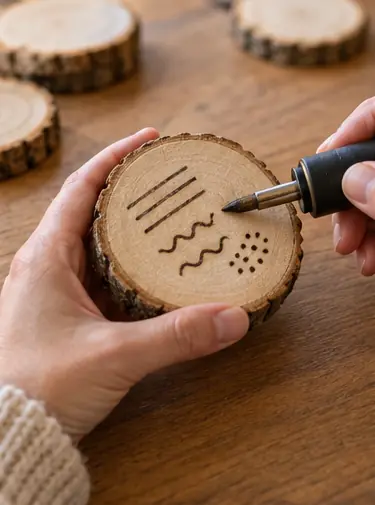
Practice on a scrap
Burn a few lines on the back of a slice first. Slow movement makes darker lines. Fast makes lighter.
 4
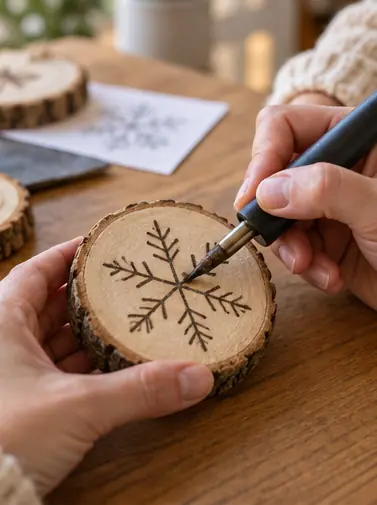
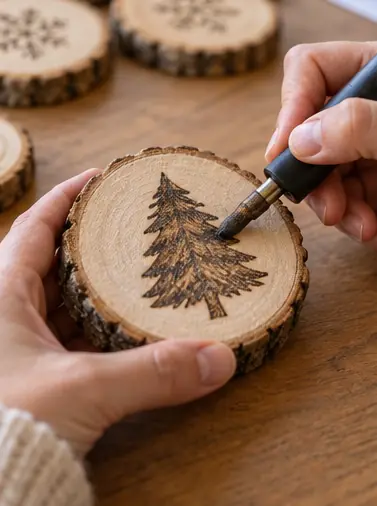
Burn the outlines
Trace your lines with steady, light pressure. Let the heat do the work and keep the pen moving.
 5
Fill and shade
Switch to a shading tip for filled areas. Work in small circles for even color.
 6
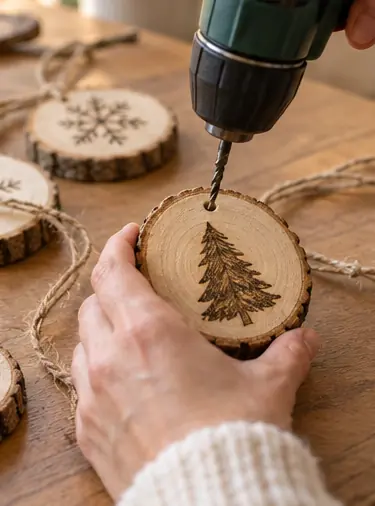
Drill and hang
Drill a 1/8 in hole near the top, 1/2 in from the bark. Thread twine through and knot it.
 7
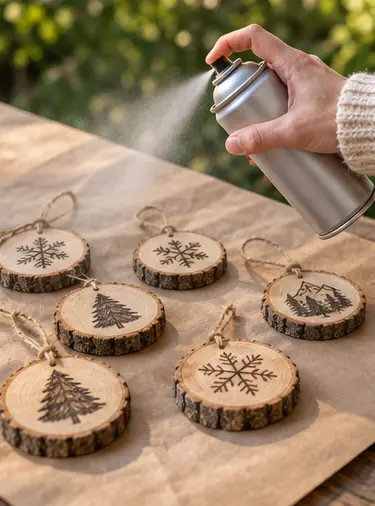
Seal them
Spray 2 light coats of matte sealer outdoors. It keeps the wood from yellowing and the burn from smudging.
 Edie's tip
Change tips with pliers only after unplugging and letting the pen cool, or the threads can seize.
Written by the DIY Project team. How we check · Report a mistake