What you'll need
Find it links go to Amazon. As an Amazon Associate we earn from qualifying purchases. How we make money
How to make it
Wear eye and hearing protection at the miter saw and keep fingers 6 in from the blade, since short mitered pieces are where slips happen.
 1
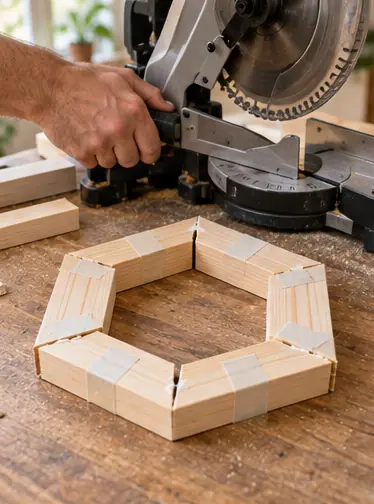
Test your angle
Set the miter saw to 30 degrees. Cut 6 test pieces from scrap, each 6 in long, and tape them into a hexagon. If you see gaps, nudge the angle half a degree and try again.
 2
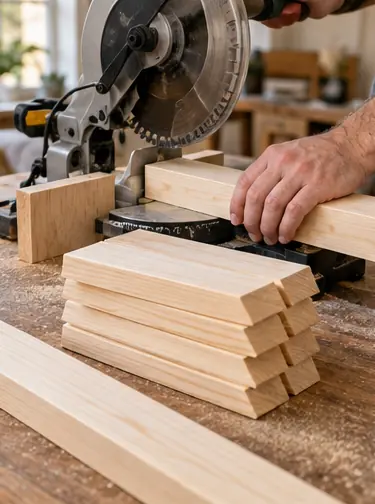
Cut 18 pieces
Cut 6 pieces per hexagon, each 10 in long from point to point. Flip the board between cuts so the angles nest. Clamp a stop block so every piece matches.
 3
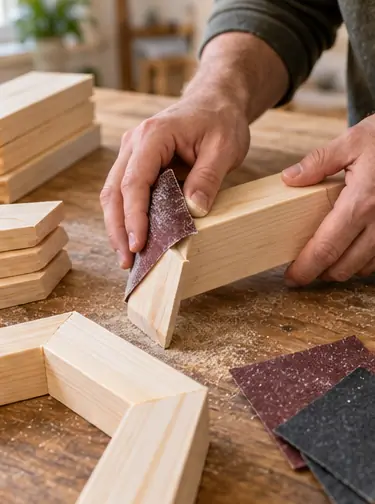
Sand before assembly
Sand the inside faces now with 120 and 180 grit. Corners are hard to reach once glued.
 4
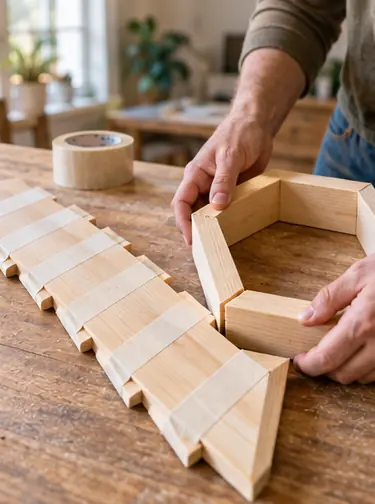
Tape and roll
Lay 6 pieces face down in a row, tips touching, and run packing tape across each joint. Add glue to the miters and roll them up into a hexagon.
 5
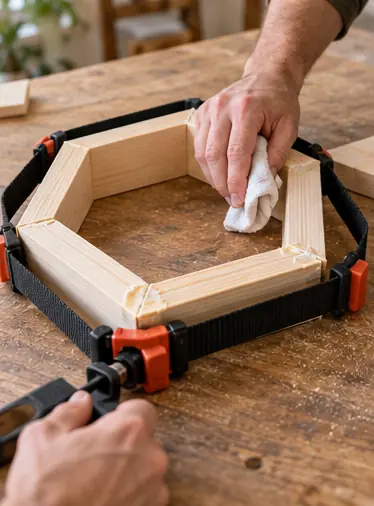
Clamp it
Wrap a band clamp around the outside and tighten until the joints close. Wipe off squeeze-out.
 6
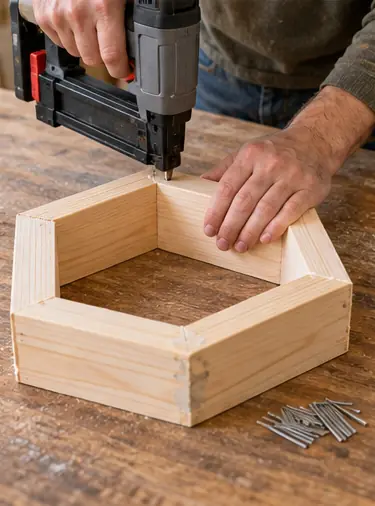
Pin the joints
After 1 hour, drive 2 brad nails through each joint. Let it cure overnight, then repeat for the other 2.
 7
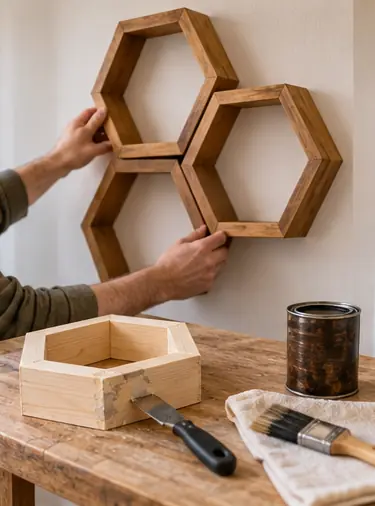
Finish and hang
Fill, sand and stain or paint. Hang each hexagon into studs or rated anchors, nesting them so their sides line up.
 Edie's tip
Cut all 18 pieces at the same setting in one session. Moving the saw between hexagons is how gaps sneak in.
Written by the DIY Project team. How we check · Report a mistake