What you'll need
Materials
Tick them off as you find them.
Find it links go to Amazon. As an Amazon Associate we earn from qualifying purchases. How we make money
How to make it
 1
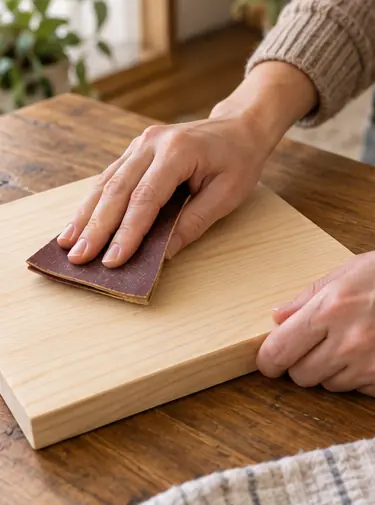
Sand the board
Sand the face and edges with 120 grit until they feel smooth. Stain or paint it now if you want color, then let it dry.
 2
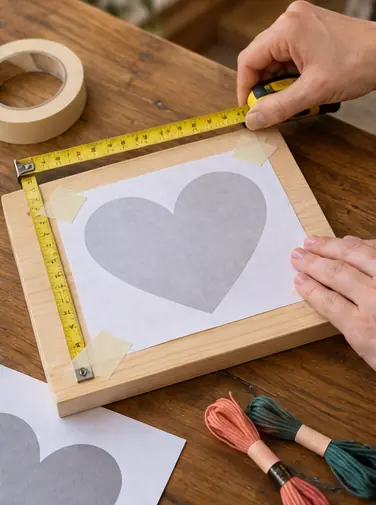
Tape on the template
Center your printed shape on the board and tape the corners down. Measure from each edge to check it's centered.
 3
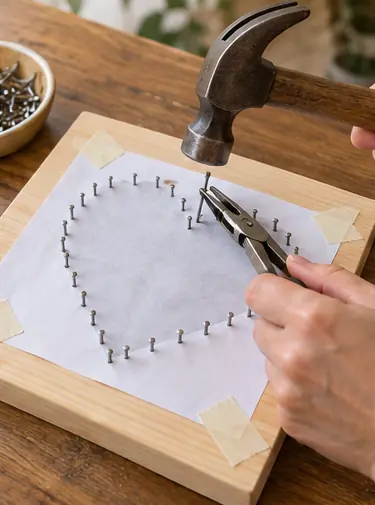
Tap in the nails
Hammer a brad every 1/2 in around the outline, right through the paper. Hold each brad with pliers so the hammer hits metal, not fingers. Leave them all about 1/2 in tall.
 4
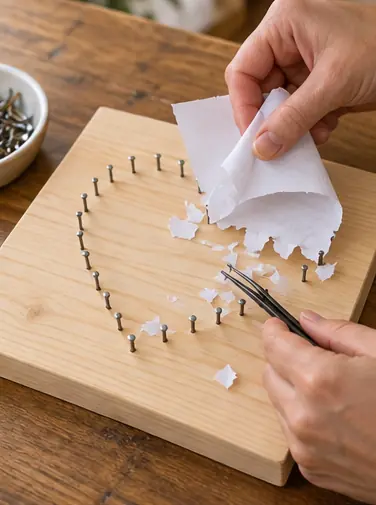
Tear off the paper
Rip the template away. Tweezers grab the little scraps stuck under the nail heads.
 5
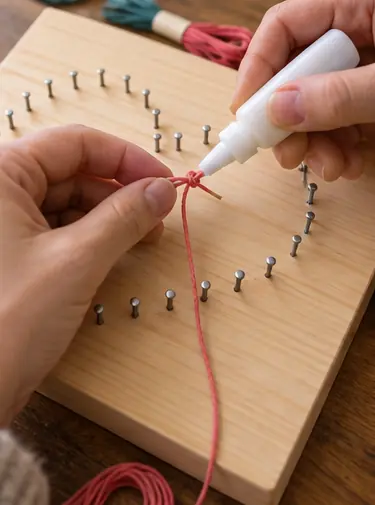
Tie on the floss
Tie the floss to any nail with a double knot. Dab the knot with glue.
 6
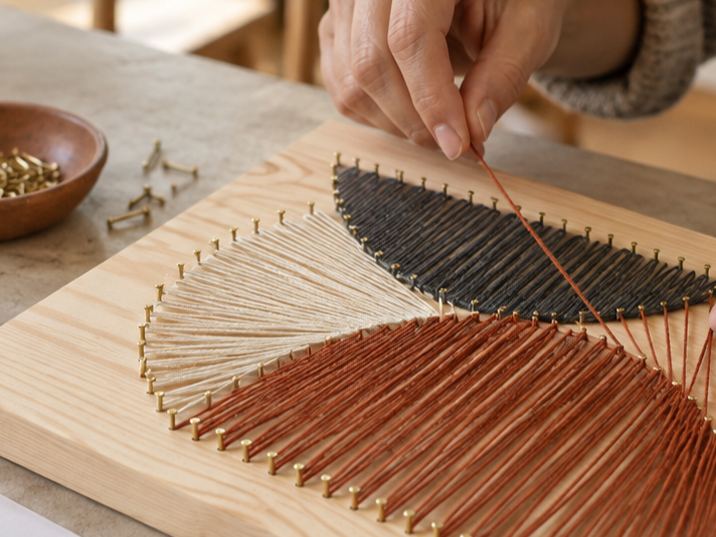
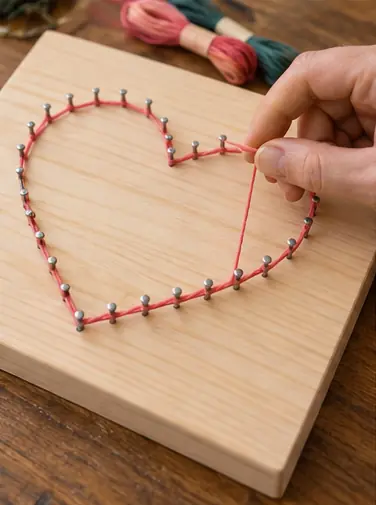
Wrap the outline
Wind the floss around the outside of the shape first, nail to nail. This gives you a crisp edge.
 7
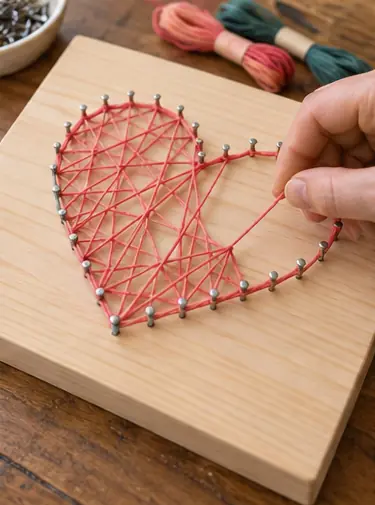
Fill the middle
Zigzag across the inside from nail to nail until it looks full. It'll look patchy halfway through. Normal.
 8
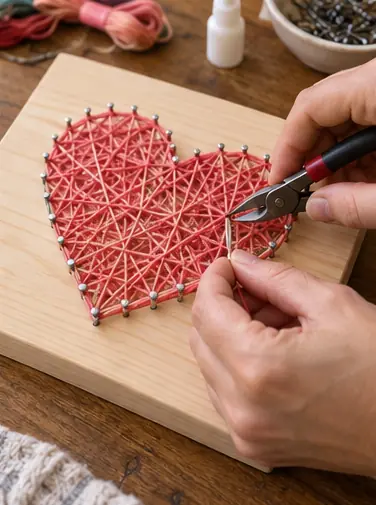
Tie off the end
Knot the floss on a nail, glue it and trim the tail. Step back and watch the word pop.
 Edie's tip
Pro move: keep every nail the same height by resting a 1/2 in stack of craft sticks beside each one as you hammer.
Written by the DIY Project team. How we check · Report a mistake