What you'll need
Find it links go to Amazon. As an Amazon Associate we earn from qualifying purchases. How we make money
How to make it
Turn off the breaker before working near outlets, and check the tile label for heat limits before covering the wall behind a stove.
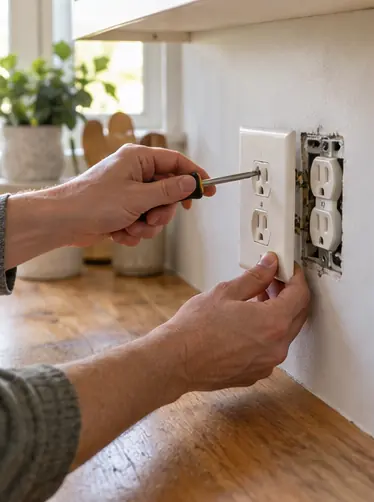 1
Kill the power
Shut off the breaker for the backsplash outlets and remove the cover plates.
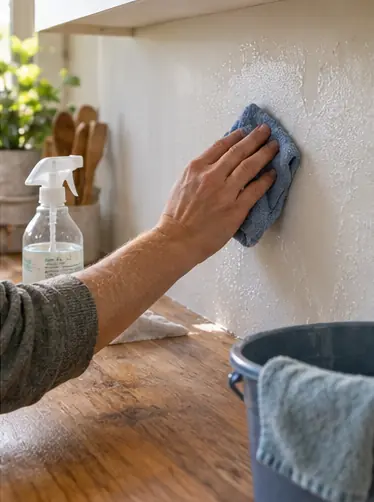 2
Clean the wall
Scrub the wall with degreaser, rinse and let it dry fully. Grease is the number one reason stick-on tiles fall.
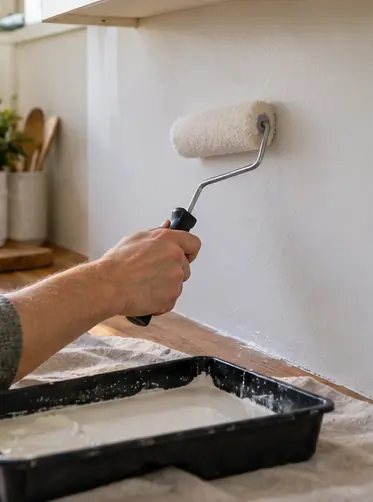 3
Check the wall
Tiles need painted or primed drywall. Freshly painted walls should cure for the time on the paint can first.
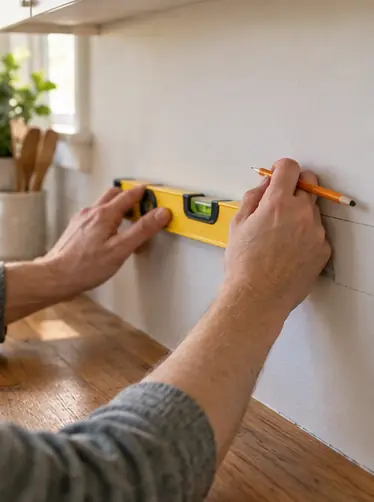 4
Mark a level line
Draw a level line for your first row. Countertops are rarely perfectly level.
 5
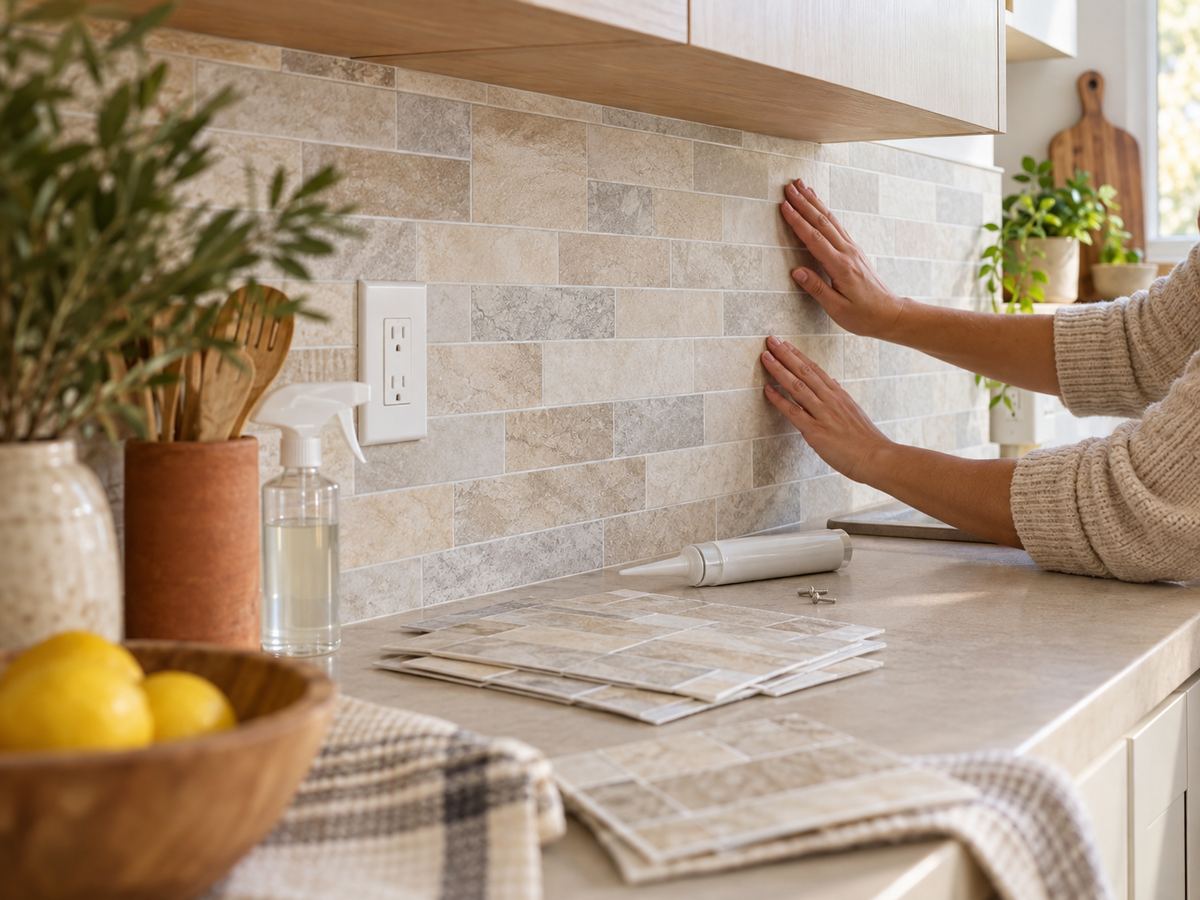
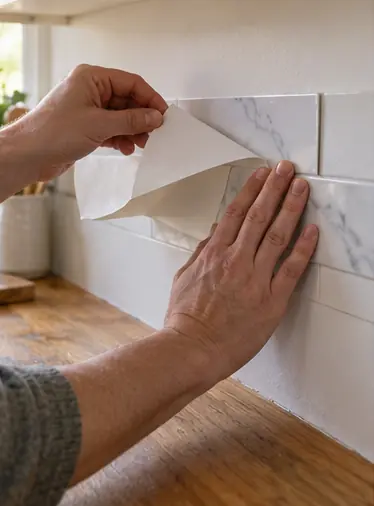
Stick the first tile
Start at the most visible spot. Peel the backing partway, line up the tile and press from the center out.
 6
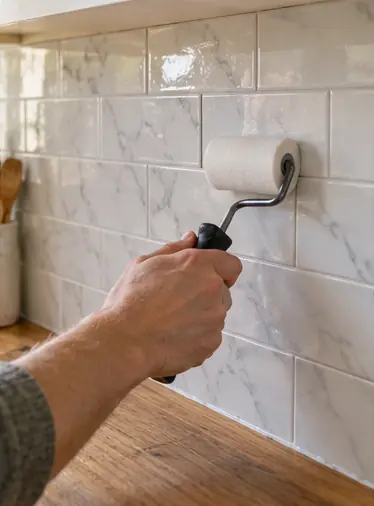
Roll and repeat
Roll every tile firmly. Overlap or butt seams exactly as the package says.
 7
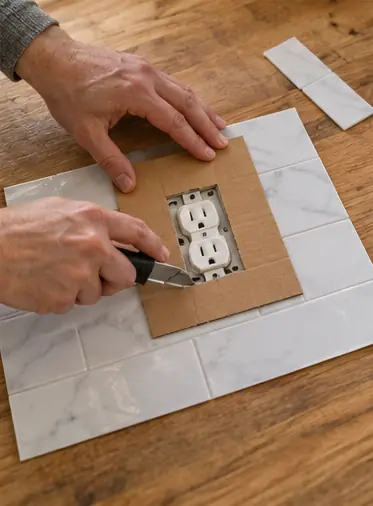
Cut around outlets
Make a cardboard template, trace it onto the tile and cut with the straightedge. Several light passes beat one hard one.
 8
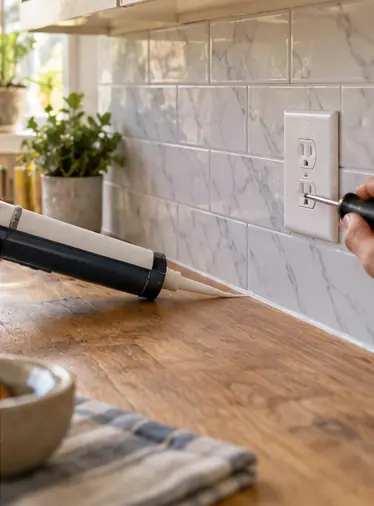
Caulk and finish
Caulk the gap along the counter. Screw the cover plates back on and turn the power back on.
 Edie's tip
Change blades often. A dull blade tears tile edges and makes seams show.
Written by the DIY Project team. How we check · Report a mistake