What you'll need
Find it links go to Amazon. As an Amazon Associate we earn from qualifying purchases. How we make money
How to make it
Keep dyed eggs in the fridge and don't eat any that sat out more than 2 hours.
 1
Make the cabbage dye
Simmer the cabbage in 4 cups of water for 30 minutes. Strain it and stir in 2 tbsp vinegar. It looks purple but dyes eggs blue.
 2
Make the turmeric dye
Simmer the turmeric in 4 cups of water for 10 minutes. Stir in 2 tbsp vinegar.
 3
Make the onion dye
Simmer the onion skins in 4 cups of water for 30 minutes. Strain and add 2 tbsp vinegar.
 4
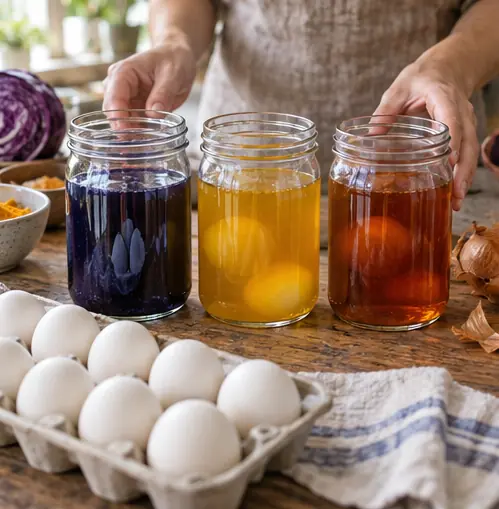
Cool the dyes
Let each dye cool to room temperature. Hot dye can crack cold eggs.
 5
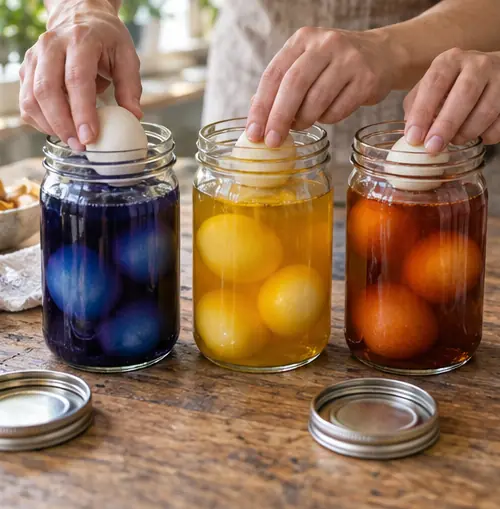
Soak the eggs
Lower 4 eggs into each jar. Cover and refrigerate overnight for deep color.
 6
Dry and polish
Lift them out and pat dry. Rub on a drop of oil for a soft sheen.
 Edie's tip
Wrap a small fern leaf against the egg with a piece of old pantyhose before soaking. It leaves a pale leaf print.
Written by the DIY Project team. How we check · Report a mistake