What you'll need
Materials
Tick them off as you find them.
Find it links go to Amazon. As an Amazon Associate we earn from qualifying purchases. How we make money
How to make it
Wear safety glasses when nailing and screw into studs, since drywall anchors alone can pull out under heavy frames.
 1
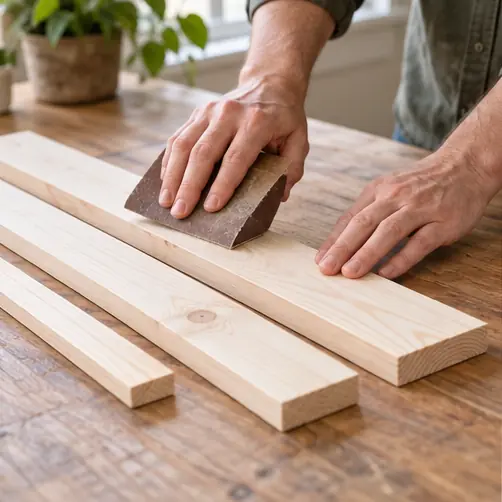
Sand all 3 boards
Sand every face with 120 grit, then 180. Ask the store to make the 3 cuts so all you do here is sand.
 2
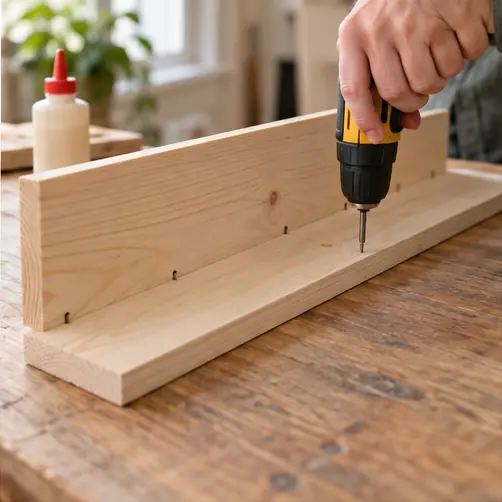
Attach the back
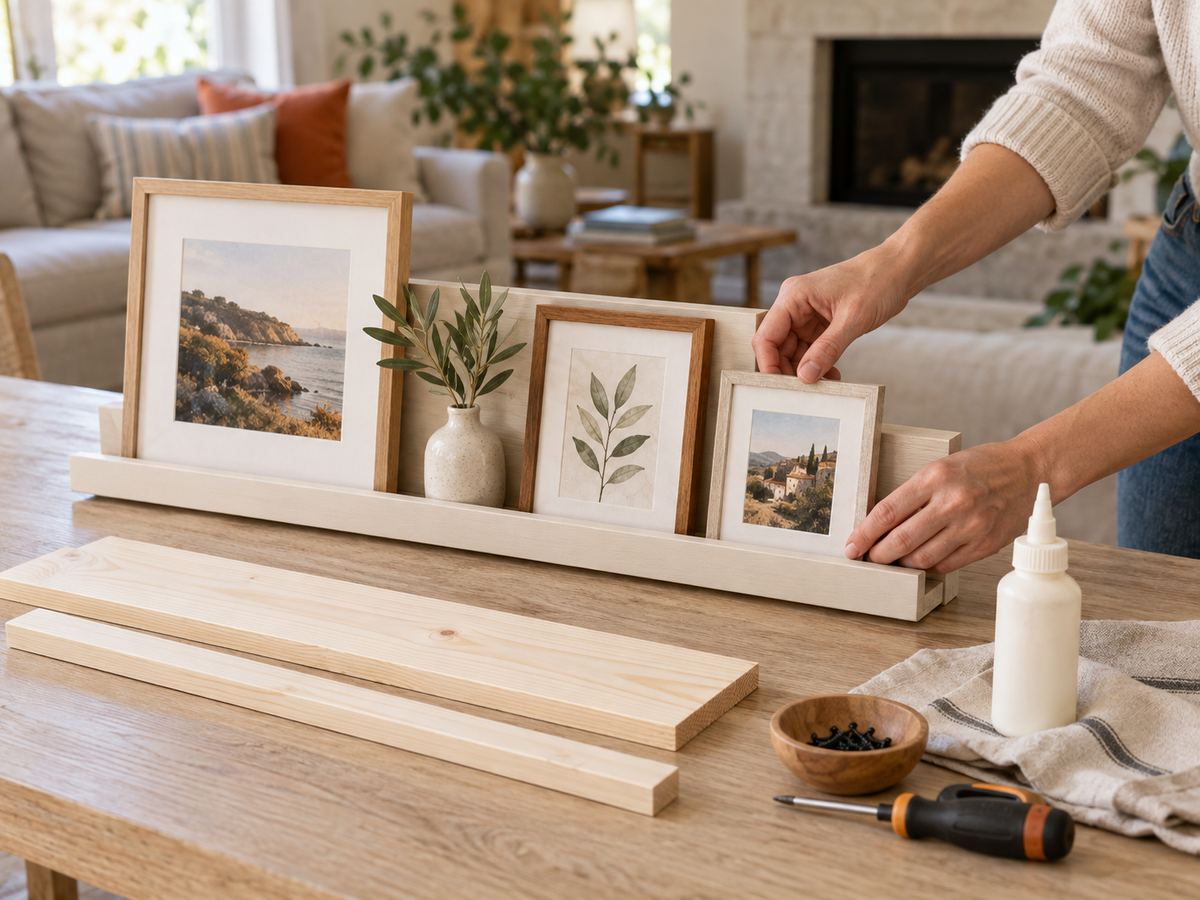
Run glue along the back edge of the 1x4. Stand the 1x3 against it, flush at the bottom, and nail every 8 in.
 3
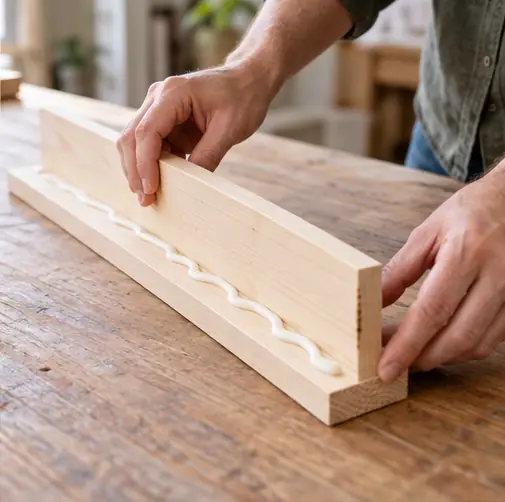
Attach the lip
Glue the 1x2 to the front edge of the 1x4, flush at the bottom. It stands 3/4 in above the shelf to stop frames sliding off.
 4
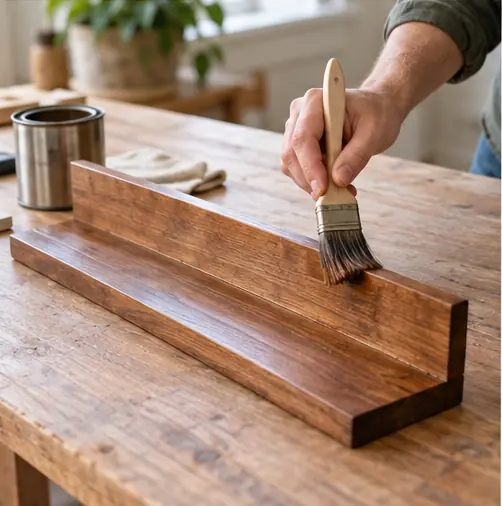
Stain or paint
Finish it to match your frames. Let it dry overnight.
 5
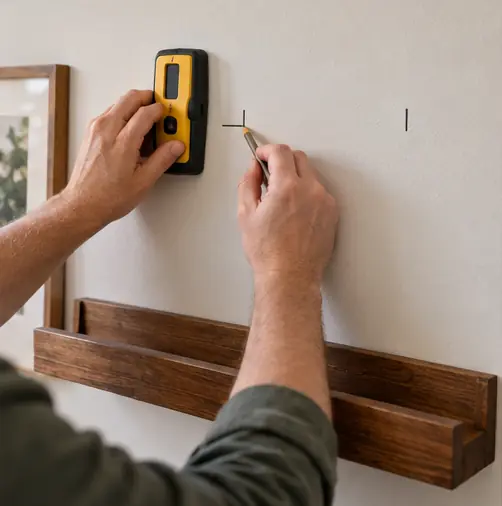
Find 2 studs
Mark 2 studs with the stud finder. They're usually 16 in apart.
 6
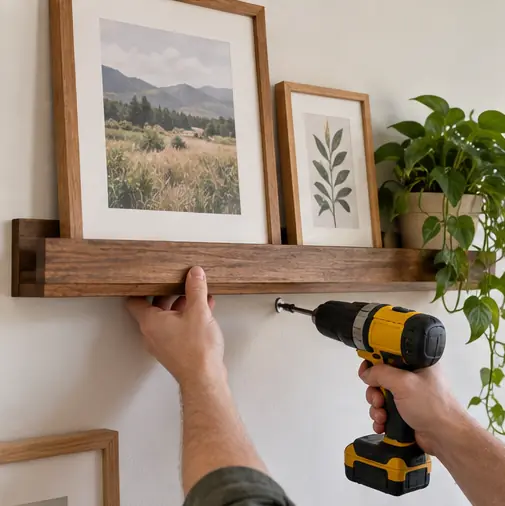
Screw it to the wall
Hold the ledge level and drive a 2 1/2 in screw through the back into each stud. Lean your frames in and step back.
 Edie's tip
Hang it 8 to 10 in above a couch or headboard. Close enough to feel connected, high enough to keep heads clear.
Written by the DIY Project team. How we check · Report a mistake