What you'll need
Tools
- Circular saw with a plywood blade and a straightedge guide, or track sawFind it →
- Pocket hole jigFind it →
- Drill/driverFind it →
- Clothes iron and edge banding trimmerFind it →
- Brad nailerFind it →
- ClampsFind it →
- Framing squareFind it →
- Random orbit sanderFind it →
- Safety glassesFind it →
- Hearing protectionFind it →
- Dust maskFind it →
- 2 sawhorses and a sheet of foam insulation for cuttingFind it →
Find it links go to Amazon. As an Amazon Associate we earn from qualifying purchases. How we make money
How to make it
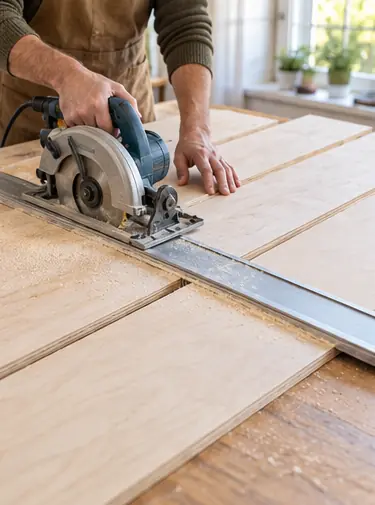
Wear a dust mask, eye and hearing protection, and support the whole sheet on foam so the saw can't bind and kick back.
 1
Rip the sheet
Rip the plywood into 3 strips, each 14 in wide. Many home centers will make these long cuts for you.
 2
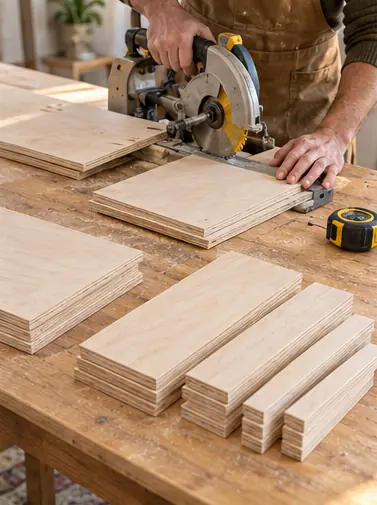
Crosscut the parts
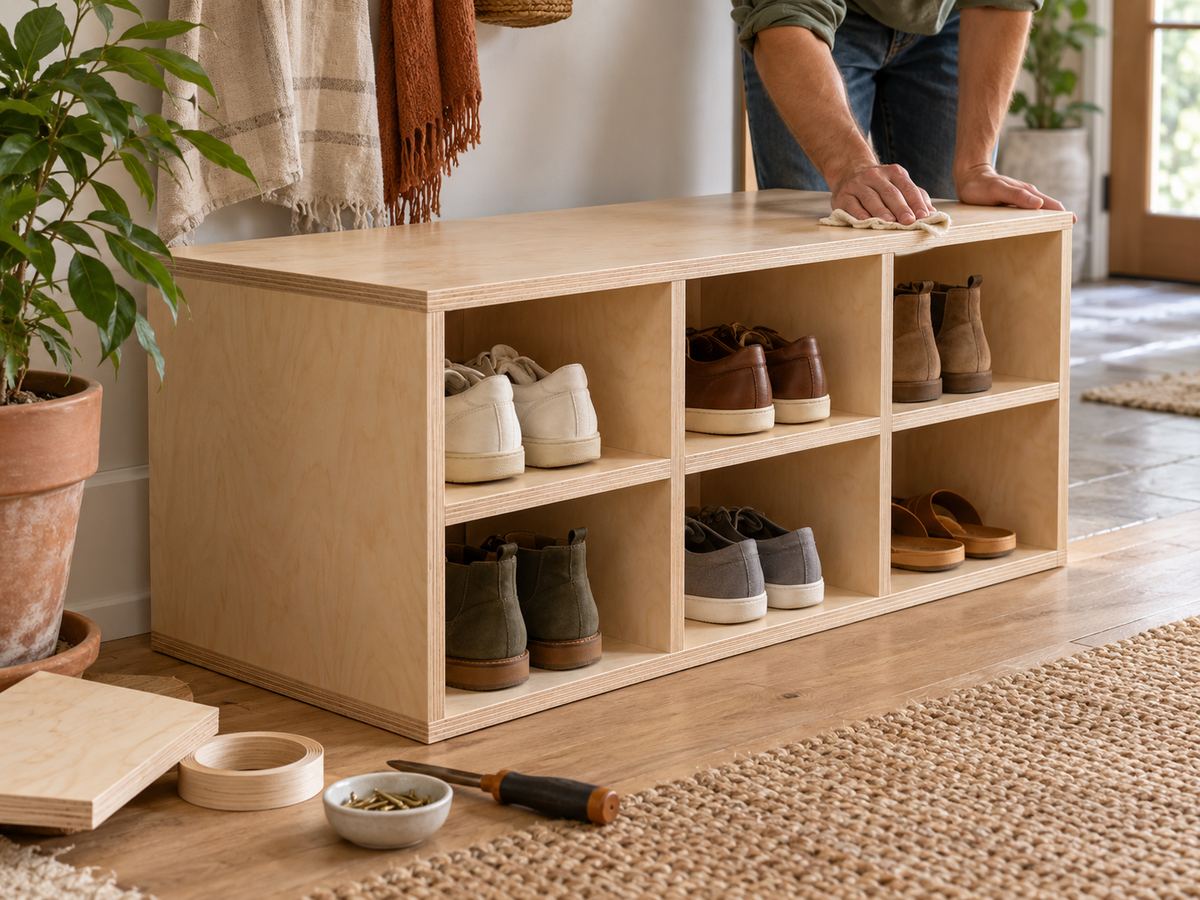
Cut a top at 36 in and 2 sides at 17 1/4 in. Cut a bottom and a shelf at 34 1/2 in, and 4 dividers at 7 7/8 in. Measure your real plywood thickness and adjust if it's under 3/4 in.
 3
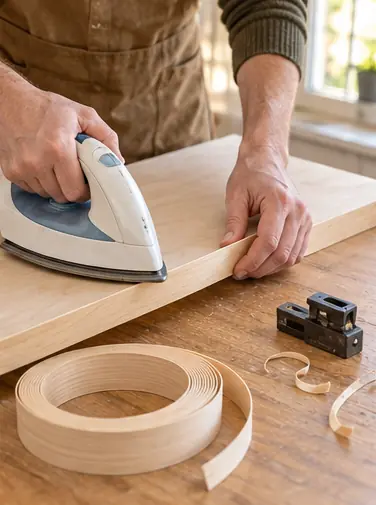
Band the front edges
Iron edge banding onto every front edge that will show. Trim it flush once it cools.
 4
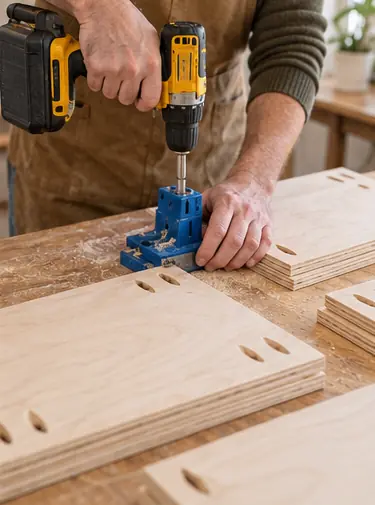
Drill pocket holes
Drill pocket holes on the underside of the bottom, the shelf and the dividers, at each end, 2 per end.
 5
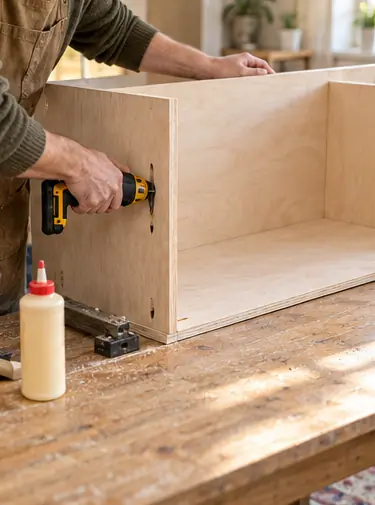
Build the box
Glue and pocket screw the bottom between the sides, flush with the floor ends. Screw the top onto the sides from below.
 6
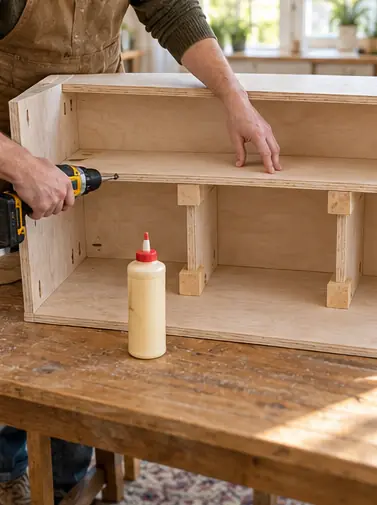
Add the shelf
Set the shelf 7 7/8 in above the bottom, using scrap blocks as spacers. Glue and screw it in.
 7
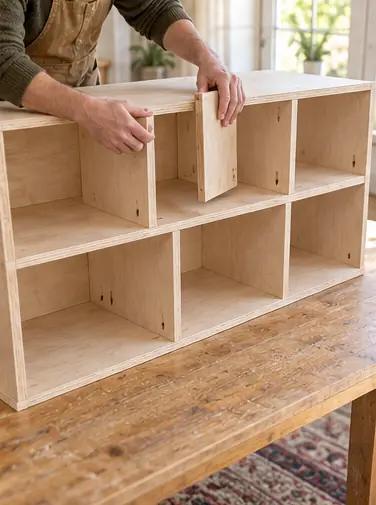
Fit the dividers
Install 2 dividers in each row, 11 in apart. Offset the upper ones slightly so you can reach the screws.
 8
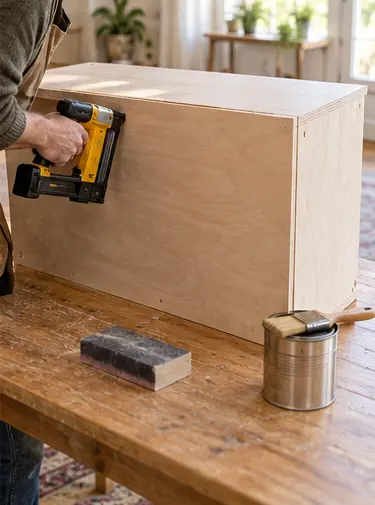
Back and finish
Square the case, then glue and nail on the 36 x 18 in back. Sand and finish with 3 coats of poly.
 Edie's tip
Cut plywood good face down with a circular saw. The blade tears out on top, so the show face stays clean.
Written by the DIY Project team. How we check · Report a mistake