What you'll need
Find it links go to Amazon. As an Amazon Associate we earn from qualifying purchases. How we make money
How to make it
Wear eye and hearing protection and a dust mask at the router, and unplug it before changing bits.
 1
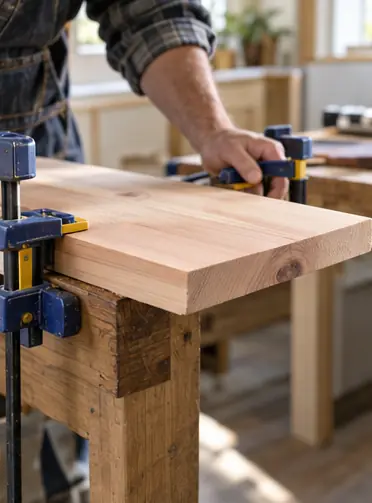
Clamp the board
Clamp it to the bench with the edge hanging past the side. Keep clamps clear of the router path.
 2
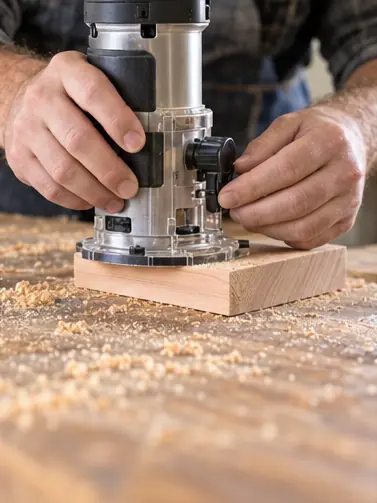
Test on scrap
Rout a scrap first to check the bit depth. Adjust until you like the profile.
 3
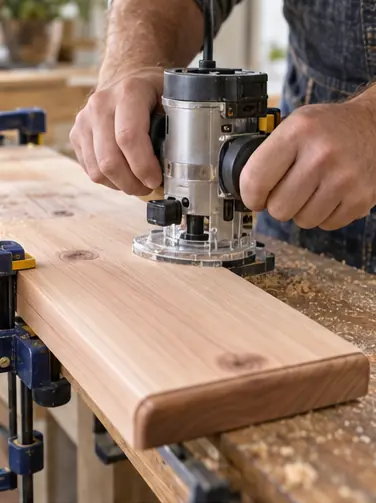
Rout the edges
Move the router counterclockwise around the outside edges. Take 2 shallow passes for a clean cut.
 4
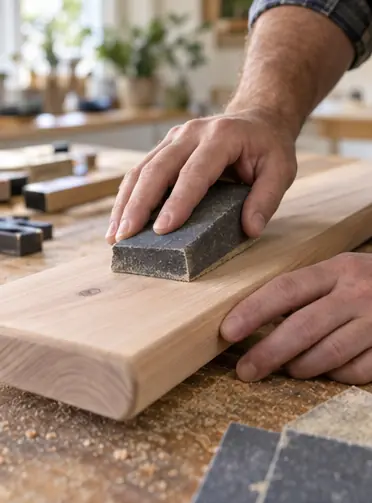
Sand smooth
Sand the face and routed edges with 120, then 180 grit.
 5
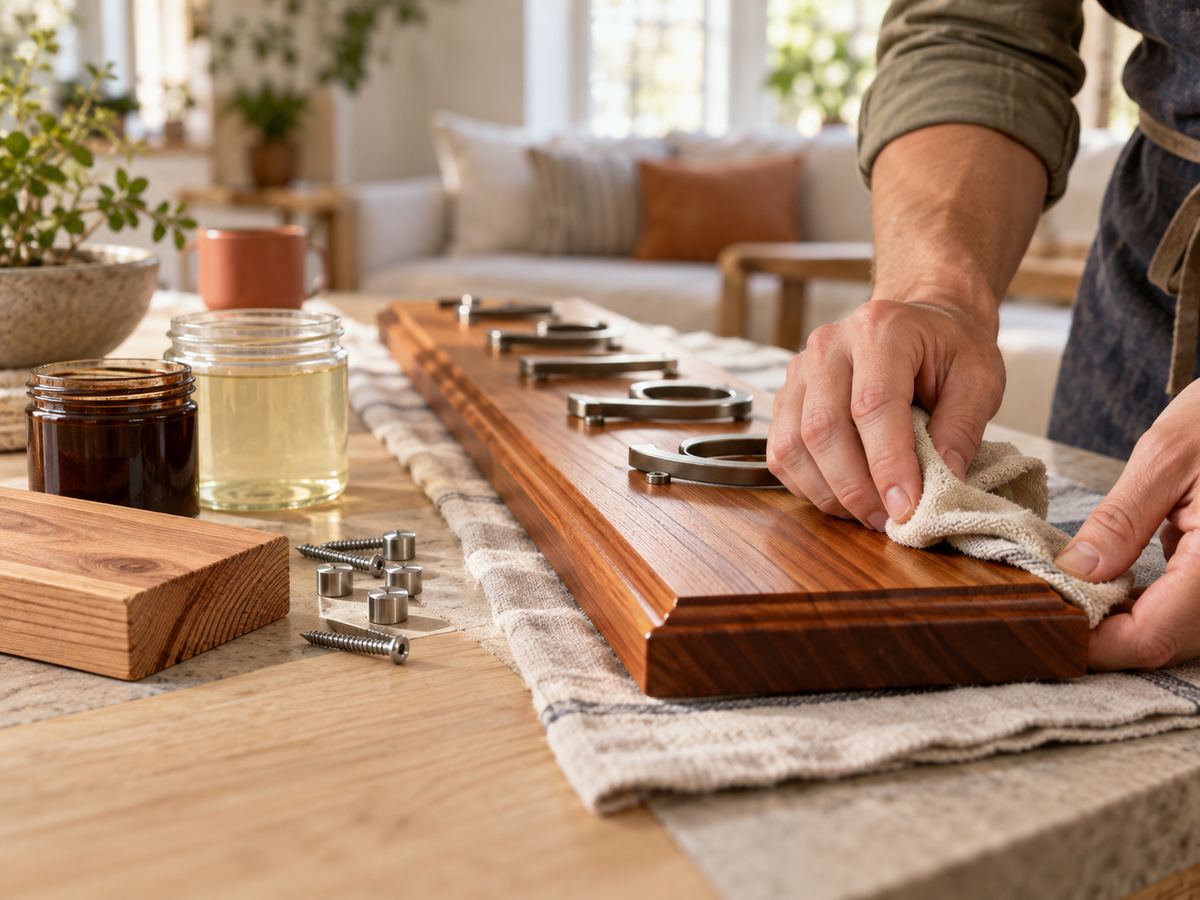
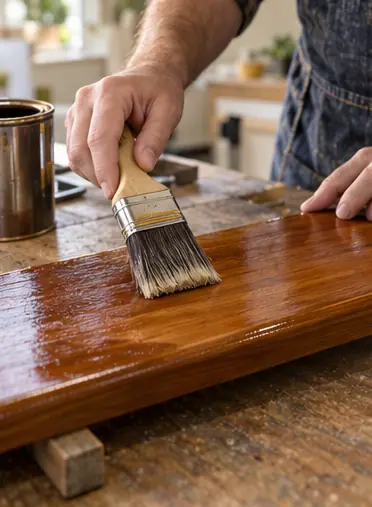
Stain and seal
Stain the board, then brush on 3 coats of spar urethane, back and edges included. Water gets in through any bare spot.
 6
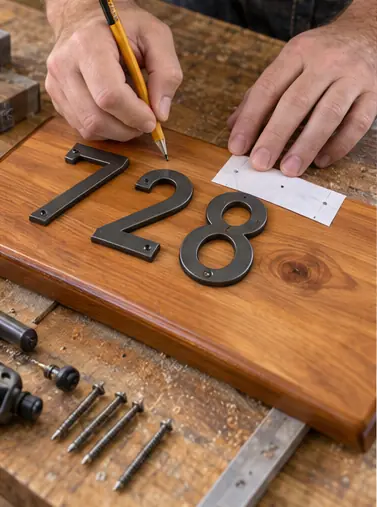
Space the numbers
Lay the numbers on the board and center them. Use the template in the package to mark the holes.
 7
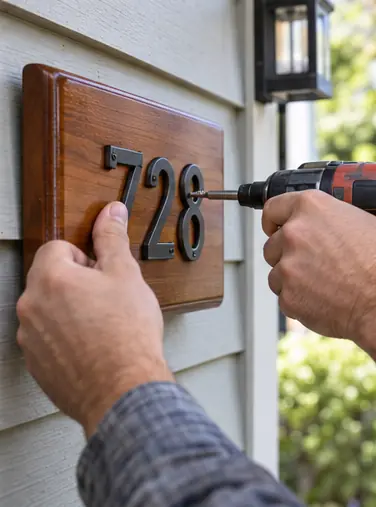
Mount the numbers
Drill the holes and attach the numbers. Screw the plaque to the house where it's visible from the street.
 Edie's tip
Many towns ask for numbers at least 4 in tall so emergency crews can read them. Check your local rule before you buy.
Written by the DIY Project team. How we check · Report a mistake