What you'll need
Find it links go to Amazon. As an Amazon Associate we earn from qualifying purchases. How we make money
How to make it
 1
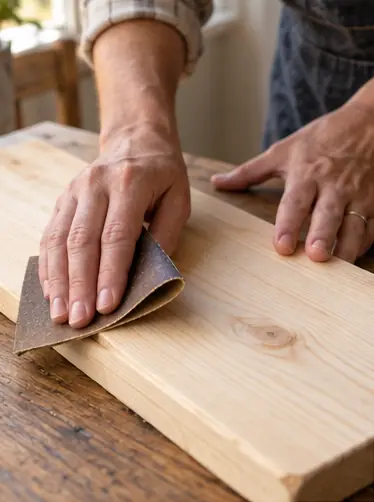
Sand the board
Sand with 120, then 180 grit. Round the corners a little with the paper.
 2
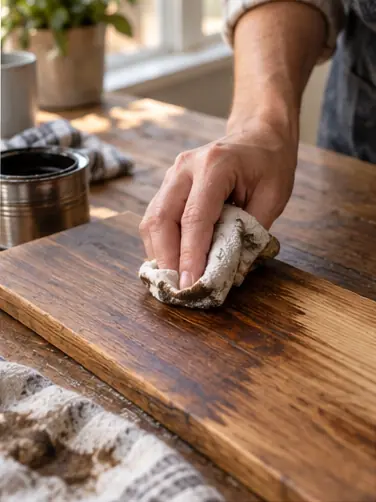
Stain it
Wipe on stain with a rag and wipe off the extra after 5 minutes. Let it dry 4 hours.
 3
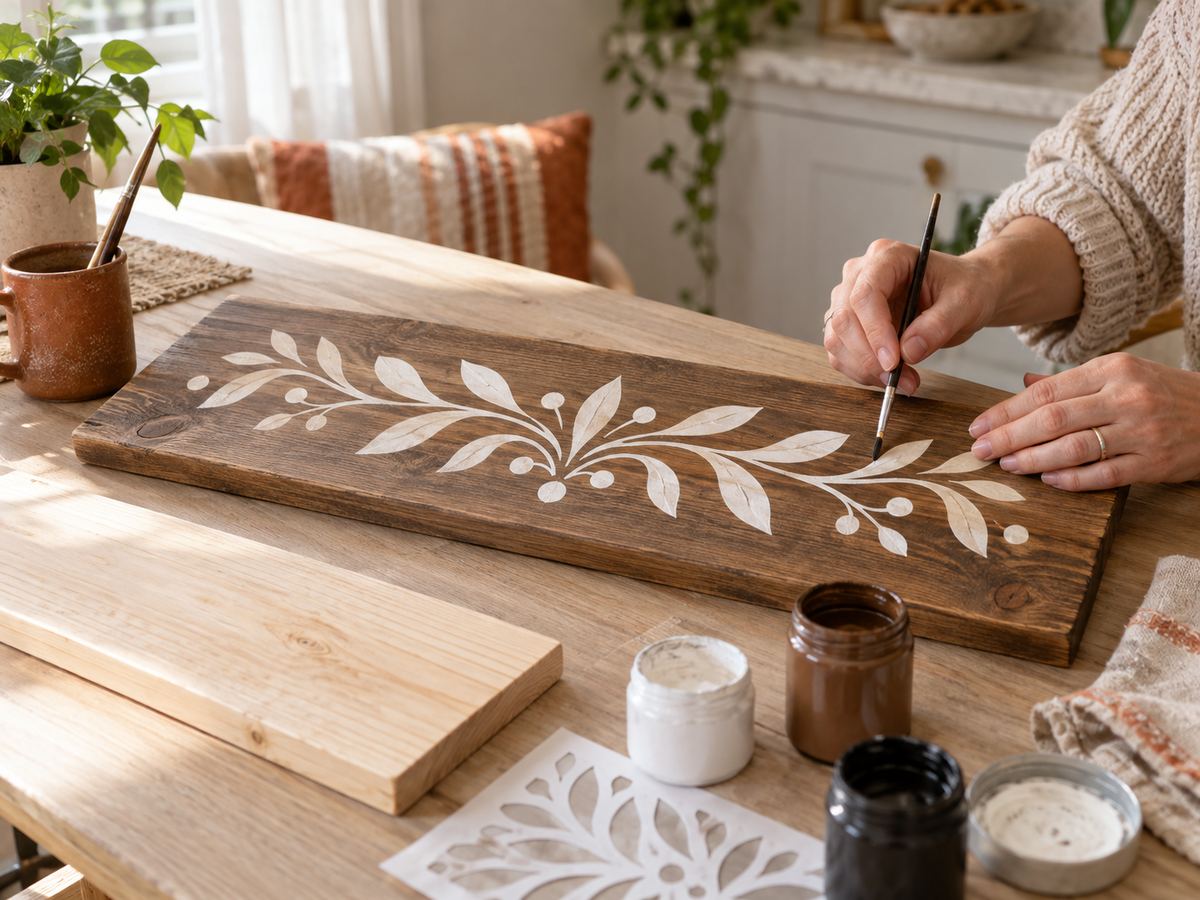
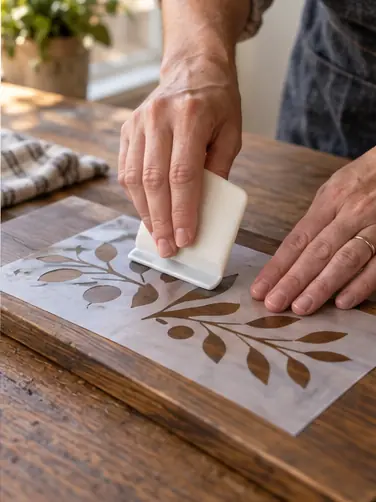
Stick down the stencil
Peel the backing and press the stencil flat. Rub every letter edge with a scraper so paint can't sneak under.
 4
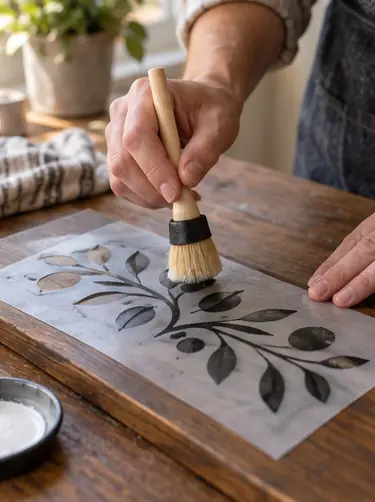
Seal the edges
Dab a thin coat of stain or clear paint over the stencil first. Anything that bleeds under is invisible, and it blocks the real paint.
 5
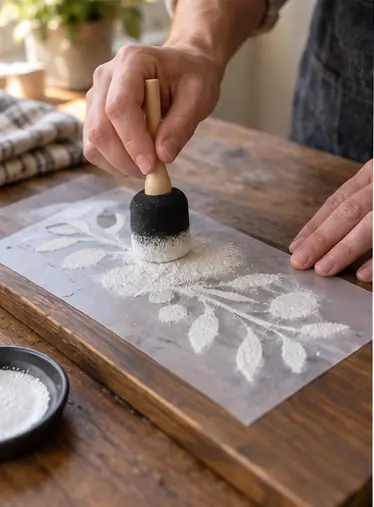
Pounce the paint
Load the pouncer lightly and dab straight up and down. Two thin coats beat one thick one.
 6
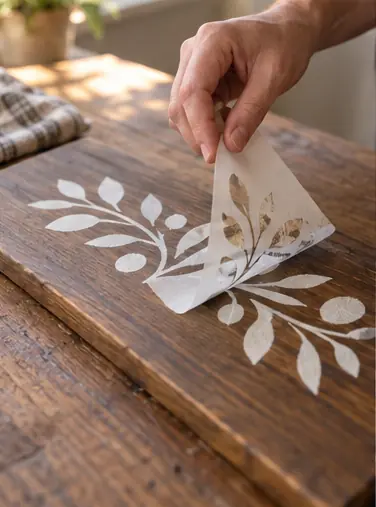
Peel while damp
Lift the stencil slowly while the second coat is still a little wet. Enjoy those sharp letters.
 7
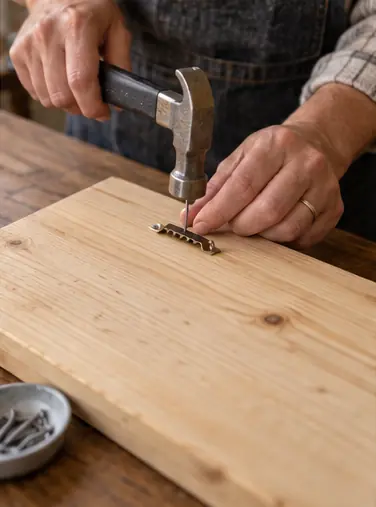
Add the hanger
Center a sawtooth hanger on the back, 1 in from the top, and tap in its nails.
 Edie's tip
Pro move: the edge-sealing coat in step 4 is the whole secret to crisp letters. Don't skip it.
Written by the DIY Project team. How we check · Report a mistake