What you'll need
Materials
Tick them off as you find them.
Find it links go to Amazon. As an Amazon Associate we earn from qualifying purchases. How we make money
How to make it
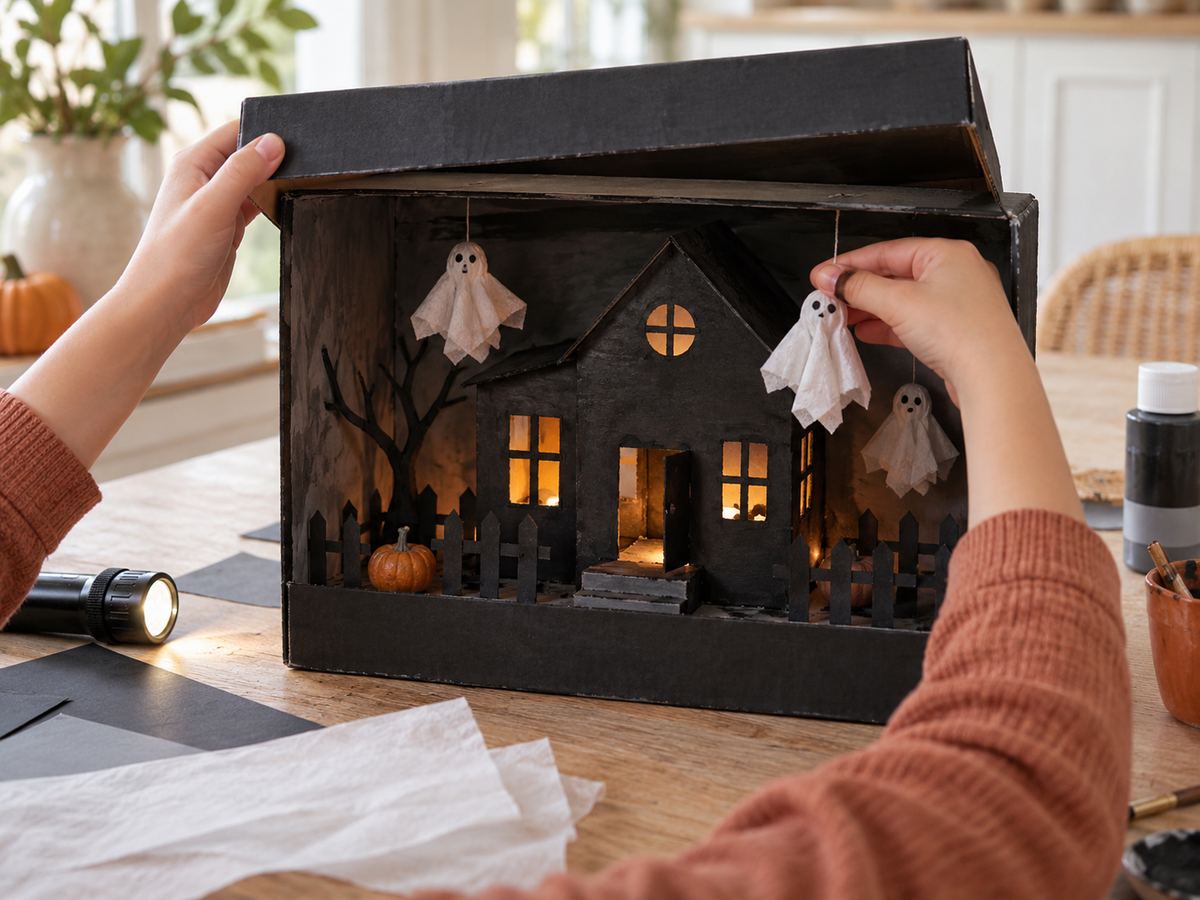
Use a flashlight or battery tea light only, never a real candle in a cardboard box.
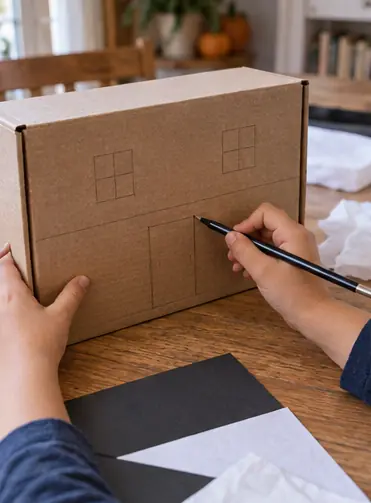 1
Plan the rooms
Stand the box on its side. Draw where the floors, windows and a door will go.
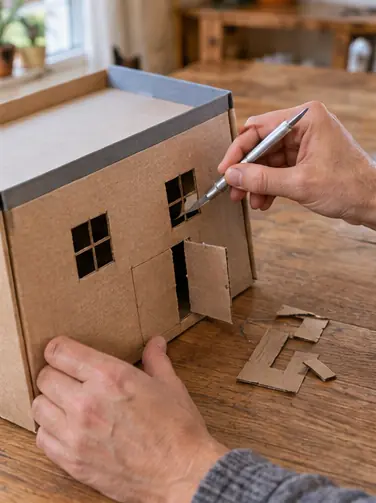 2
Cut the windows
Grown-up step: cut the windows and door with a craft knife. Leave the door hinged on one side so it opens.
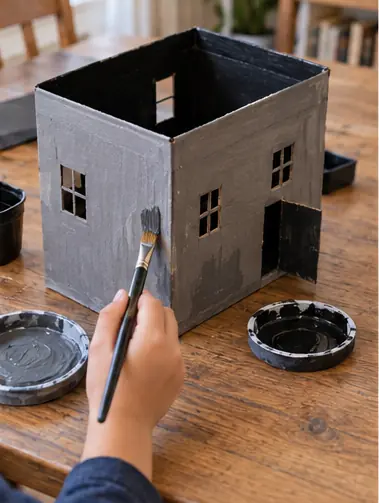 3
Paint the house
Paint the outside gray and the inside black. Let it dry for 30 minutes.
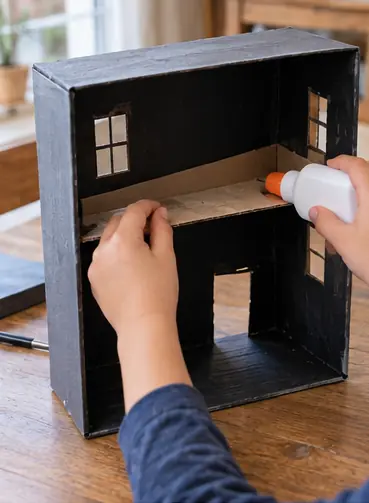 4
Add the floors
Fold a strip of cardboard into an L and glue it inside as a second floor.
 5
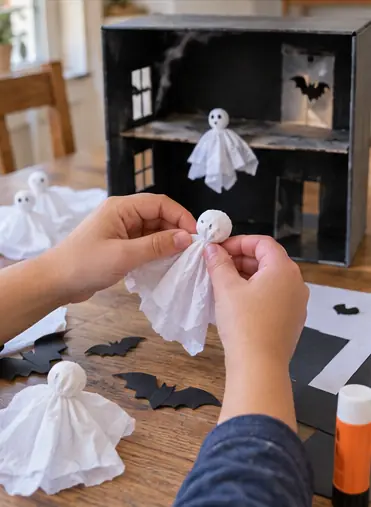
Fill it with ghosts
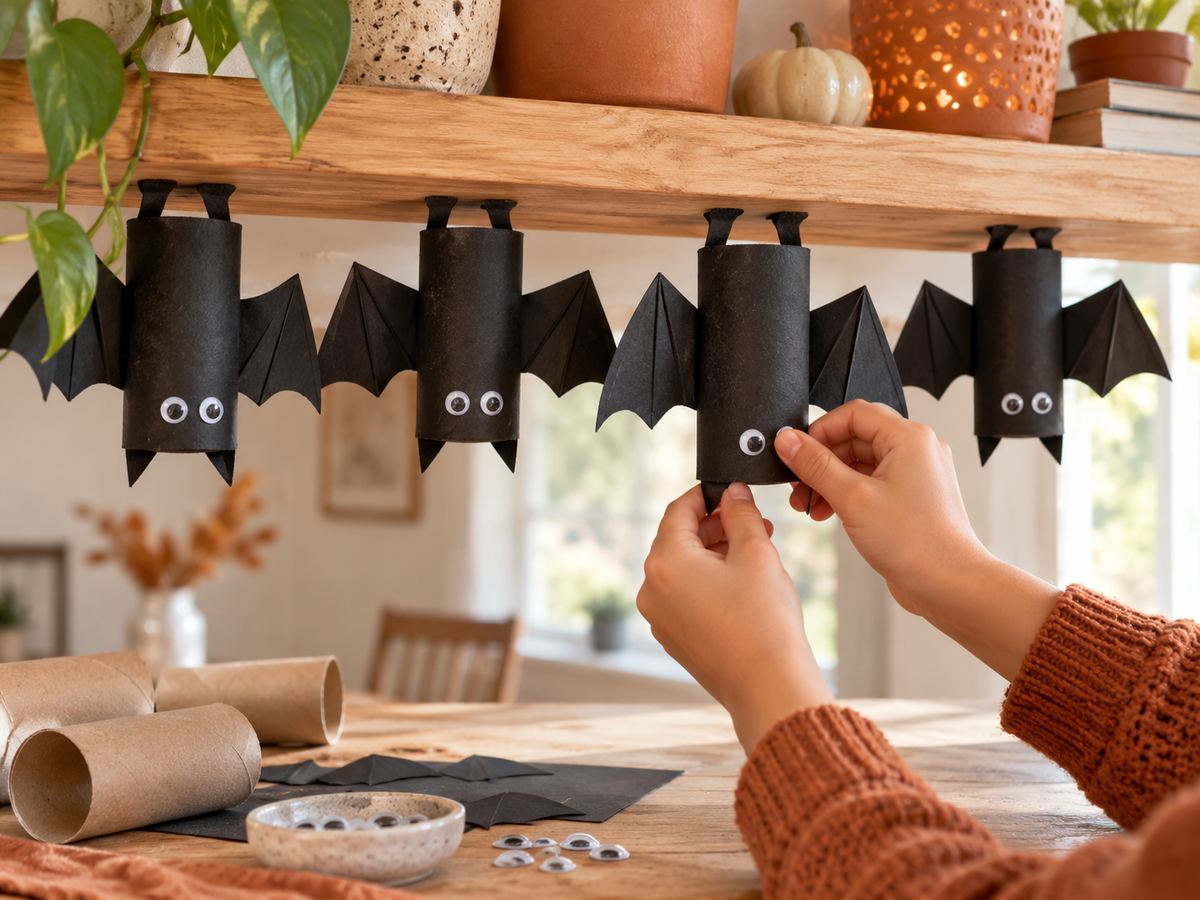
Make tissue paper ghosts and paper bats. Glue them inside and in the windows.
 6
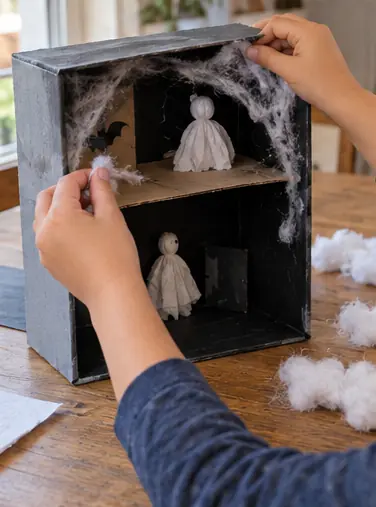
Stretch some cobwebs
Pull cotton balls thin and glue them into the corners.
 7
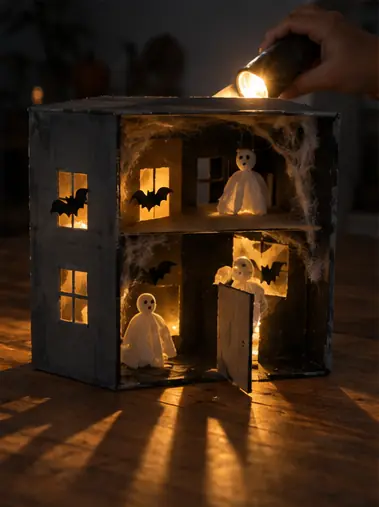
Light it up
Turn off the room light and shine a flashlight in the back. The windows glow.
 Edie's tip
Tape wax paper behind the windows. The light glows soft and spooky instead of a bright spot.
Written by the DIY Project team. How we check · Report a mistake