What you'll need
Find it links go to Amazon. As an Amazon Associate we earn from qualifying purchases. How we make money
How to make it
Wear safety glasses while hammering, and a grown-up starts every nail.
 1
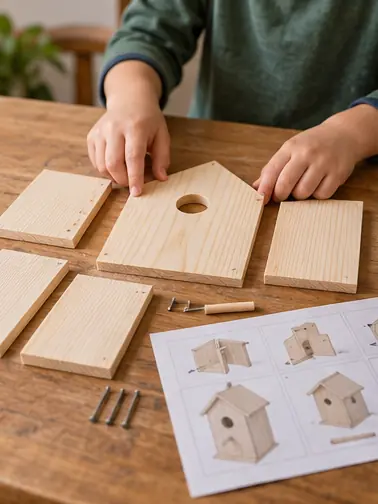
Lay out the pieces
Open the kit and match each piece to the picture in the instructions.
 2
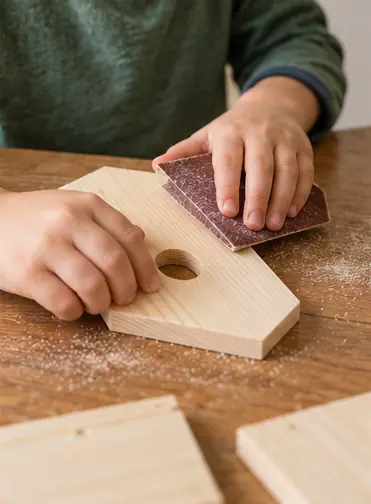
Sand the edges
Sand any rough edges until they feel smooth. Splinters are no fun.
 3
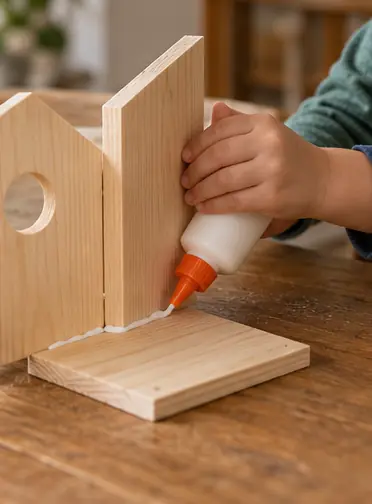
Glue first
Add a thin line of wood glue where the sides meet the base. It makes the house stronger.
 4
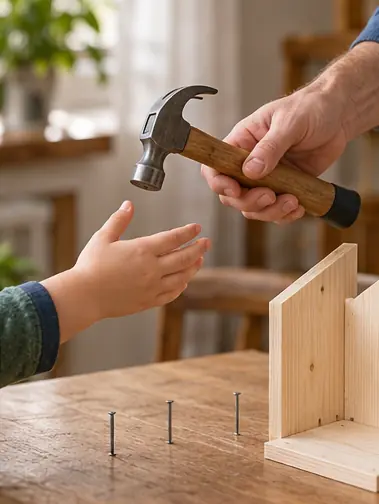
Start the nails
Grown-up step: tap each nail in far enough to stand on its own. Then hand over the hammer.
 5
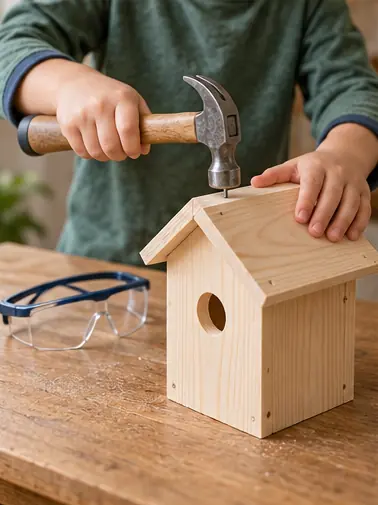
Hammer them in
Put on safety glasses. Hold the hammer near the end and tap with small, steady hits.
 6
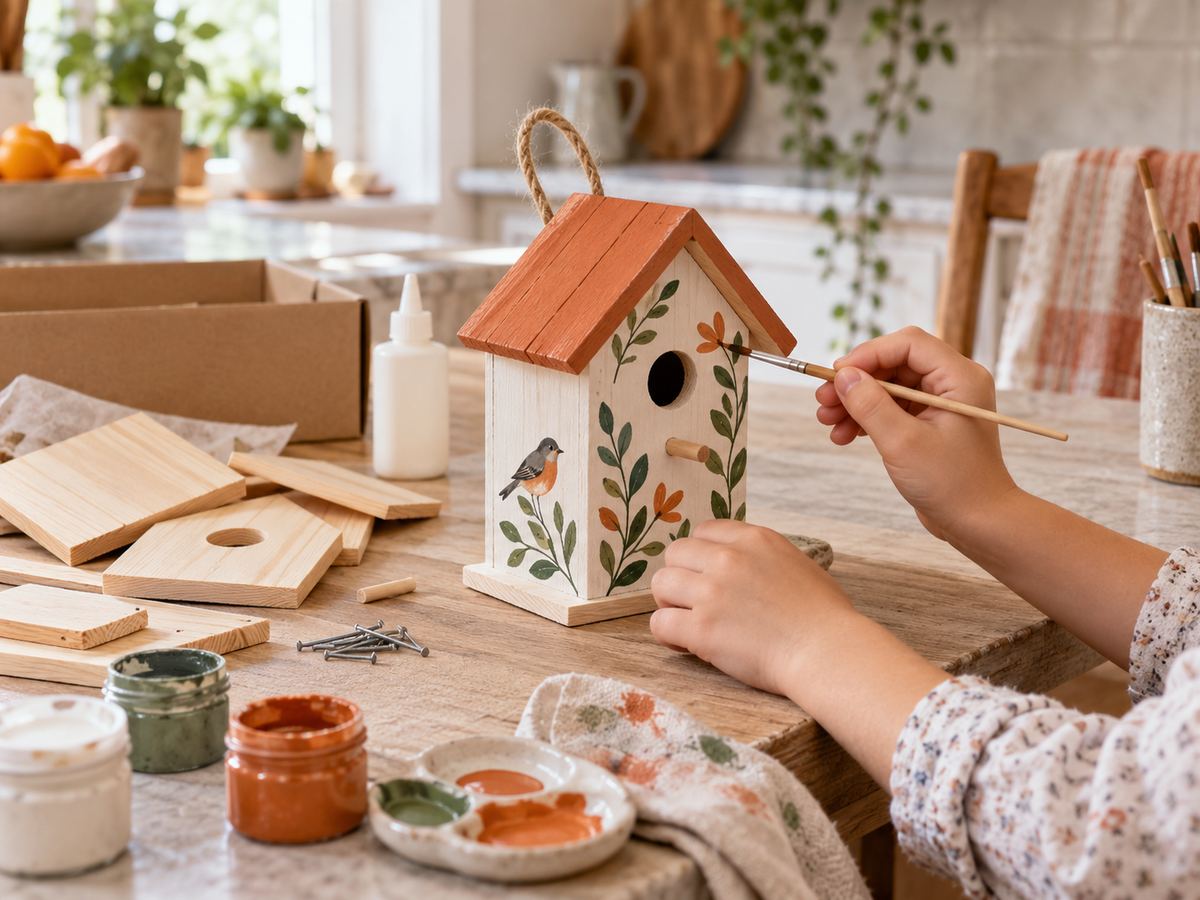
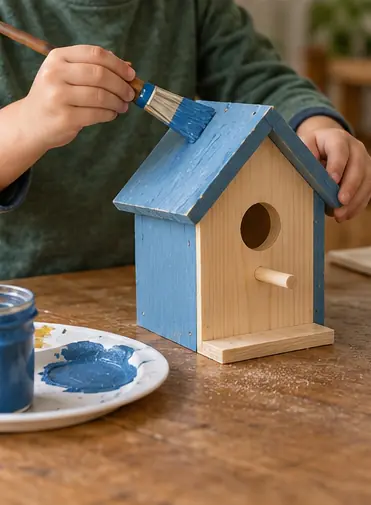
Paint the outside
Paint the outside only. Leave the inside and the hole bare for the birds.
 7
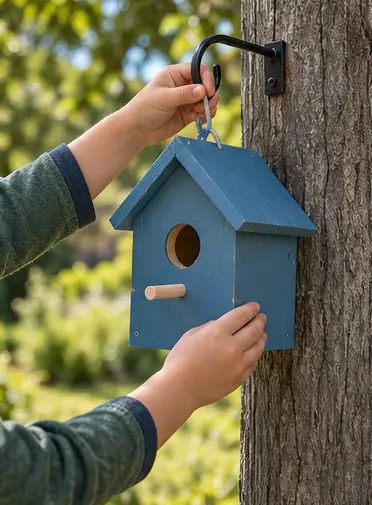
Hang it
Hang it 5 to 10 ft up on a post or tree, away from busy feeders.
 Edie's tip
Hold nails with a clothespin instead of fingers. Missed hits hit wood, not thumbs.
Written by the DIY Project team. How we check · Report a mistake