What you'll need
Tools
- Kitchen knife (grown-up only)Find it →
Find it links go to Amazon. As an Amazon Associate we earn from qualifying purchases. How we make money
How to make it
Toss the painted apples when you're done so no one takes a bite.
 1
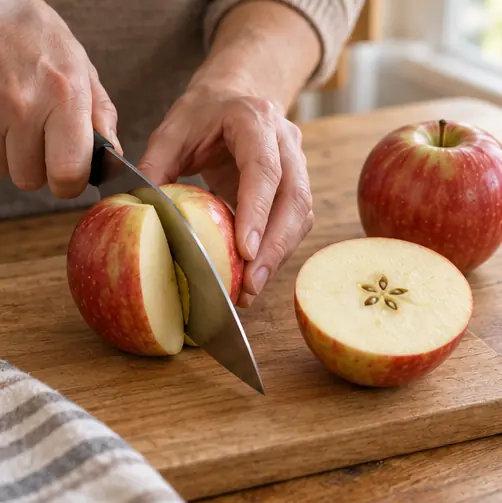
Grown-up step: Cut the apples
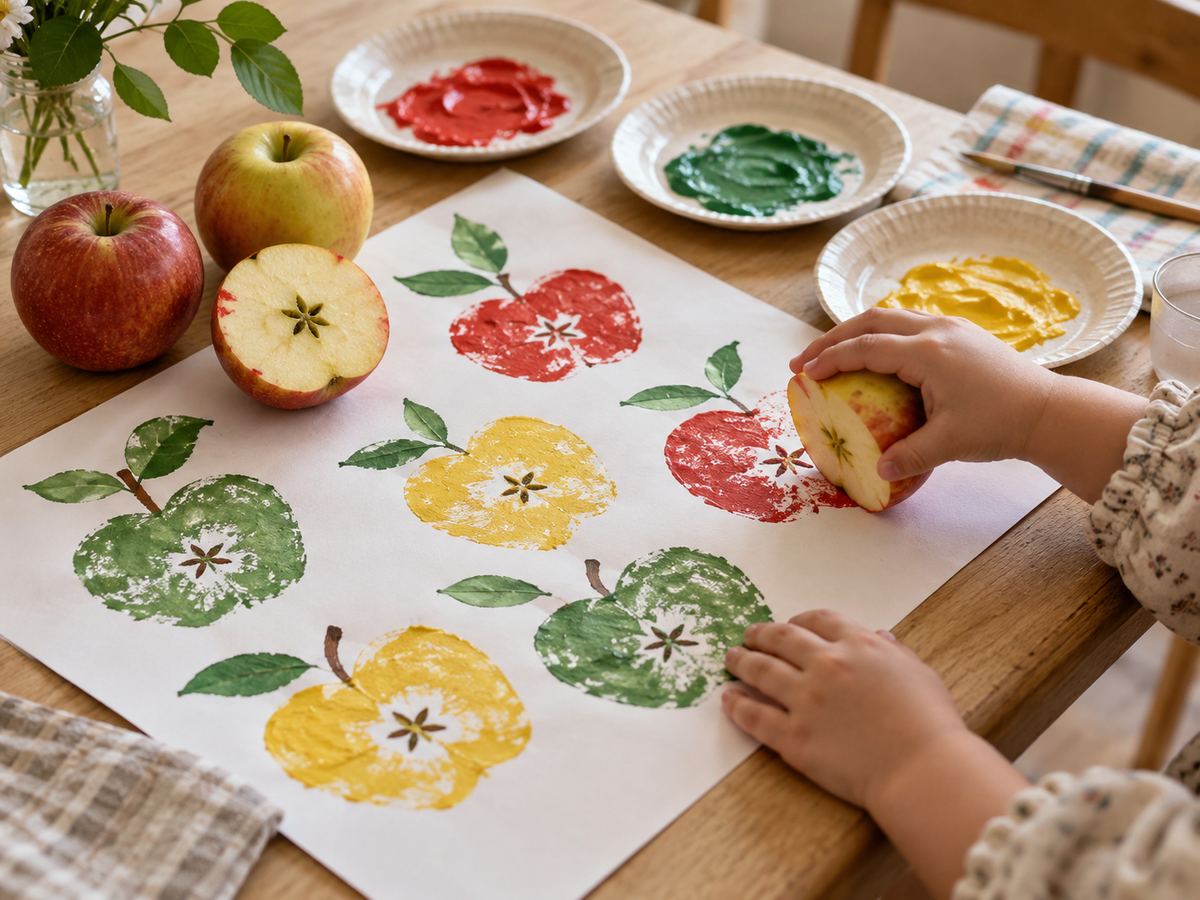
Slice 1 apple in half from top to bottom. Slice the other across the middle to show the hidden star.
 2
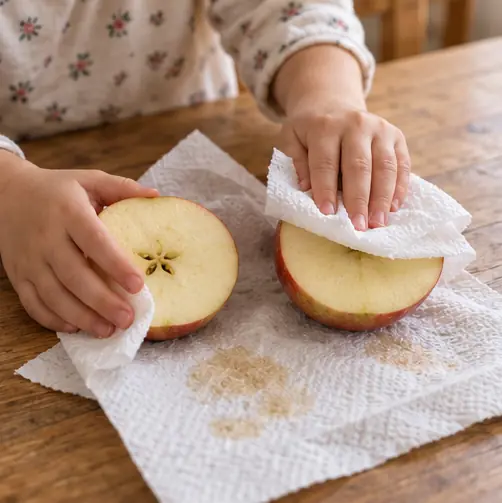
Dry the cut sides
Pat each cut face with a paper towel. Wet apple slides around and smears.
 3
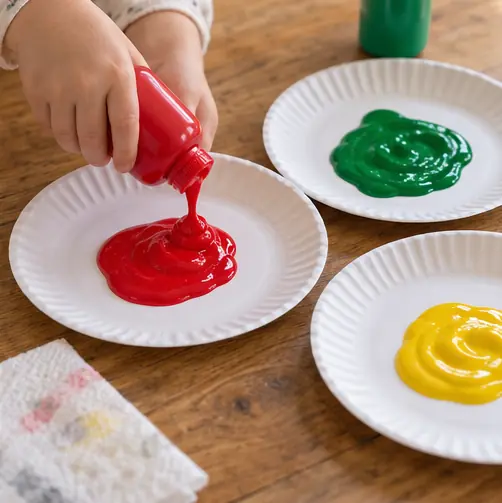
Pour the paint
Squeeze a puddle of each color onto its own paper plate.
 4
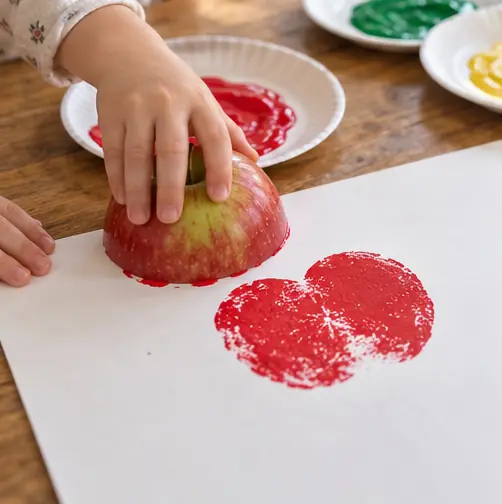
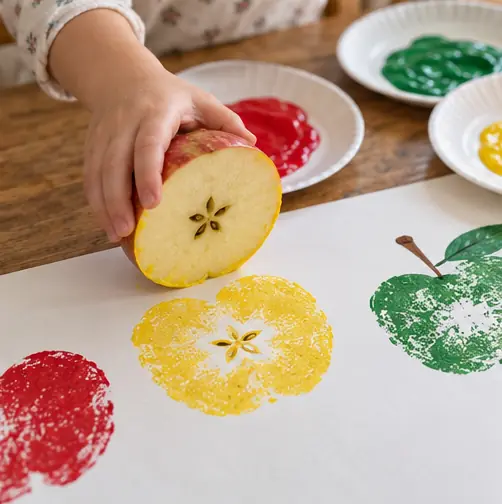
Stamp the apples
Have your child dip an apple half in paint, press it on the paper, and lift straight up.
 5
Find the star
Stamp with the across-cut apple and look for the star made by the seeds.
 6
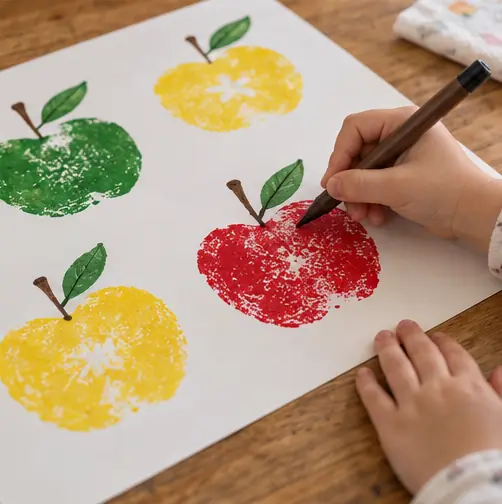
Add stems
Once dry, draw a stem and leaf on each print with a marker.
 Edie's tip
Push a fork into the round back of each apple half. It makes a handle that keeps fingers out of the paint.
Written by the DIY Project team. How we check · Report a mistake