What you'll need
Find it links go to Amazon. As an Amazon Associate we earn from qualifying purchases. How we make money
How to make it
Safety
Bottle caps are a choking hazard for children under 3.
 1
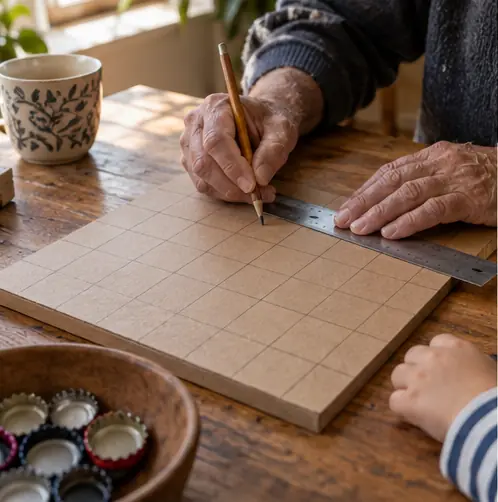
Draw the grid
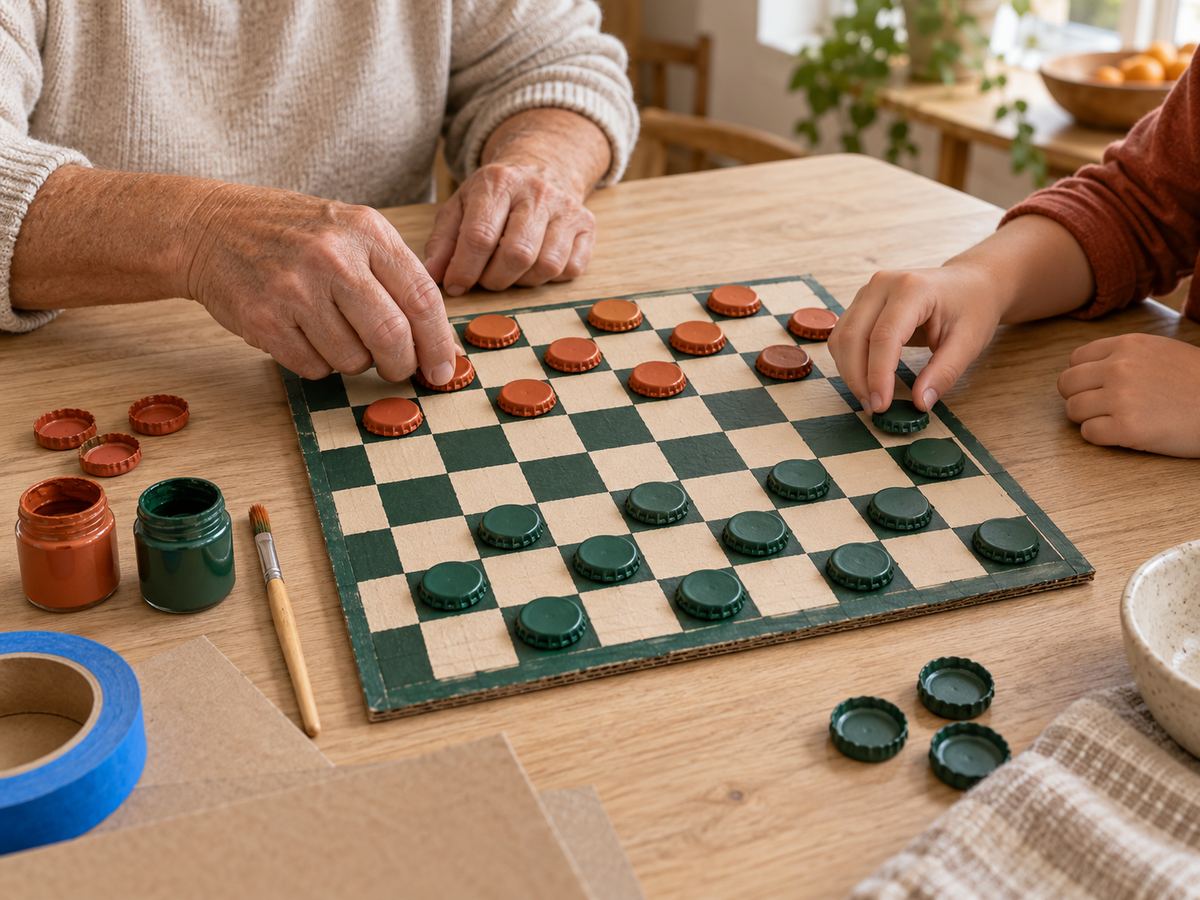
Mark an 8 by 8 grid of 2 in squares with a ruler and pencil.
 2
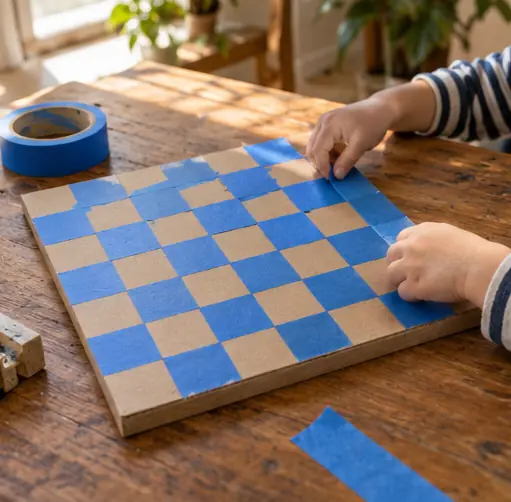
Tape every other square
Tape off alternating squares like a checkerboard.
 3
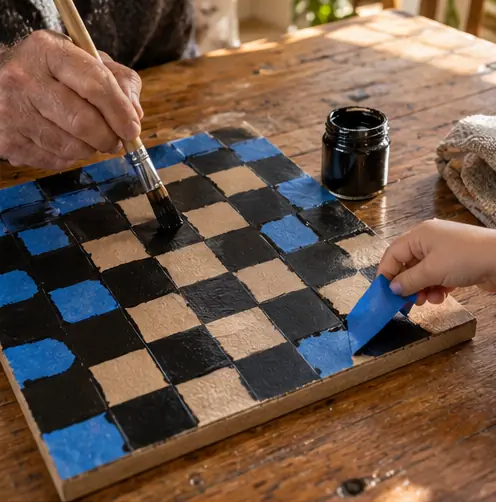
Paint the squares
Paint the open squares in one color. Let it dry, then peel the tape.
 4
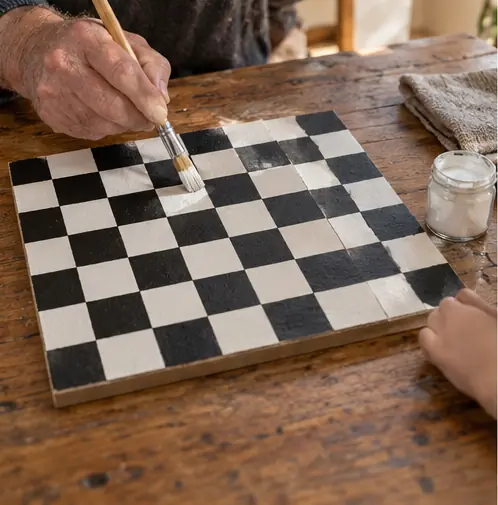
Paint the rest
Paint the remaining squares the second color, or leave them bare.
 5
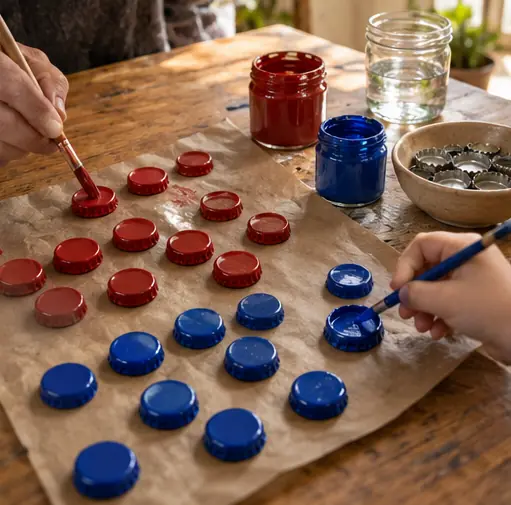
Ready the caps
Wash the caps. Paint them if they aren't already 2 colors.
 6
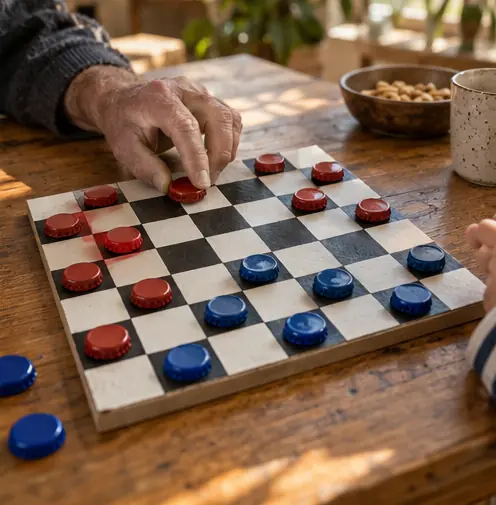
Play a game
Set up and play. Teach them the tricks you learned as a kid.
 Edie's tip
Bottle caps are taller than flat checkers, so they're easier to pick up and slide with stiff fingers.
Written by the DIY Project team. How we check · Report a mistake