What you'll need
Find it links go to Amazon. As an Amazon Associate we earn from qualifying purchases. How we make money
How to make it
Buttons are a choking risk for anyone who may put things in their mouth. Stay at the table, and use extra-large ones if that's a concern.
 1
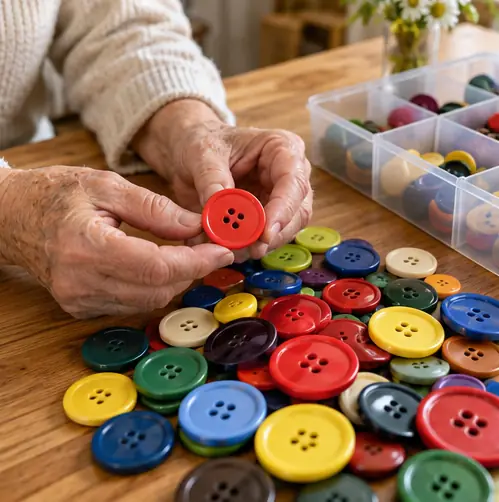
Choose big buttons
Pick buttons at least 1 in across. Bigger buttons are easier to grip and to see.
 2
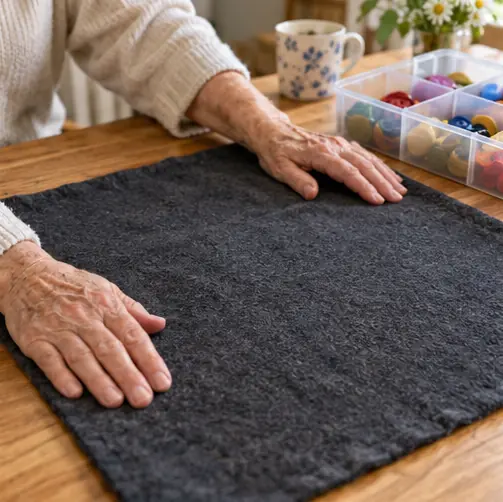
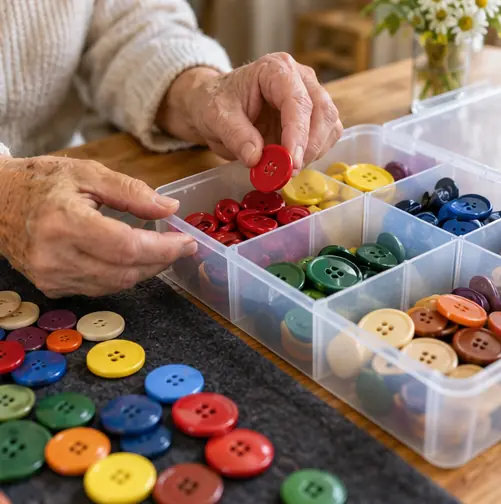
Lay down a soft mat
Spread a dark felt mat or tea towel on the table. Buttons won't roll away, and light colors stand out.
 3
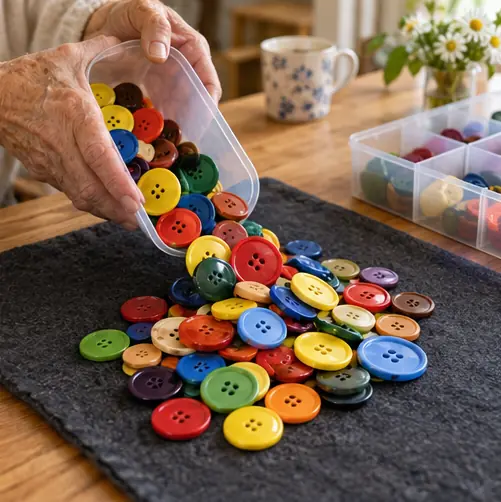
Pour out a handful
Tip about 30 buttons onto the mat. A small pile feels inviting, and a huge one can feel like a chore.
 4
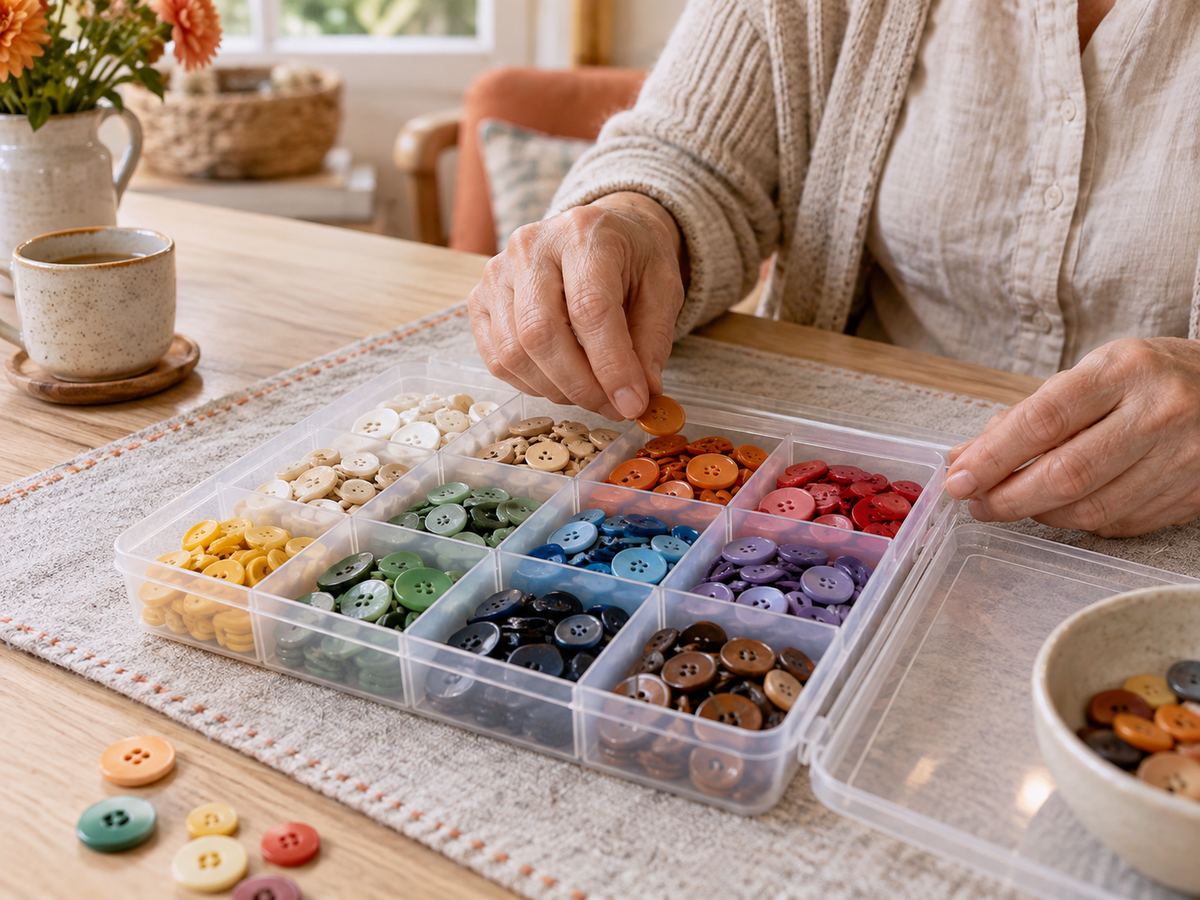
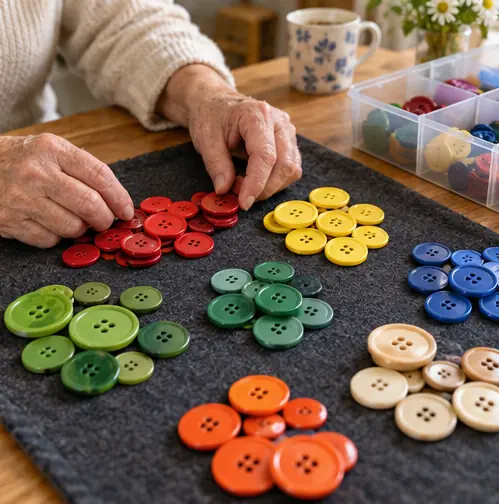
Sort any way you like
Group by color, size or number of holes. Any sort is the right sort.
 5
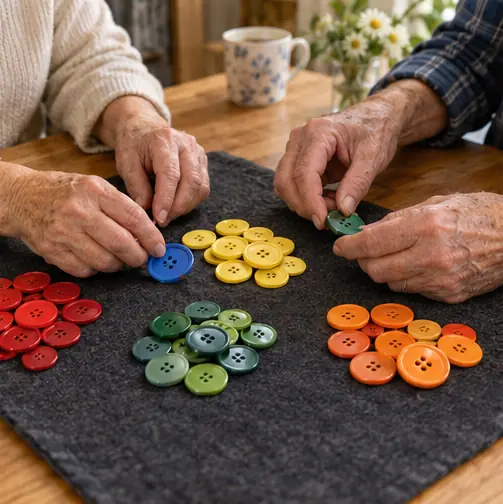
Chat while you sort
Ask about sewing, old coats or a mother's button tin. Let the talk wander.
 6
Pack it away together
Slide the buttons back into the box. Putting away is a satisfying finish too.
 Edie's tip
If someone sorts the buttons in a way you didn't expect, leave it. The point is the calm, busy hands, not a tidy result.
Written by the DIY Project team. How we check · Report a mistake