What you'll need
Find it links go to Amazon. As an Amazon Associate we earn from qualifying purchases. How we make money
How to make it
Use nontoxic paint, and stay close if someone might try to taste it.
 1
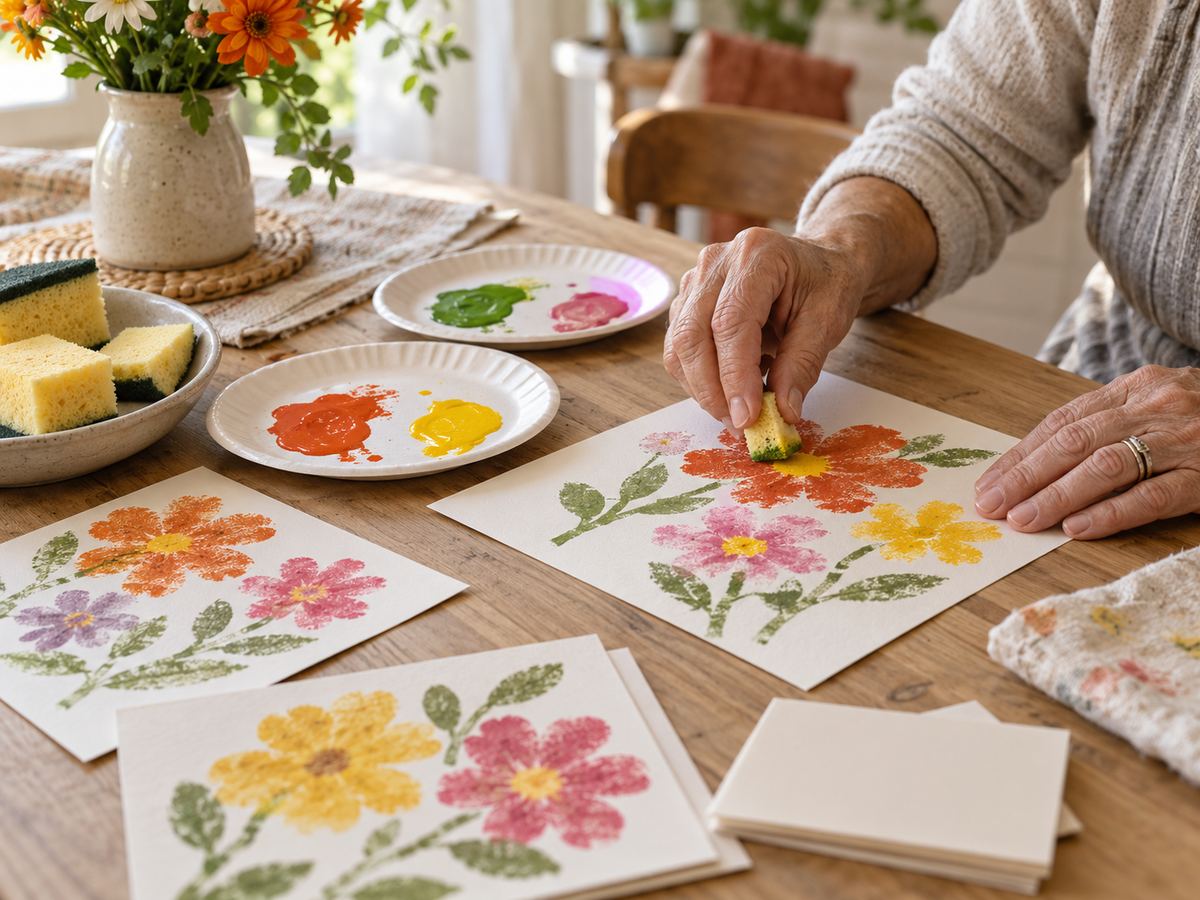
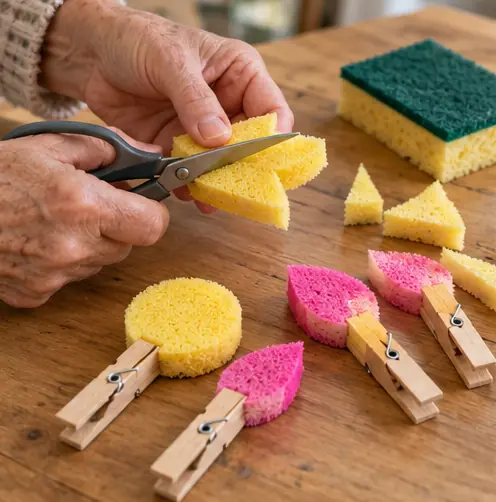
Cut the sponges
Before the session, cut sponges into circles and petal shapes. Clip a clothespin onto each as a handle.
 2
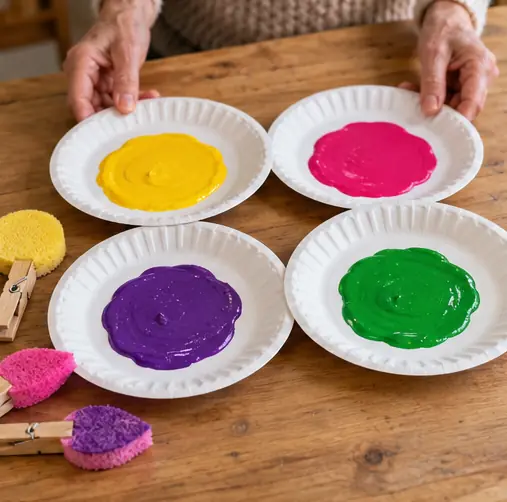
Pour the paint
Put a small puddle of each color on its own paper plate.
 3
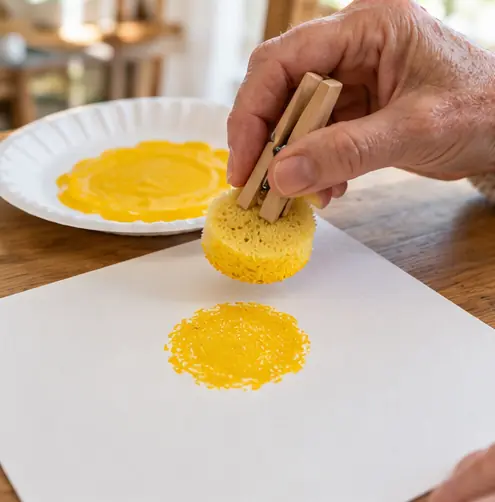
Stamp the middle
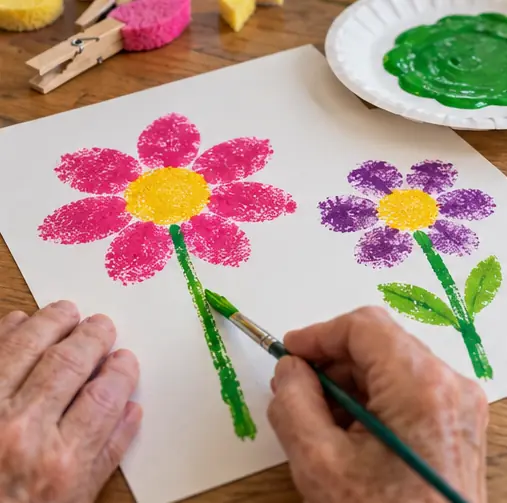
Press a circle sponge into yellow paint, then onto the paper. That's the center of the flower.
 4
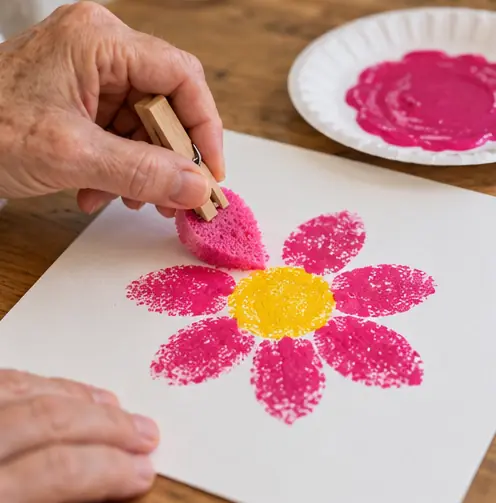
Add the petals
Stamp petal shapes around the center in another color. Overlaps look like real blooms.
 5
Draw a stem
Paint a green line down from each flower with a brush or the edge of a sponge.
 6
Hang it to dry
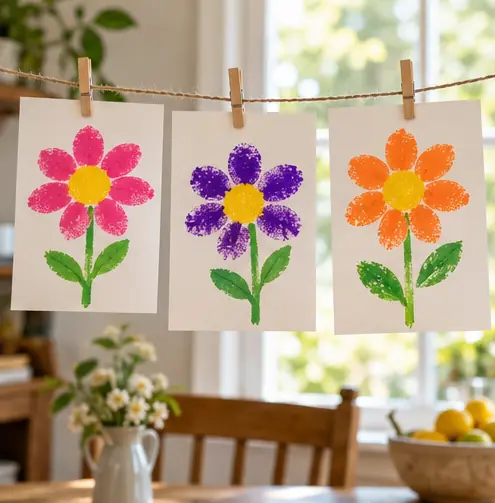
Clip the finished paintings on a string to dry where everyone can see them.
 Edie's tip
Offer 2 colors at a time, not 6. Fewer choices keep the activity calm and the pictures bright instead of muddy.
Written by the DIY Project team. How we check · Report a mistake