
What you'll need
Find it links go to Amazon. As an Amazon Associate we earn from qualifying purchases. How we make money
How to make it
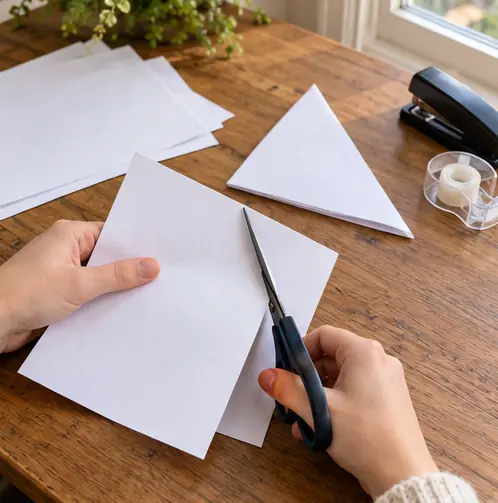 1
Make the squares
Cut each sheet into a square. Fold it corner to corner into a triangle.
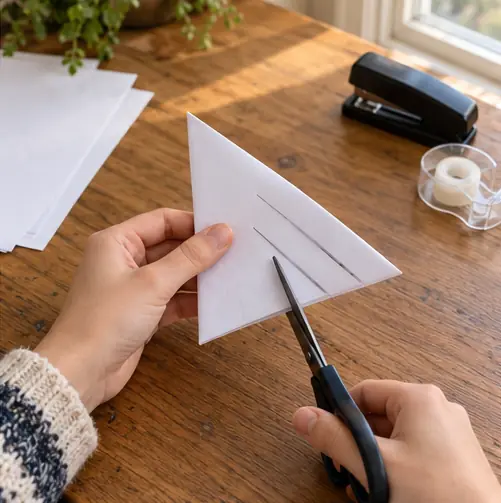 2
Cut the lines
Fold the triangle in half again. Cut 3 lines in from the folded edge, parallel to the open edge, stopping 1/2 in short.
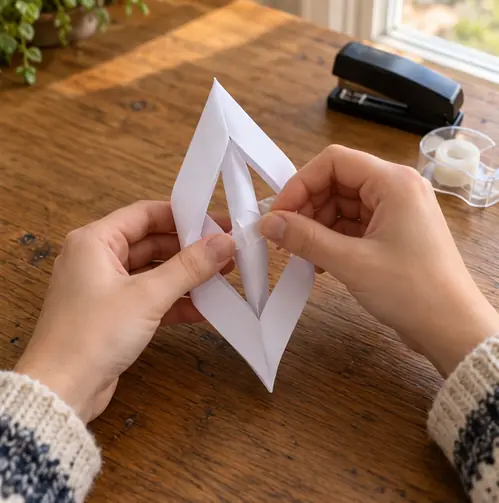 3
Roll the first pair
Unfold to 1 layer. Roll the 2 innermost strips together and tape them.
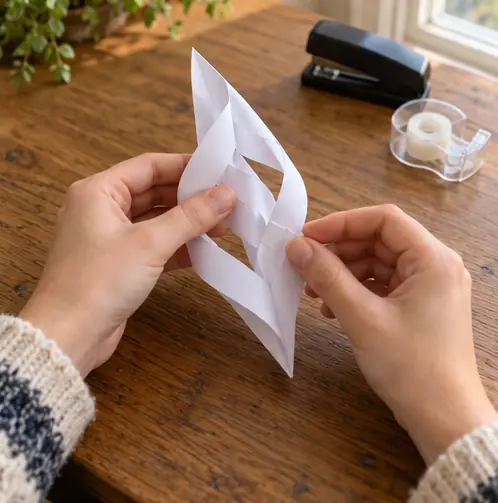 4
Alternate the rolls
Flip it over. Tape the next pair. Keep flipping until all strips are done.
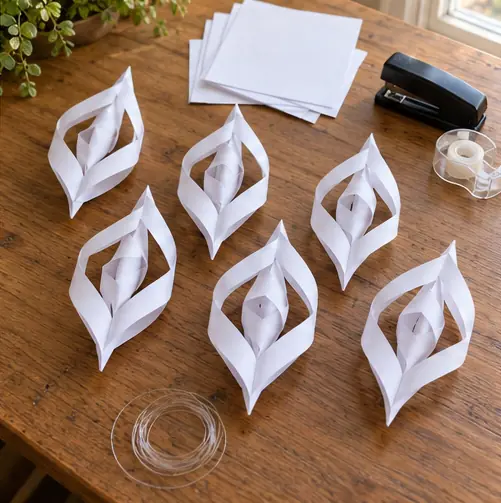 5
Make 6 arms
Repeat with the other 5 squares.
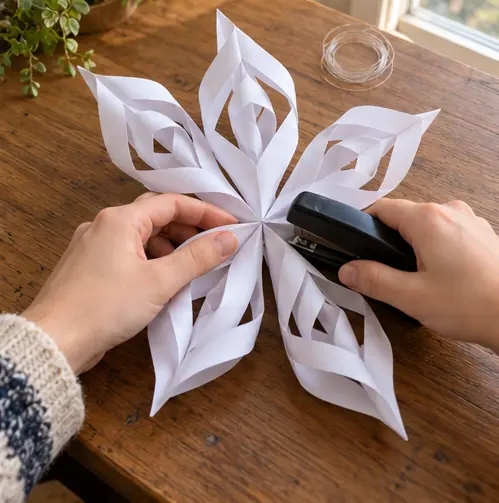 6
Join the snowflake
Staple 3 arms at the center, then the other 3. Staple the arms where they touch each other.
 Edie's tip
Glitter paper or old sheet music makes them look extra fancy.
Written by the DIY Project team. How we check · Report a mistake