What you'll need
Find it links go to Amazon. As an Amazon Associate we earn from qualifying purchases. How we make money
How to make it
Use LED lights only, since they stay cool against paper and fabric.
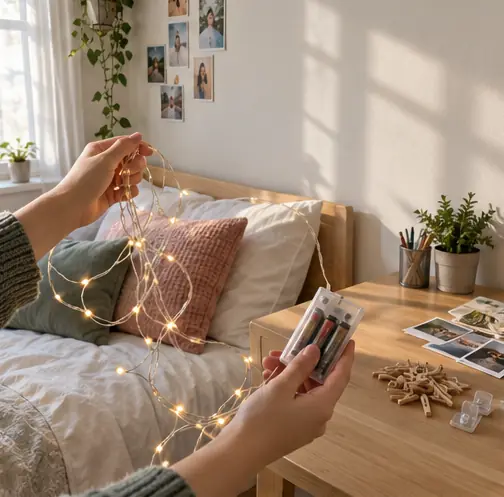 1
Pick your wall
Choose a spot over your bed or desk. Make sure your lights can reach a plug or sit near the battery pack.
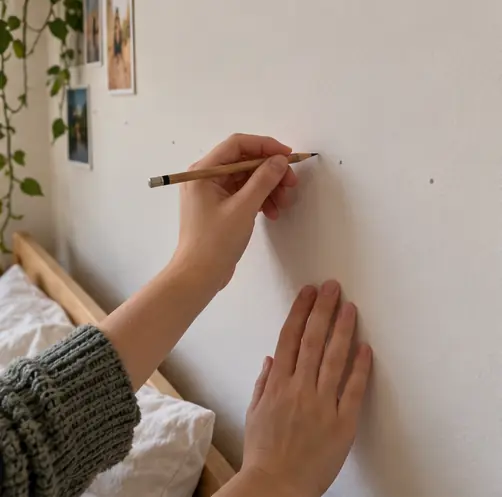 2
Mark the hook spots
Make tiny pencil dots about 2 ft apart. Swoop them in a gentle wave or keep them level.
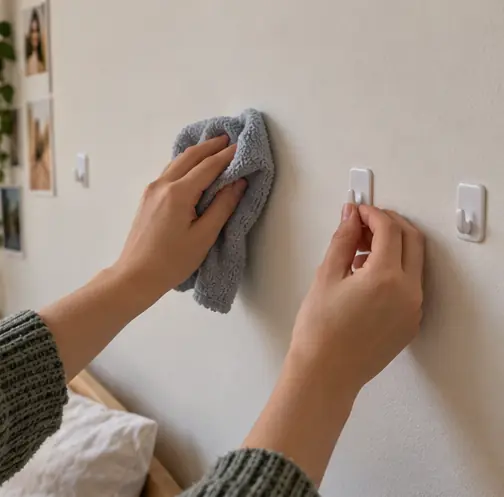 3
Stick the hooks
Wipe each spot with a dry cloth. Press each hook on for 30 seconds and wait 1 hour before hanging anything.
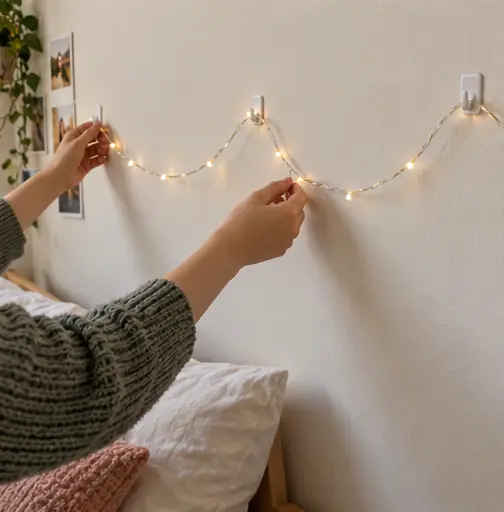 4
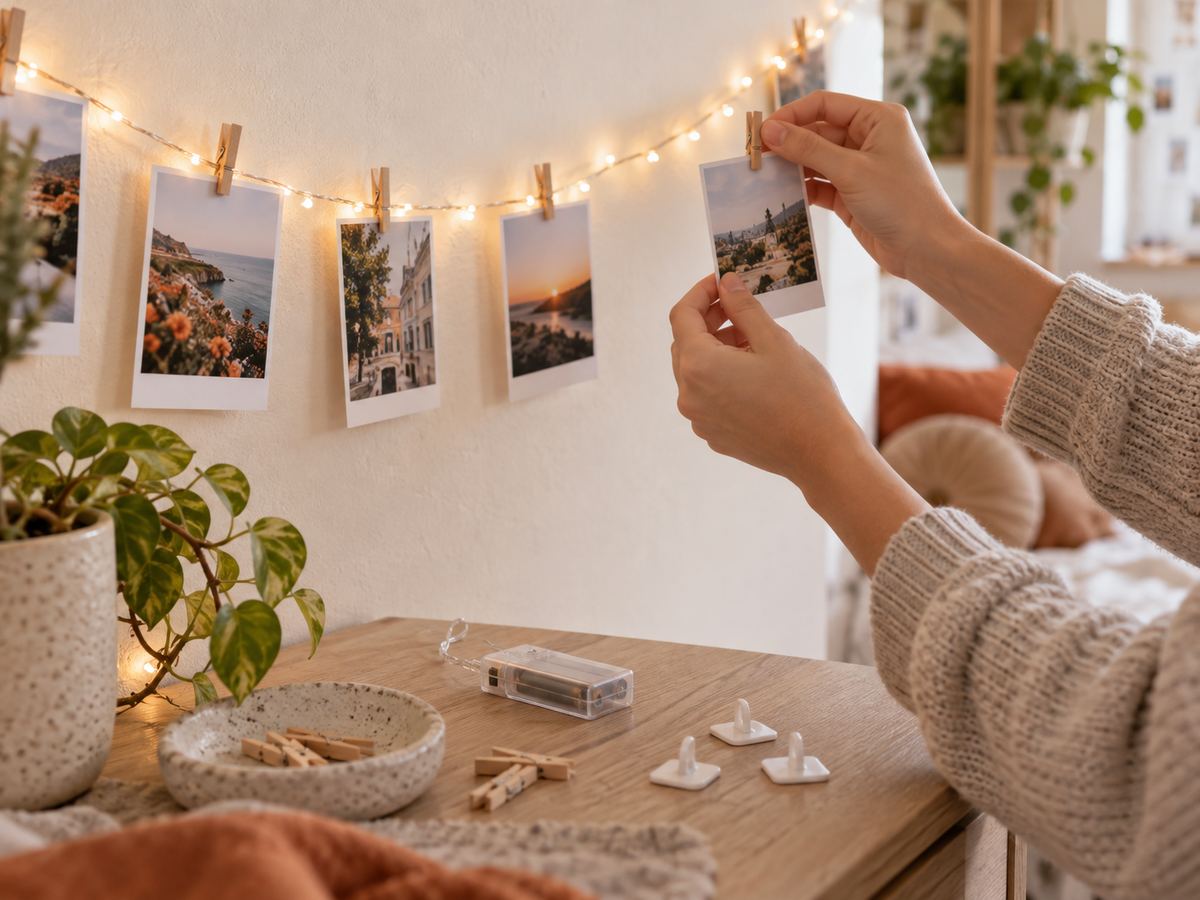
Drape the lights
Loop the strand over each hook. Let it sag a little between hooks so it looks relaxed.
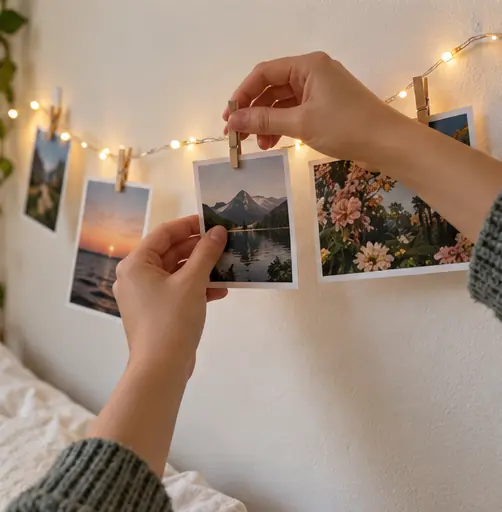 5
Clip on the photos
Start in the middle and work out. Space them about 6 in apart.
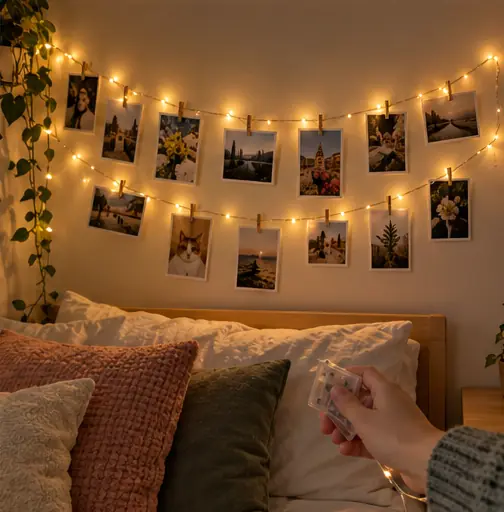 6
Switch it on
Turn off the big light and flip on the strand. That's your new favorite corner.
 Edie's tip
Print photos at a drugstore kiosk on matte paper. Matte skips the glare from the lights.
Written by the DIY Project team. How we check · Report a mistake