What you'll need
Find it links go to Amazon. As an Amazon Associate we earn from qualifying purchases. How we make money
How to make it
 1
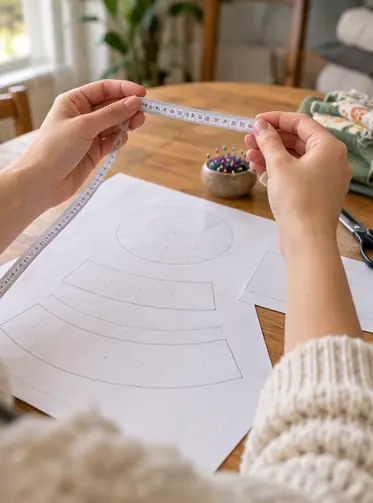
Measure your head
Measure around your forehead. Print the pattern in that size.
 2
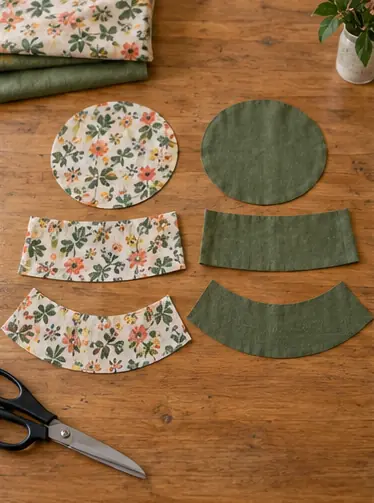
Cut the pieces
Cut a top, side band and brim from both fabrics. That's 6 pieces.
 3
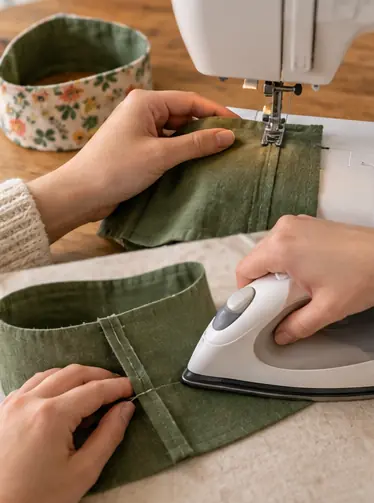
Sew the side band
Sew each side band's short ends together into a ring. Press the seam open.
 4
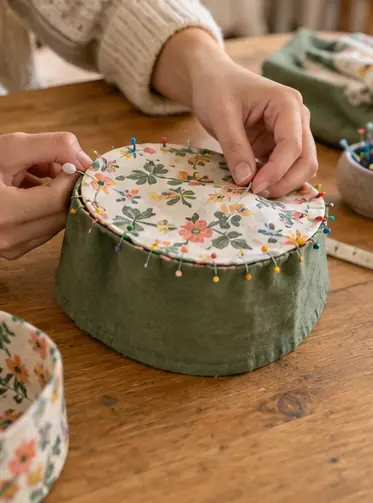
Add the top
Pin the top circle to the band, pretty sides in. Sew slowly around the curve.
 5
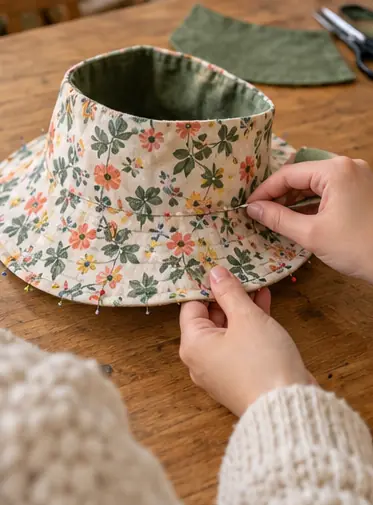
Make the brim
Sew each brim's short ends into a ring. Pin and sew it to the band's bottom edge.
 6
Join the 2 hats
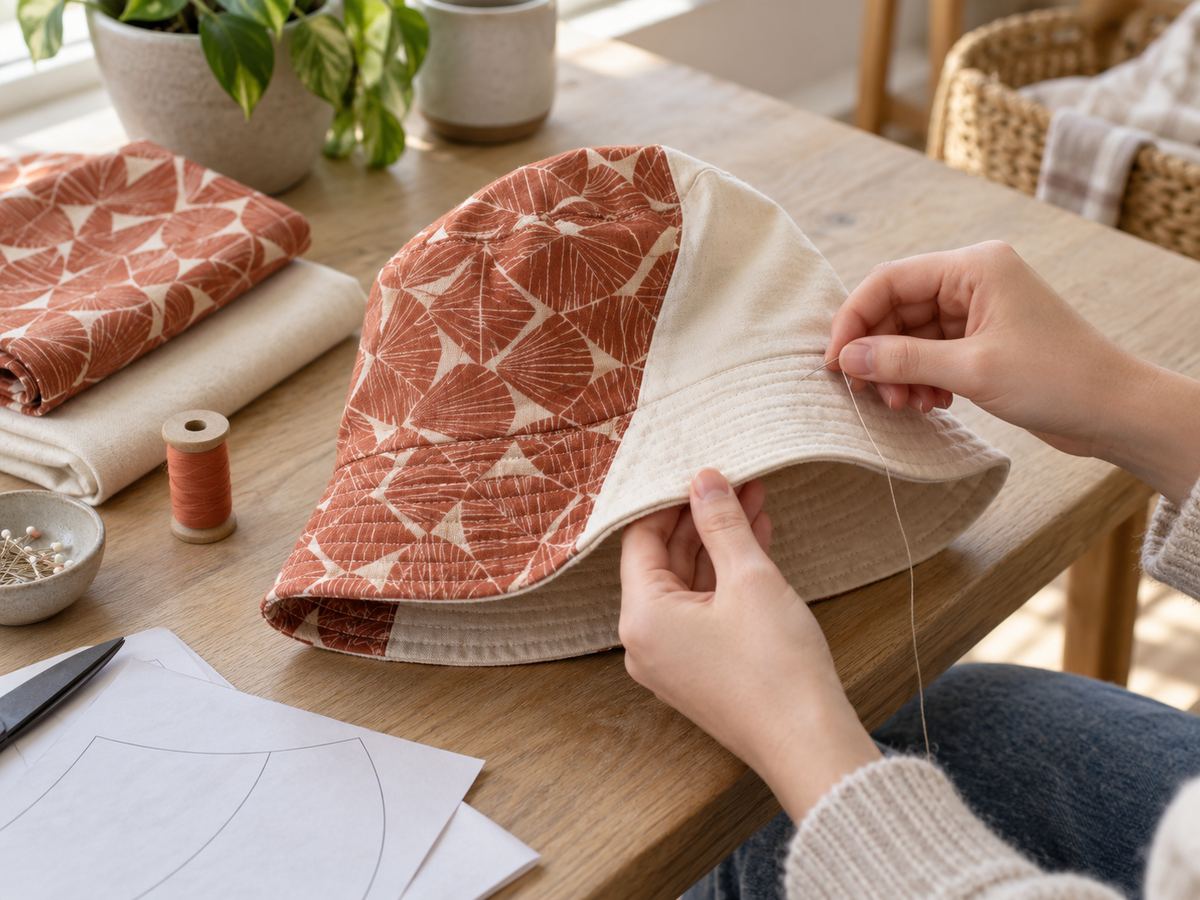
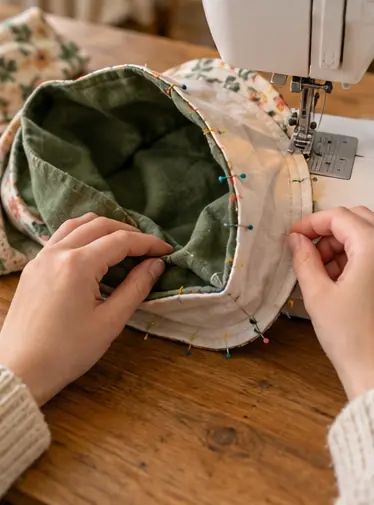
Put 1 hat inside the other, pretty sides touching. Sew around the brim edge, leaving a 3 in gap.
 7
Turn and topstitch
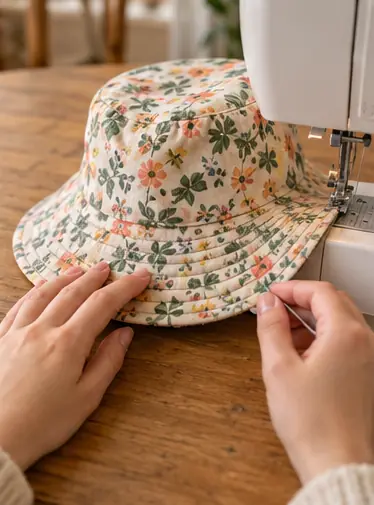
Pull it right side out through the gap. Press the brim and stitch rings around it 1/4 in apart.
 Edie's tip
Clip little notches into the curved seams before turning. The curves lie flat.
Written by the DIY Project team. How we check · Report a mistake