What you'll need
Find it links go to Amazon. As an Amazon Associate we earn from qualifying purchases. How we make money
How to make it
Use real shrink film, never takeout containers, and open a window while it bakes.
 1
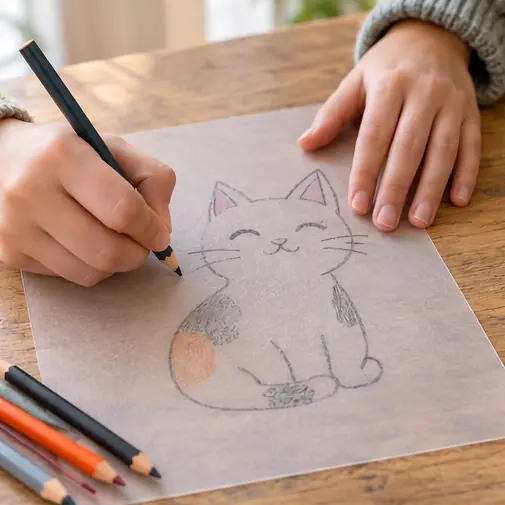
Draw big
Draw your design about 3 times bigger than you want. It shrinks to about 1/3.
 2
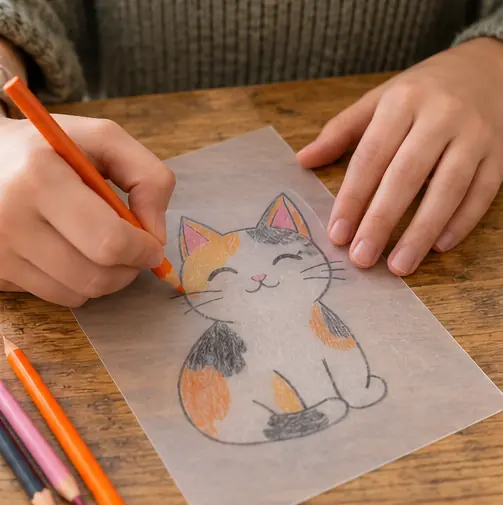
Color it
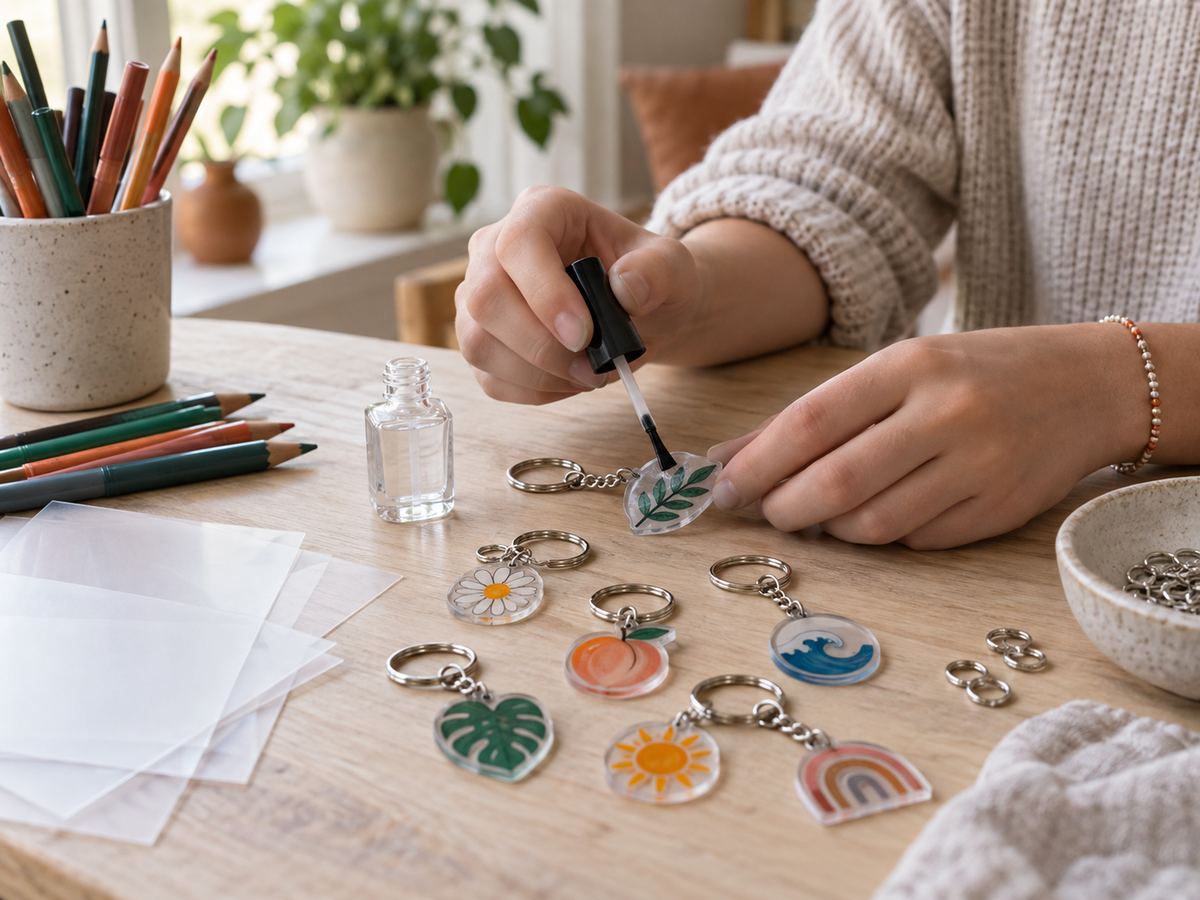
Color softly on the rough side. Colors get much darker after baking.
 3
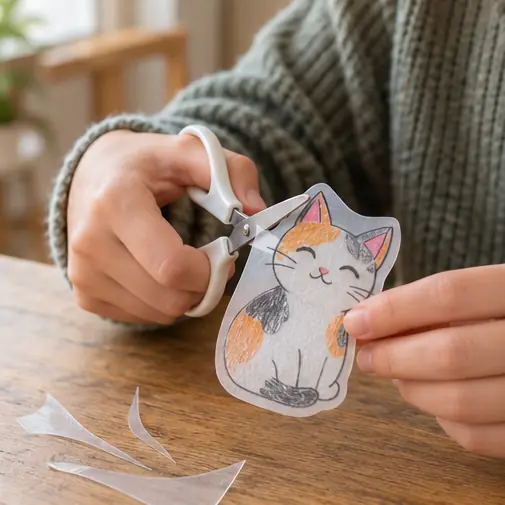
Cut it out
Cut around the shape with rounded corners. Sharp corners get pointy.
 4
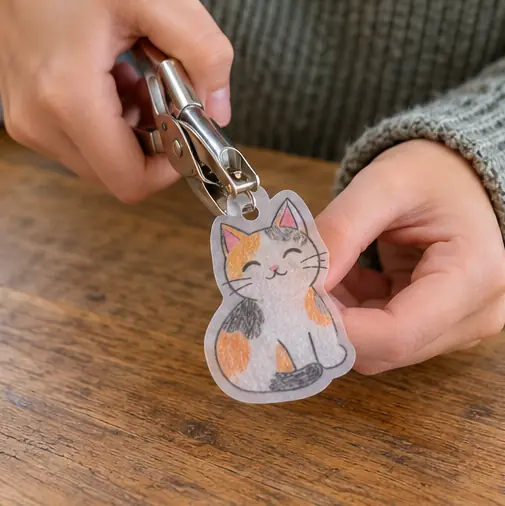
Punch a hole
Punch near the top. The hole shrinks too, so don't skip this.
 5
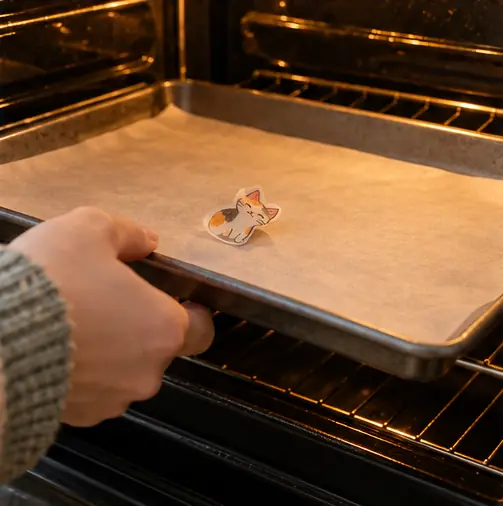
Bake it
Grown-up step: bake at the package temperature, about 325°F. It curls up, then flattens in 1 to 3 minutes.
 6
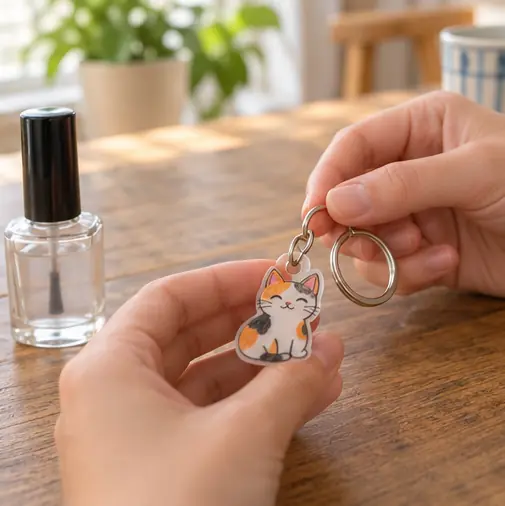
Flatten and finish
Press it with a spatula right away. Once cool, add polish and a keychain ring.
 Edie's tip
Curling is normal. Wait until it lies flat before taking it out.
Written by the DIY Project team. How we check · Report a mistake