What you'll need
Find it links go to Amazon. As an Amazon Associate we earn from qualifying purchases. How we make money
How to make it
Safety
Pull off loose scales before painting. They are small enough to choke on.
 1
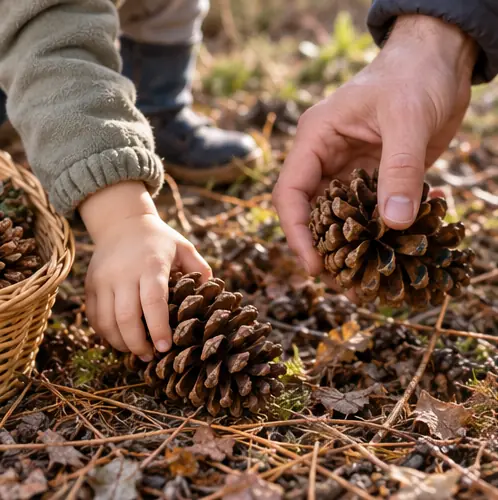
Find pine cones
Go hunting outside. Pick big, open ones.
 2
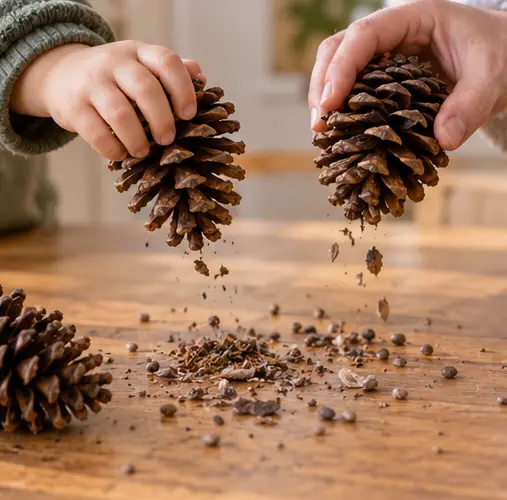
Shake them out
Tap each one upside down to drop out seeds and bugs.
 3
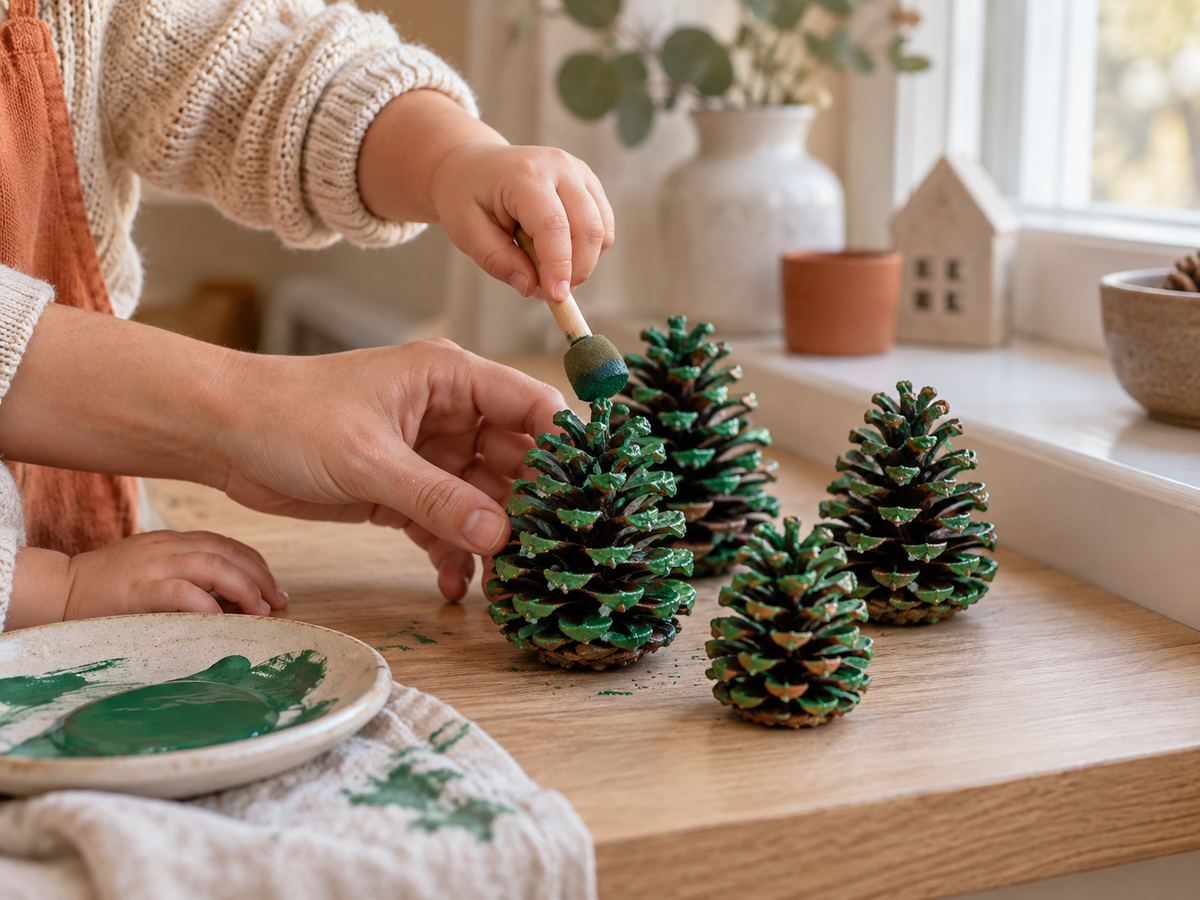
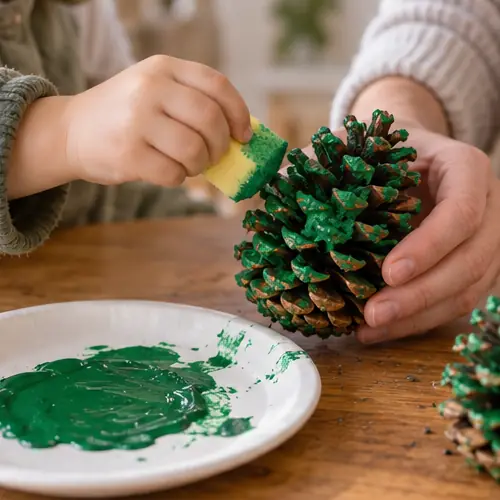
Dab on green
Let your toddler dab paint all over with the sponge.
 4
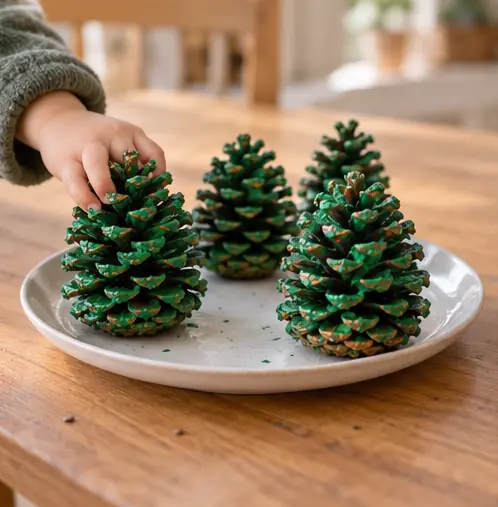
Stand them to dry
Set them on the plate, wide end down, for 1 hour.
 5
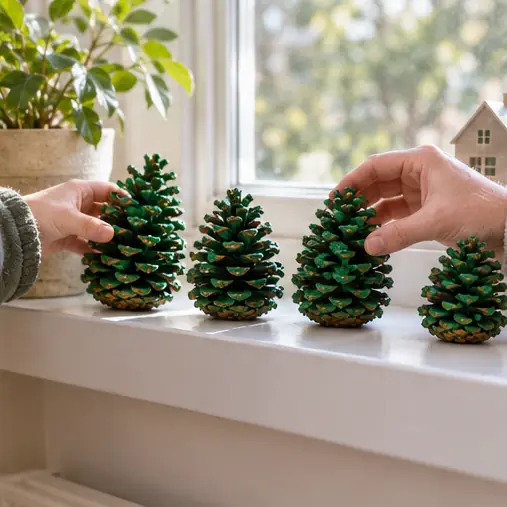
Line them up
Make a forest on a windowsill or shelf.
 Edie's tip
Bake pine cones at 200°F for 30 minutes first to dry them out. Grown-up step.
Written by the DIY Project team. How we check · Report a mistake