What you'll need
Find it links go to Amazon. As an Amazon Associate we earn from qualifying purchases. How we make money
How to make it
Wear gloves, a dust mask and eye protection when mixing, since wet concrete is caustic and can burn skin.
 1
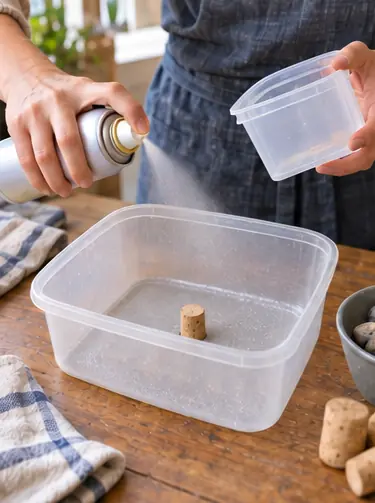
Prep the molds
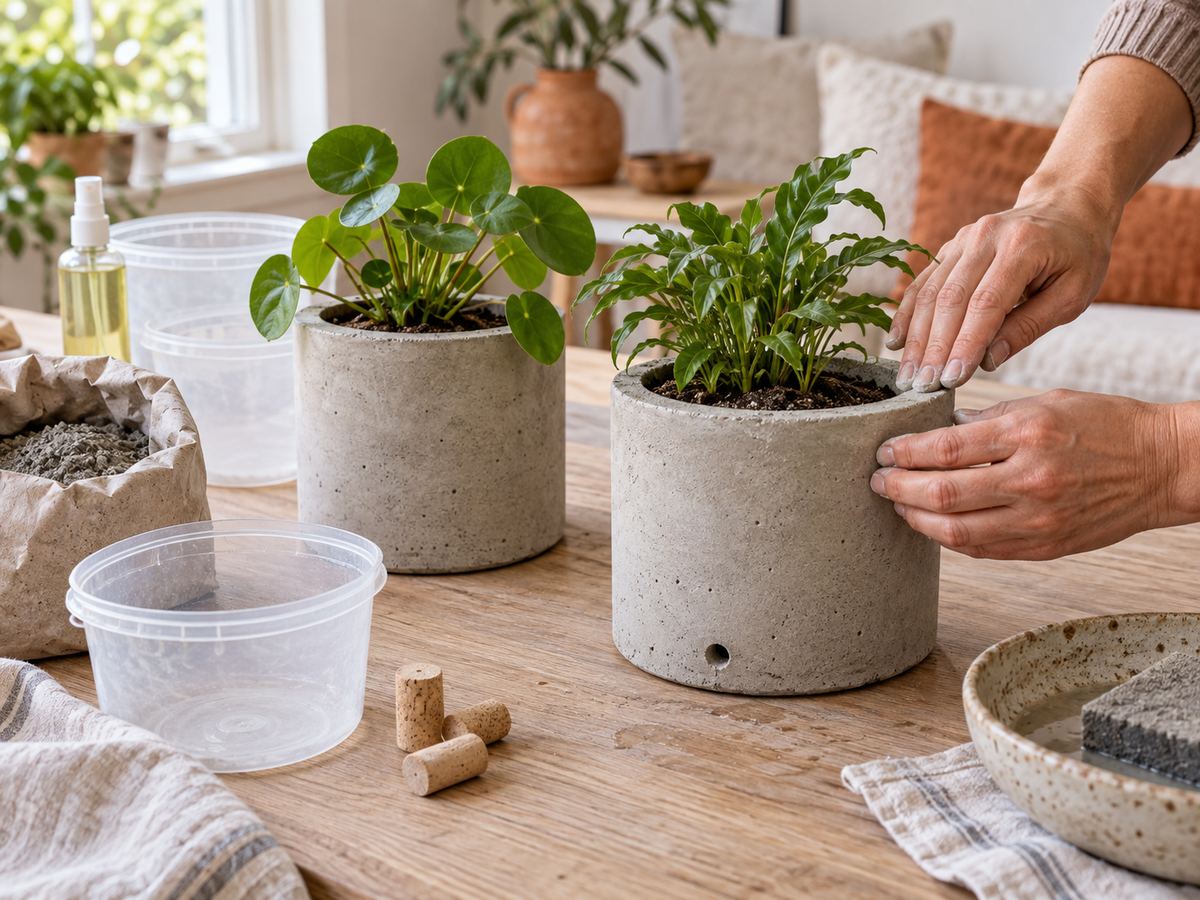
Spray the inside of the big container and the outside of the small one. Glue a cork to the center of the big one's bottom for the drain hole.
 2
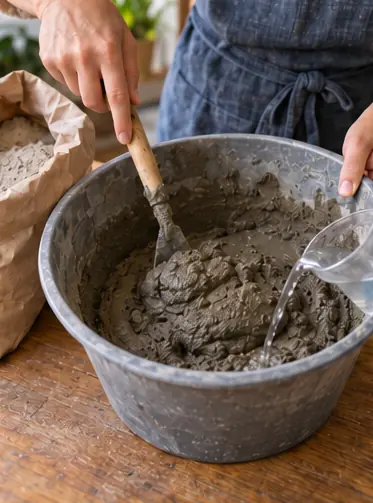
Mix the concrete
Add water slowly and mix until it's like thick brownie batter. Too wet makes weak pots.
 3
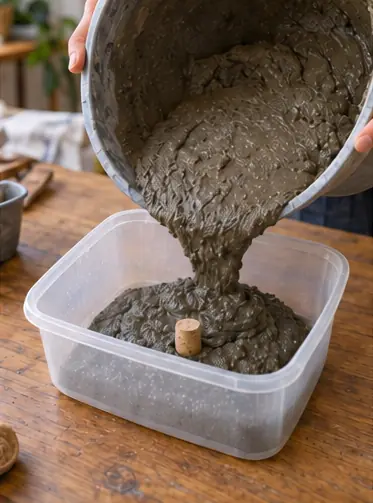
Fill the bottom
Pour about 1 in of concrete into the big container, around the cork.
 4
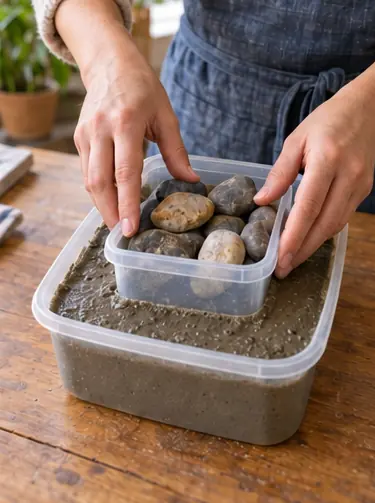
Set the inner mold
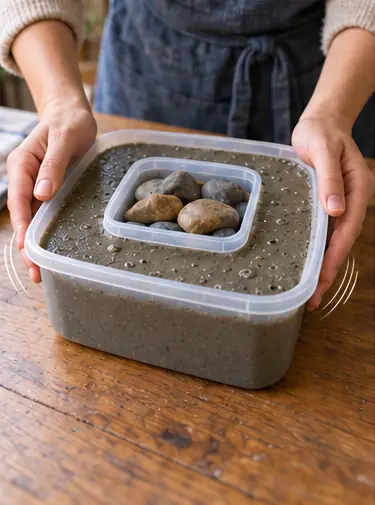
Press the small container in and weigh it down with rocks. Fill the gap around it to the top.
 5
Tap out the bubbles
Tap the sides for 1 minute. You'll see bubbles rise. Fewer bubbles, fewer holes.
 6
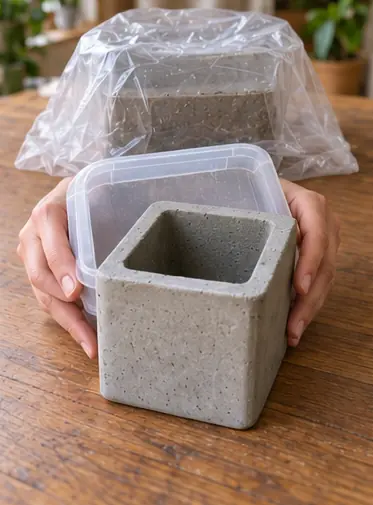
Wait and unmold
Cover with a plastic bag for 24 to 48 hours. Twist out the inner mold and pull off the outer one.
 7
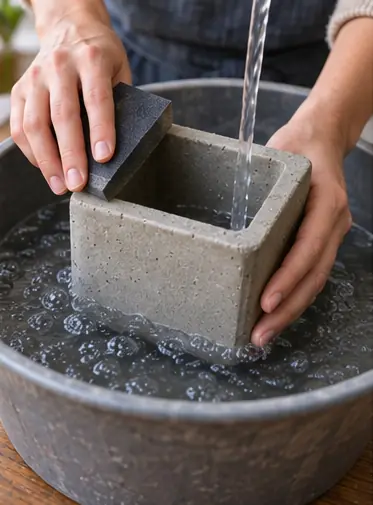
Cure and rinse
Keep it damp under plastic for 2 more days. Sand the rim and soak it in water overnight before planting.
 Edie's tip
Fresh concrete is very alkaline. The overnight soak protects your plant's roots.
Written by the DIY Project team. How we check · Report a mistake