What you'll need
Materials
Tick them off as you find them.
Find it links go to Amazon. As an Amazon Associate we earn from qualifying purchases. How we make money
How to make it
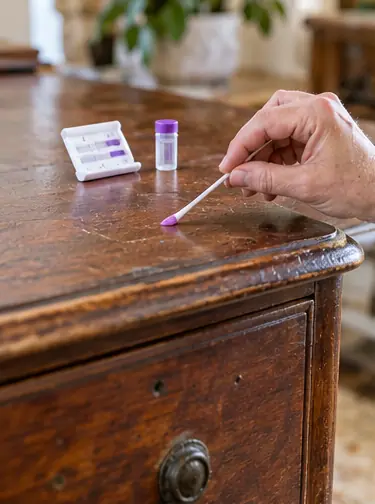
Test pre-1978 finishes for lead before sanding, and wear a dust mask whenever you sand.
 1
Test for lead
If the dresser was made before 1978, swab-test the old finish. Stop and pick another piece if it tests positive.
 2
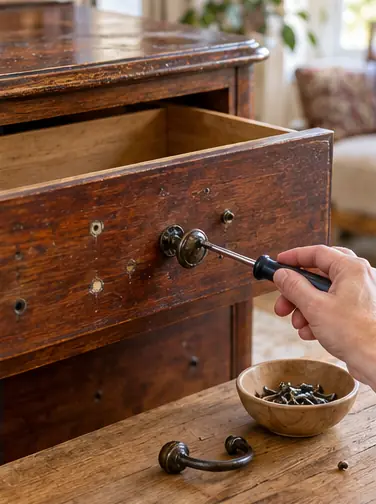
Strip the hardware
Pull the drawers and unscrew all knobs and pulls. Fill old holes if your new hardware spaces differently.
 3
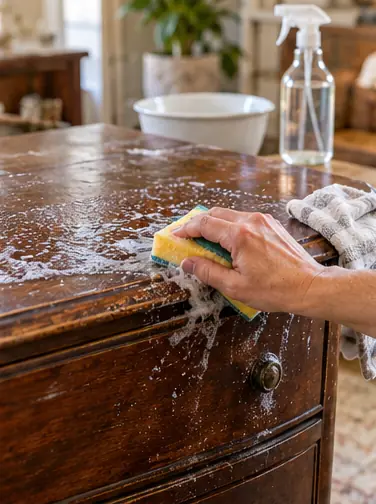
Clean it well
Scrub every surface with degreaser and rinse with a damp rag. Decades of hand oil block paint.
 4
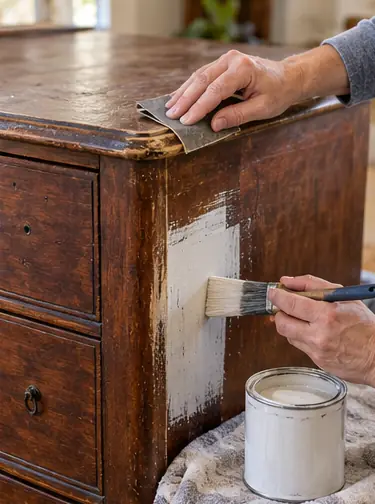
Scuff and spot prime
Scuff glossy spots with 220 grit and wipe the dust. Prime red woods with shellac primer or the stain bleeds pink through light paint.
 5
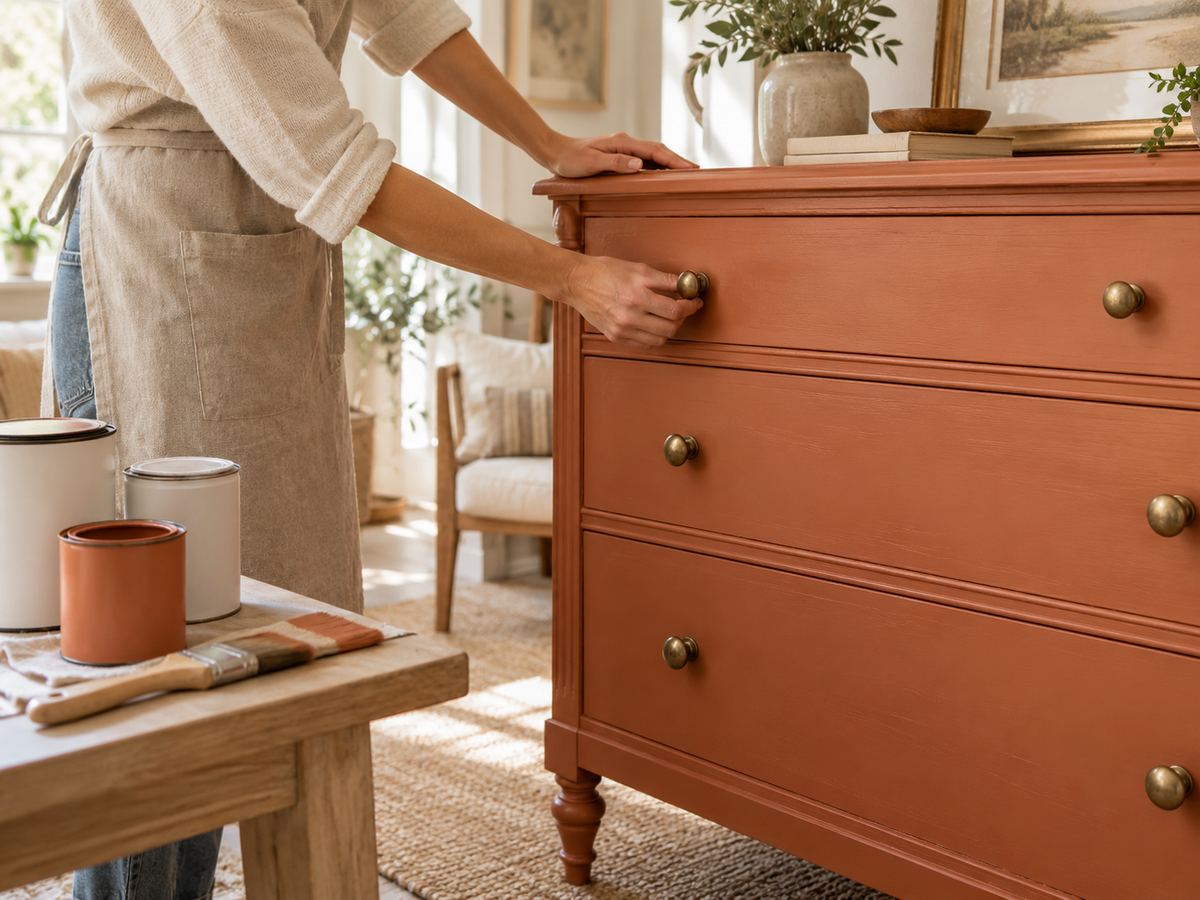
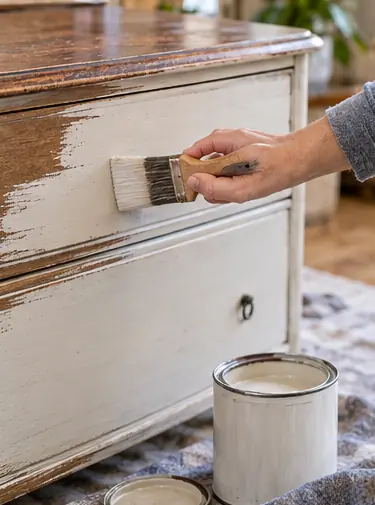
Paint 2 thin coats
Brush or roll the first thin coat. Wait 1 to 2 hours and add the second.
 6
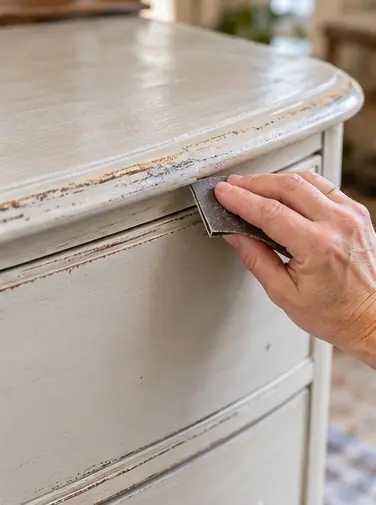
Distress if you like
Rub the edges lightly with 220 grit for a worn look. Skip this for a clean modern finish.
 7
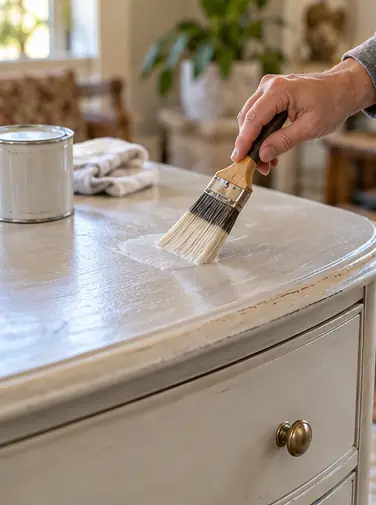
Seal it
Brush on 2 or 3 thin coats of polycrylic. Chalk paint without a topcoat stains and scuffs.
 8
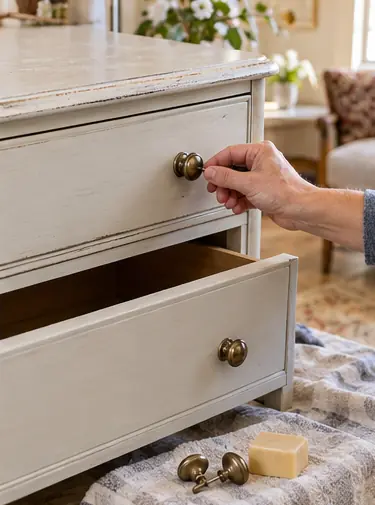
Add new hardware
Screw on the new knobs and slide the drawers back in. Rub candle wax on wooden runners so they glide.
 Edie's tip
Do the drawer fronts flat on sawhorses. You'll get fewer drips than painting them in place.
Written by the DIY Project team. How we check · Report a mistake