What you'll need
Find it links go to Amazon. As an Amazon Associate we earn from qualifying purchases. How we make money
How to make it
Wear safety glasses and hearing protection while cutting and nailing.
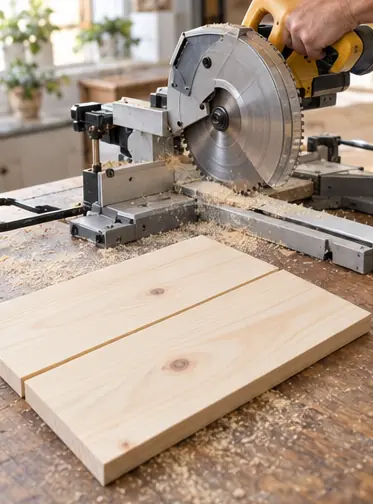 1
Cut the bottom
Cut 2 pieces of 1x6 at 16 1/2 in. Laid side by side, they make an 11 in wide bottom.
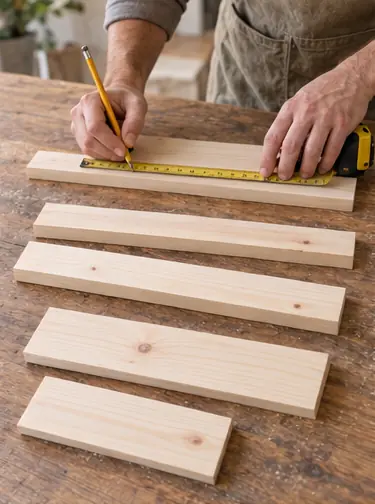 2
Cut the sides
Cut 2 long sides from the 1x3 at 18 in and 2 short ends at 11 in.
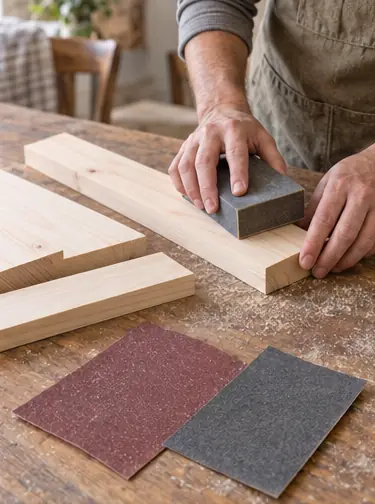 3
Sand everything
Sand all pieces with 120, then 180 grit before you assemble.
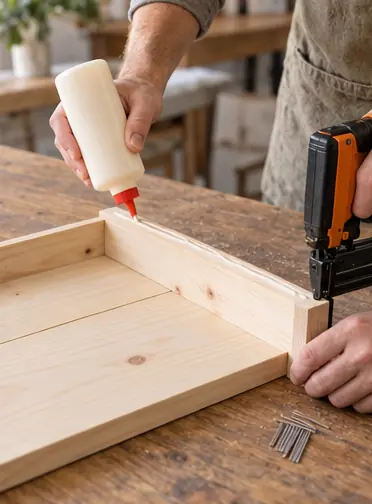 4
Attach the ends
Glue a short end against each end of the bottom boards, flush underneath. Nail through the end into the bottom boards.
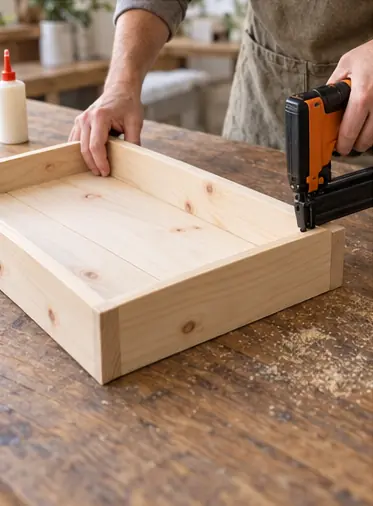 5
Attach the long sides
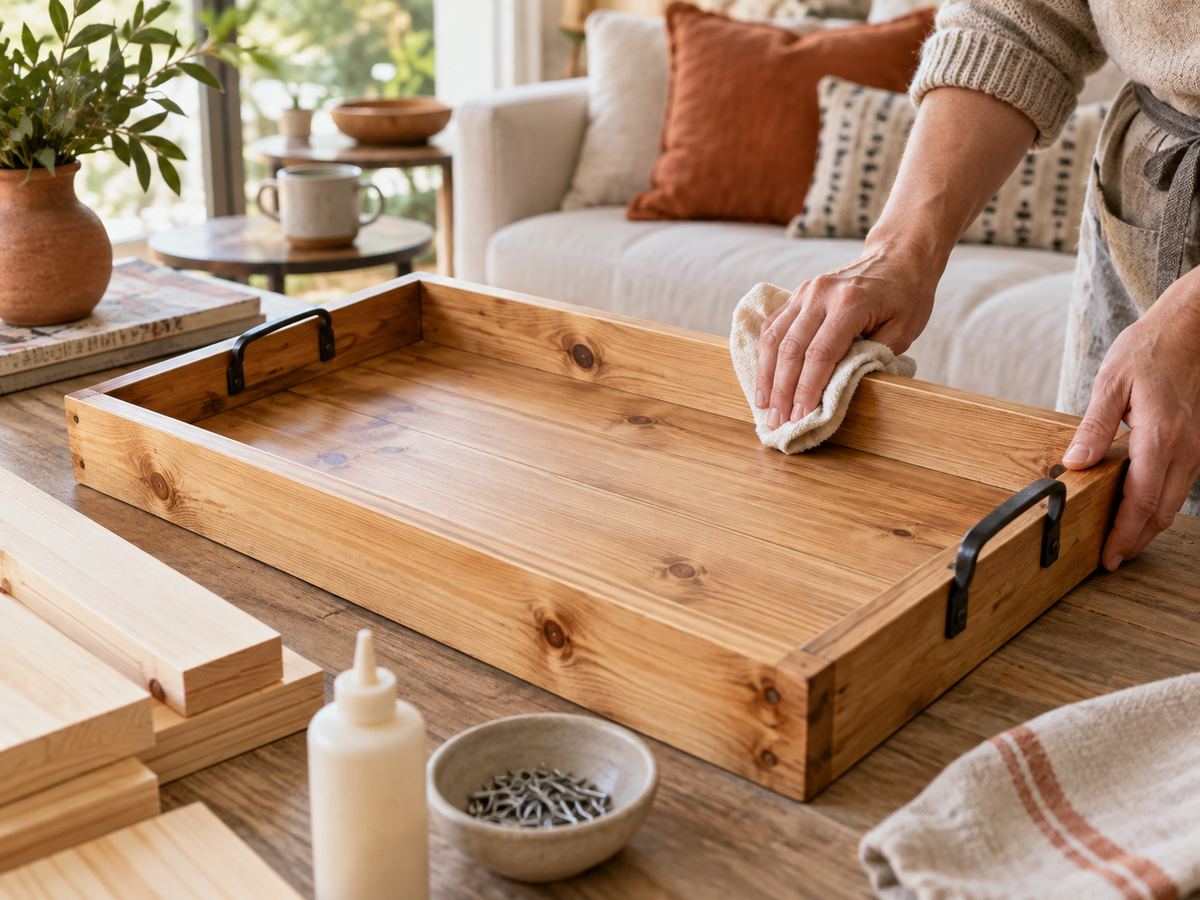
Glue and nail the long sides on, covering the bottom edges and the ends of the short pieces. The outside measures 18 x 12 1/2 in.
 6
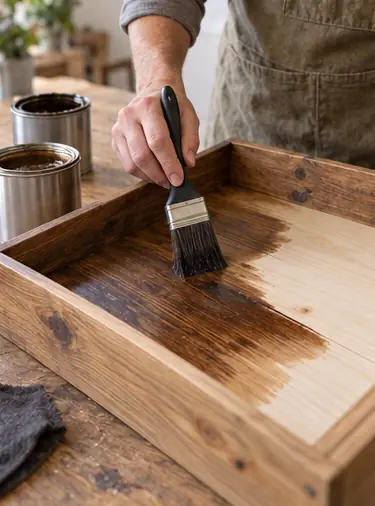
Stain and seal
Stain it, let it dry and brush on 2 coats of topcoat. Topcoat is what saves it from coffee rings.
 7
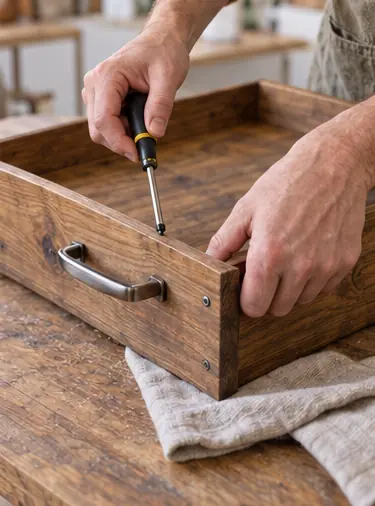
Add the handles
Center a pull on each short end and screw it on from the inside. Pick it up and test the grip.
 Edie's tip
Clamp the 2 bottom boards together while you nail on the ends. It closes the seam tight.
Written by the DIY Project team. How we check · Report a mistake