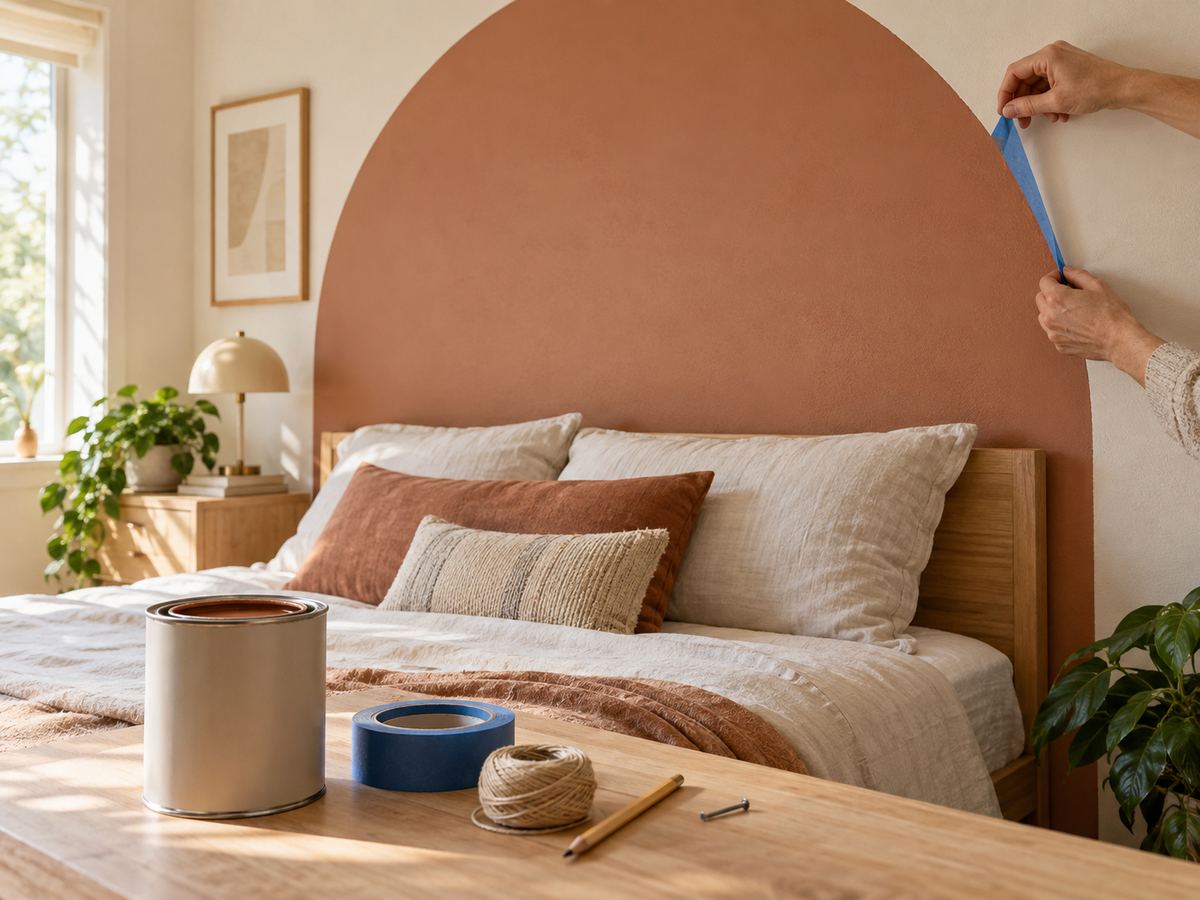
What you'll need
Find it links go to Amazon. As an Amazon Associate we earn from qualifying purchases. How we make money
How to make it
Keep the ladder fully open and locked, and don't stand on the top step.
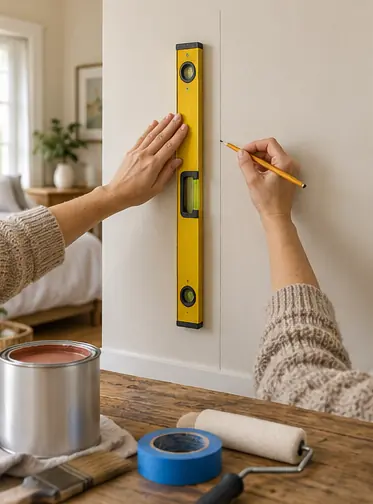 1
Mark the center line
Decide the arch width, like 48 in for a queen bed. Mark the center and draw a light vertical line with the level.
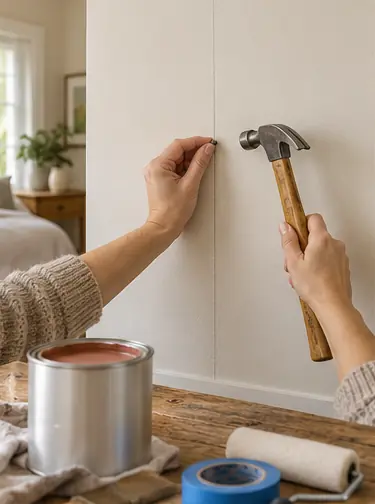 2
Mark the curve's start
Mark the height where the curve begins on the center line. Tap the nail in there, leaving it sticking out.
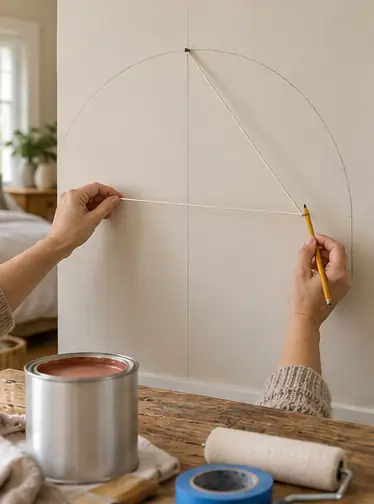 3
Draw the curve
Tie string to the nail and to a pencil, half the arch width apart. Pull it tight and swing the pencil in a half circle.
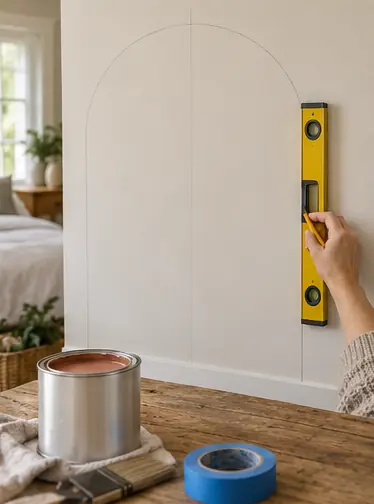 4
Draw the sides
Draw straight lines from each end of the curve down to the baseboard, using the level.
 5
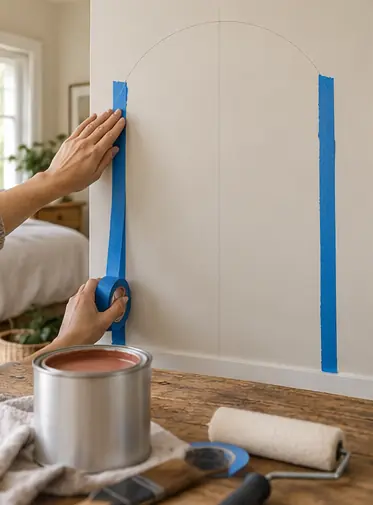
Tape the straight edges
Tape outside the straight lines. Press the edges down firmly.
 6
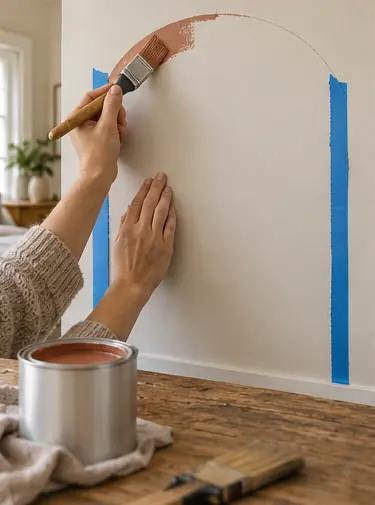
Cut in the curve
Paint along the curved line with the angled brush, slowly. Steady your hand on the wall with your pinky.
 7
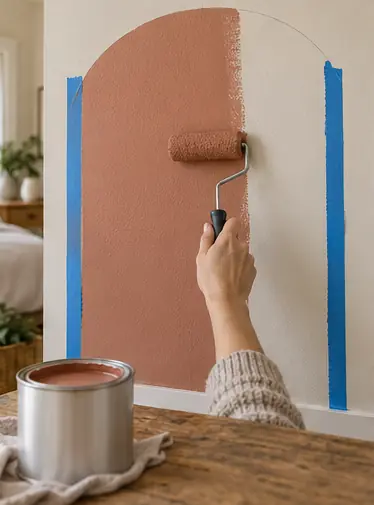
Roll the inside
Roll the rest of the arch. Add a second coat after the first dries.
 8
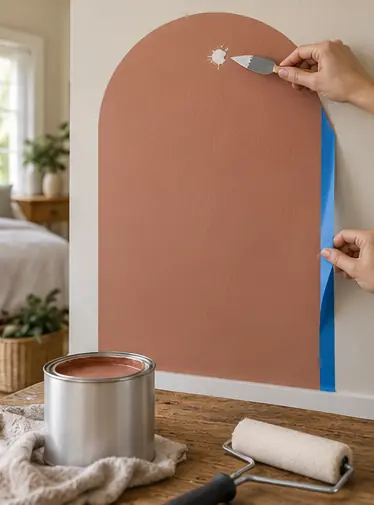
Pull the tape
Peel the tape while the last coat is slightly wet. Spackle the nail hole and step back.
 Edie's tip
Hold the brush so the bristles lean into the line. Pulling toward the curve gives a crisper edge than pushing.
Written by the DIY Project team. How we check · Report a mistake