What you'll need
Find it links go to Amazon. As an Amazon Associate we earn from qualifying purchases. How we make money
How to make it
Use only HT-stamped pallets, wear gloves, and secure the planter to a wall or fence so it can't fall on anyone.
 1
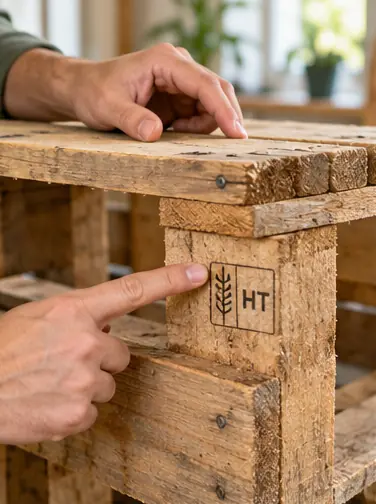
Check the stamp
Use only a pallet stamped HT. Skip MB, unstamped or stained pallets.
 2
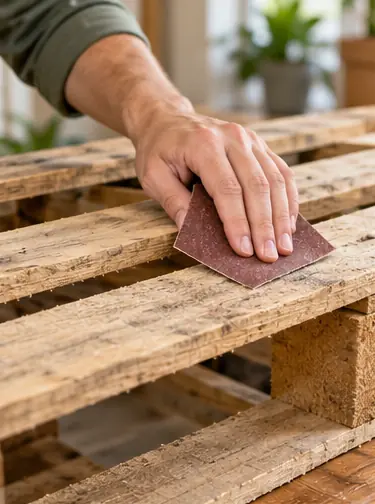
Sand the splinters
Sand rough spots on the front with 80 grit. You'll be reaching in here a lot.
 3
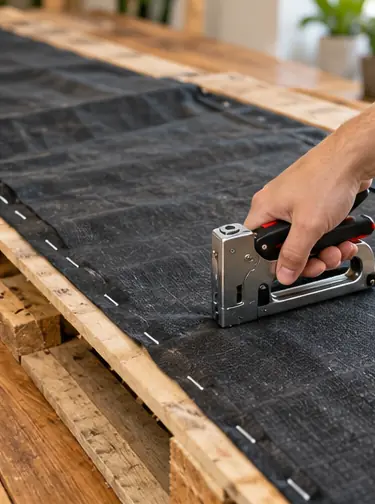
Line the back
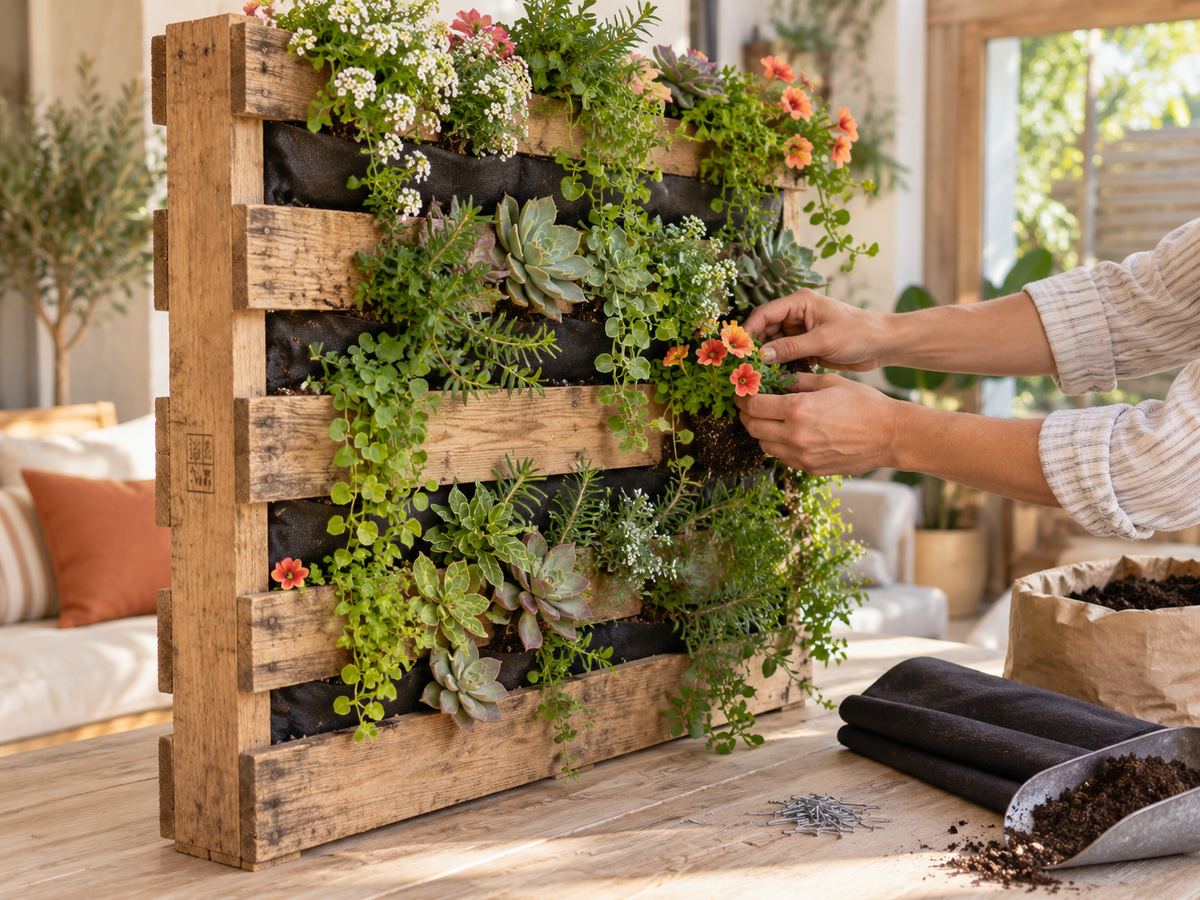
Lay the pallet face down. Stretch fabric across the back and staple every 3 in.
 4
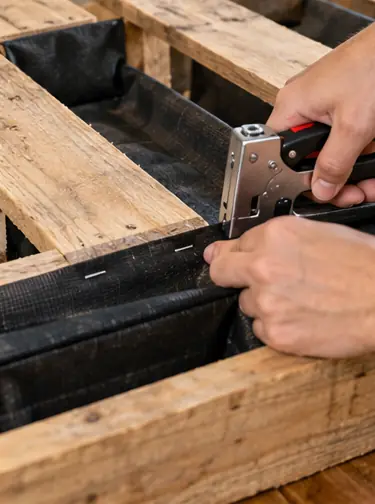
Make the pockets
Staple fabric across the bottom and sides of each open row so every row becomes a closed pocket.
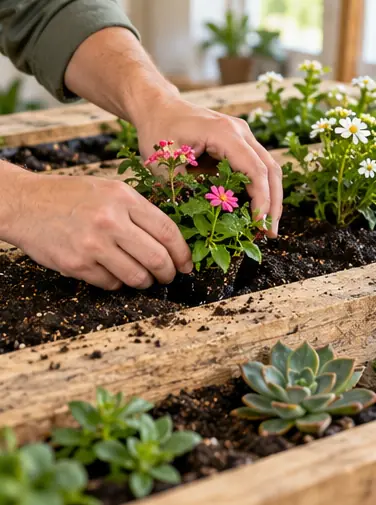 5
Fill and plant flat
Lay it face up. Fill the rows with potting mix and plant tightly so roots hold the soil.
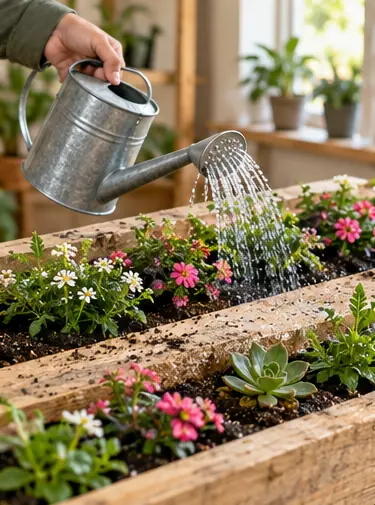 6
Wait before standing
Leave it flat for 2 weeks and water it there. The roots need that time to grip.
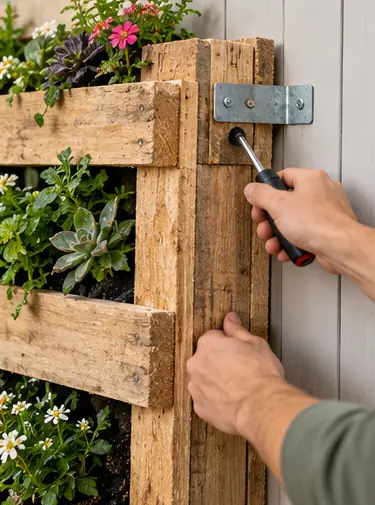 7
Stand and secure it
Tilt it upright against a fence or wall and fasten it with brackets or straps. A loaded pallet is heavy and must not tip.
 Edie's tip
Plant thirsty plants in the bottom rows. Water runs down and the bottom always stays wetter.
Written by the DIY Project team. How we check · Report a mistake