What you'll need
Find it links go to Amazon. As an Amazon Associate we earn from qualifying purchases. How we make money
How to make it
Use only pallets stamped HT, and wear gloves, safety glasses and a dust mask while pulling them apart and sanding.
 1
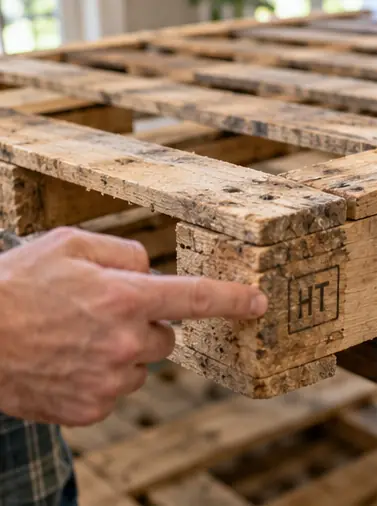
Check the stamp
Find the stamp on the pallet's side. Use it only if it says HT, which means heat treated. Skip MB pallets, unstamped ones and any with oily stains.
 2
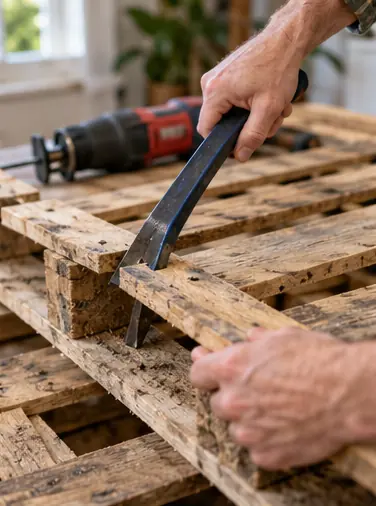
Take it apart
Pry the boards up slowly, working from both ends. Or cut through the nails with a reciprocating saw for fewer split boards.
 3
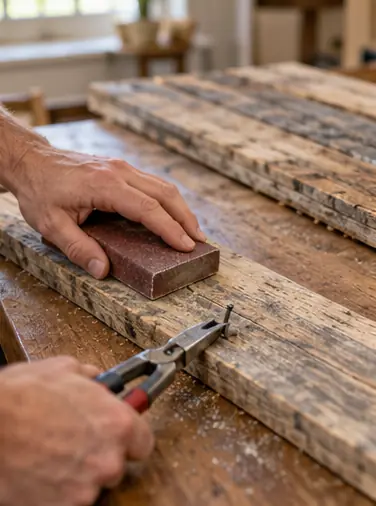
Clean the boards
Pull or cut off any leftover nails. Sand each board lightly so it's safe to touch but keeps its weathered look.
 4
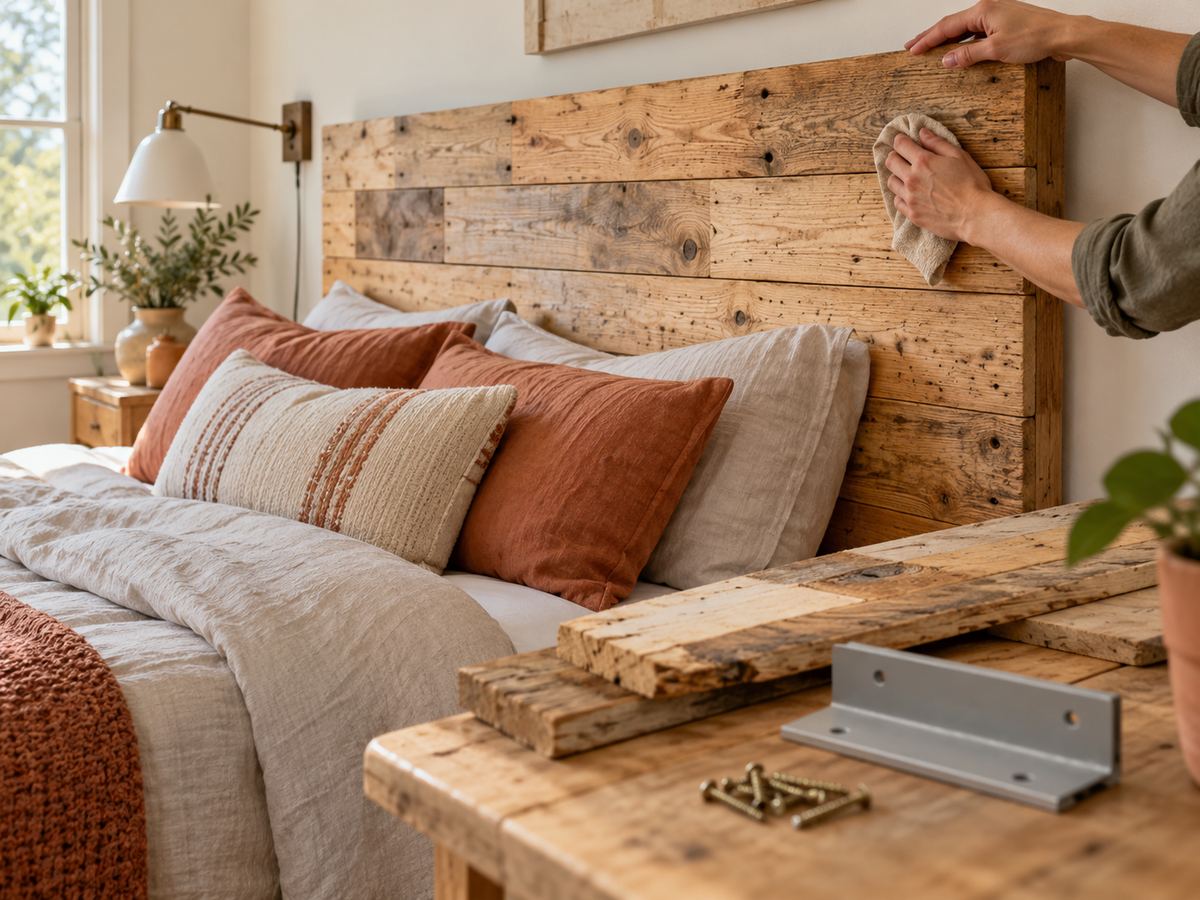
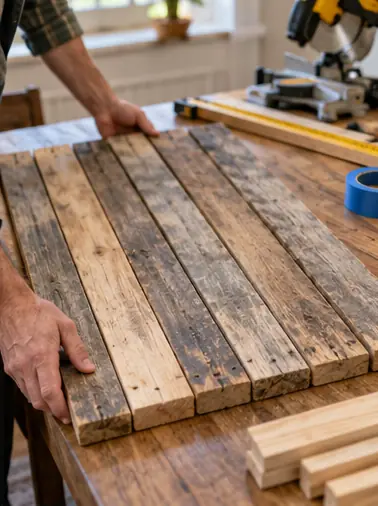
Lay out the panel
Arrange 6 to 8 boards side by side, about 30 in long, mixing the colors. Cut the ends square.
 5
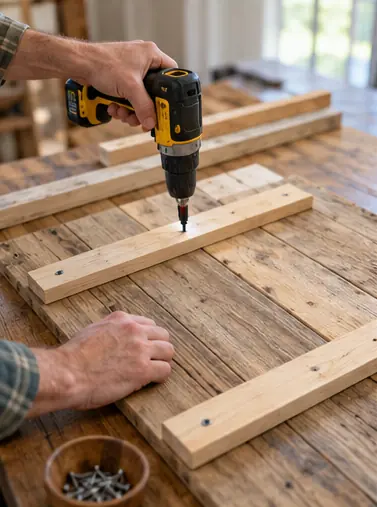
Screw on the cleats
Lay 2 cleats across the back, 4 in from the top and bottom. Drive a 1 1/4 in screw through the cleat into each board.
 6
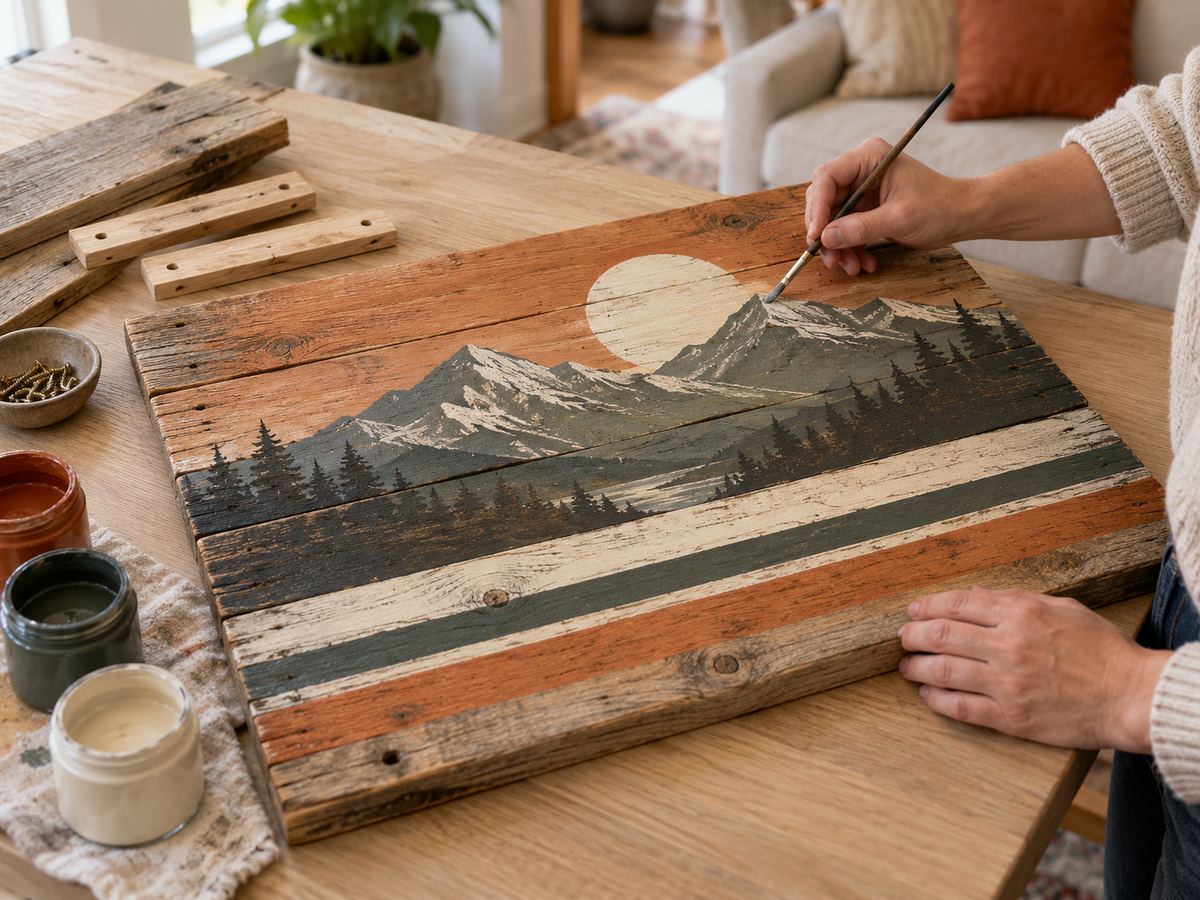
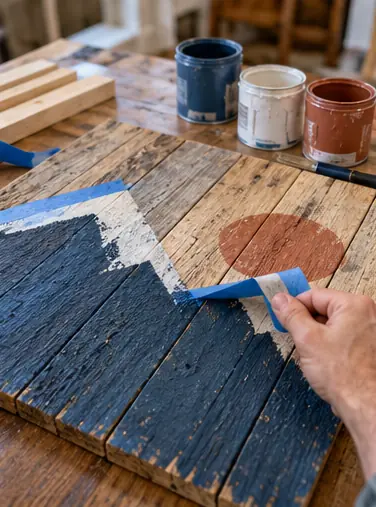
Paint the design
Tape off mountain peaks or stripes on the front. Paint 2 coats and peel the tape while the last coat is slightly wet.
 7
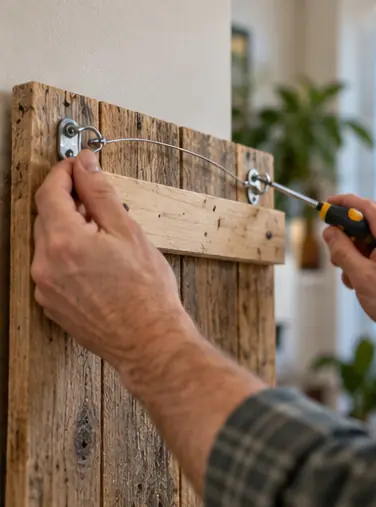
Hang it
Screw D-rings to the top cleat and string picture wire between them. Hang it on a screw driven into a stud.
 Edie's tip
Ask garden centers and small hardware stores for HT pallets. Many give them away to save on disposal.
Written by the DIY Project team. How we check · Report a mistake