What you'll need
Find it links go to Amazon. As an Amazon Associate we earn from qualifying purchases. How we make money
How to make it
Mini pom-poms and beads are choking hazards for kids under 3.
 1
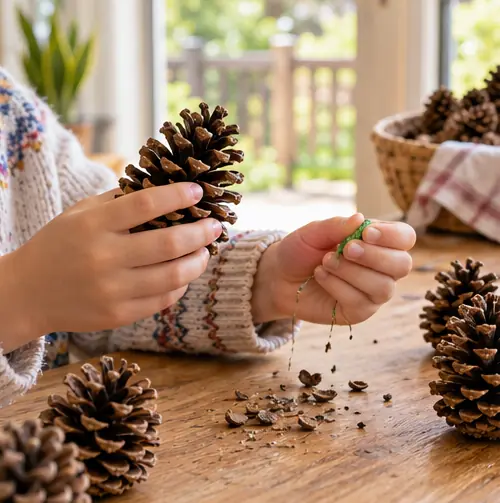
Go find pine cones
Pick dry, open cones that stand up on their own. Shake out any loose bits outside.
 2
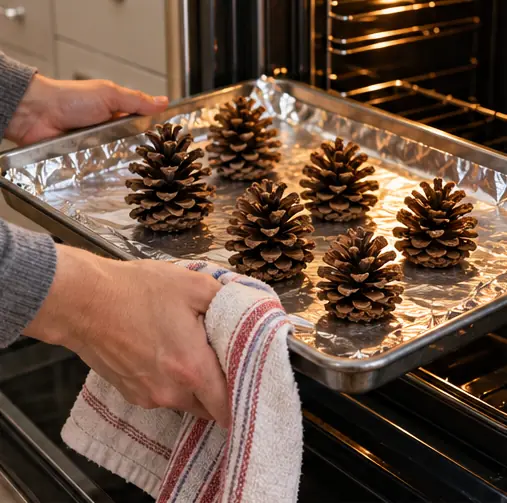
Bake out the bugs
Grown-up step: bake the cones on foil at 200°F for 30 minutes to dry them and kill any bugs. Stay nearby while they bake.
 3
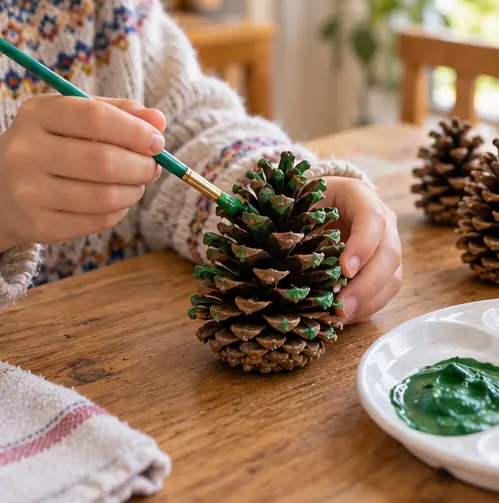
Paint them green
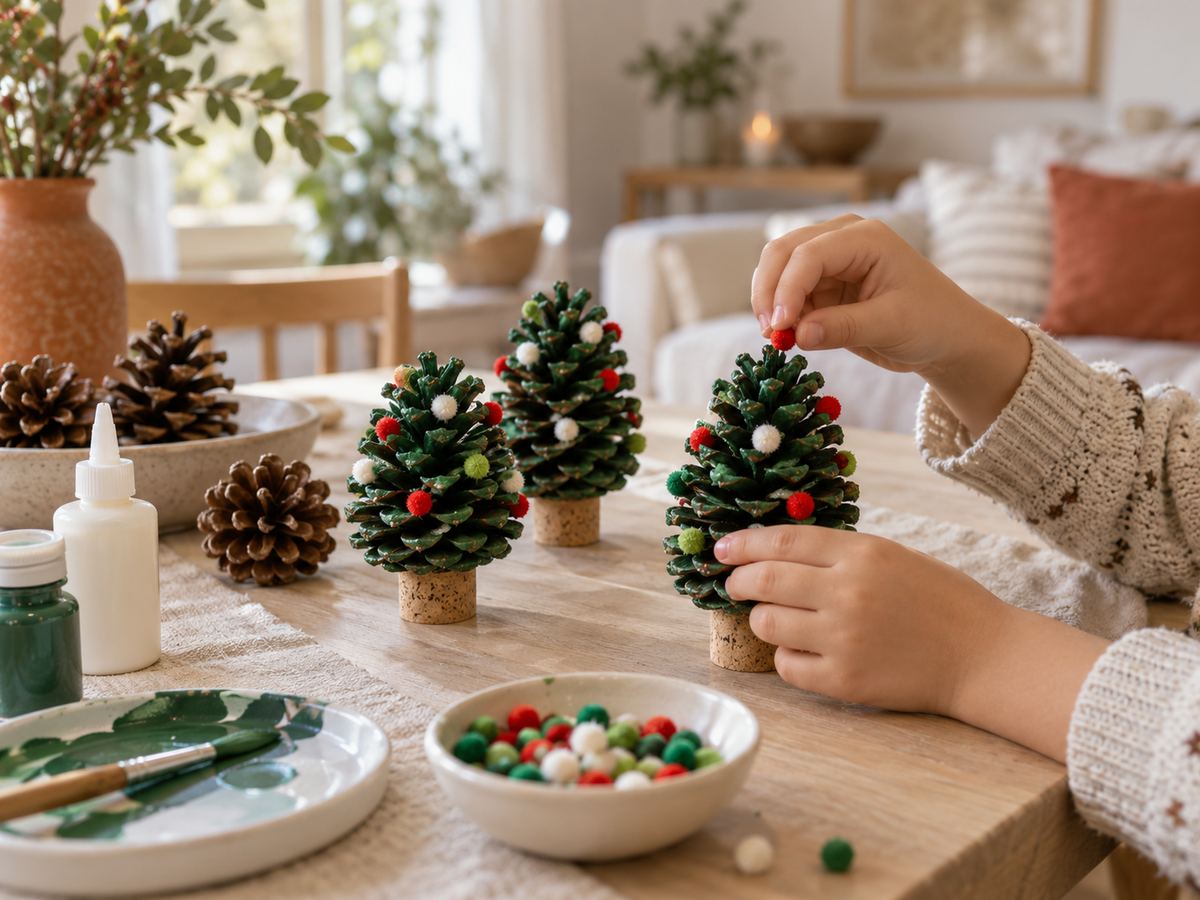
Dab green paint onto the tips of the scales. Leave some brown showing so it looks like real branches.
 4
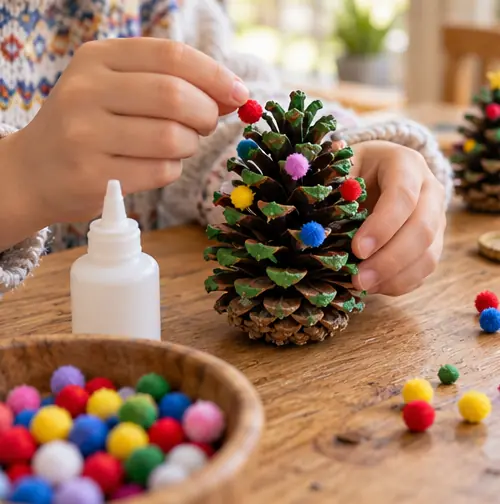
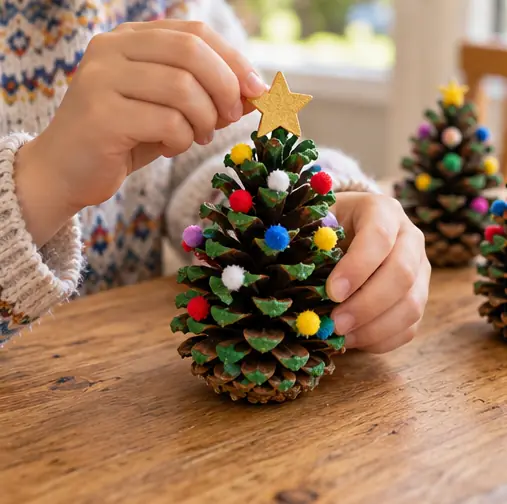
Hang the ornaments
Put tiny dots of tacky glue on the scale tips and press on pom-poms. Mix the colors.
 5
Add the star
Glue a small paper star to the top point.
 6
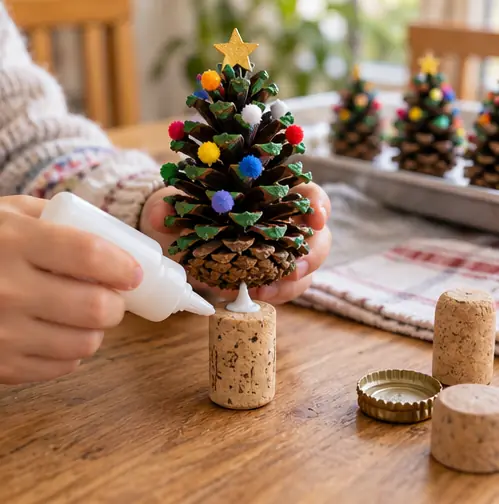
Stand it up
Glue the bottom onto a cork or bottle cap. Let it dry for 1 hour before moving it.
 Edie's tip
Cones from the store are usually already cleaned. Check the bag before baking.
Written by the DIY Project team. How we check · Report a mistake