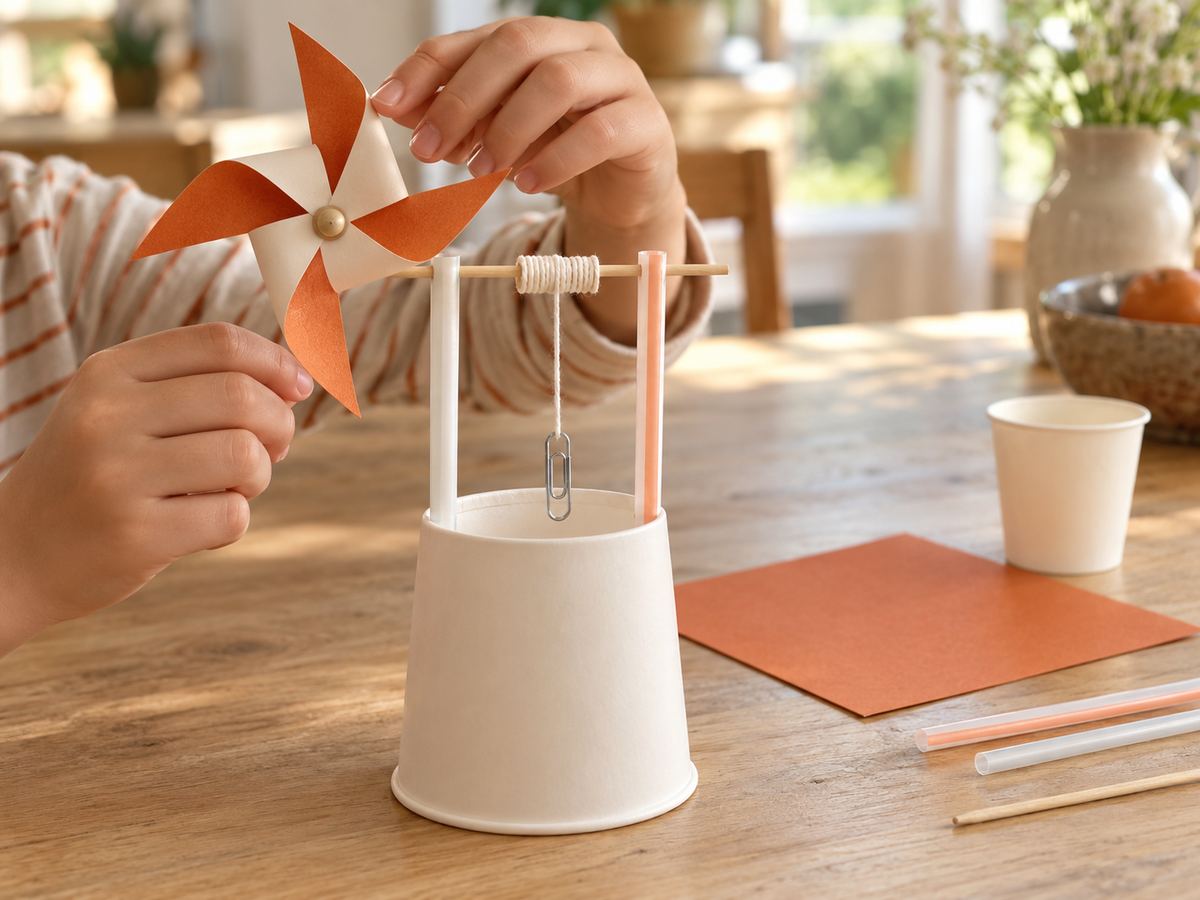
What you'll need
Materials
Tick them off as you find them.
Find it links go to Amazon. As an Amazon Associate we earn from qualifying purchases. How we make money
How to make it
A grown-up pokes the holes, and keep fingers clear of fan blades.
 1
Make the pinwheel
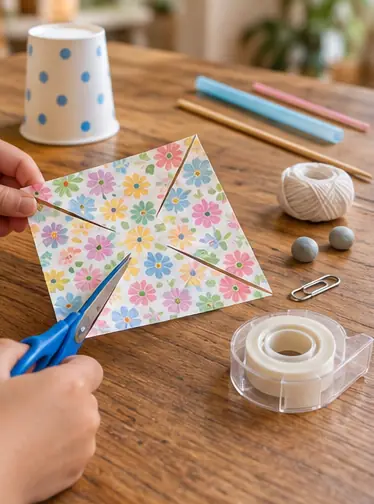
Cut from each corner of the square toward the middle, stopping 1 in from the center. Fold every other point into the center and tape.
 2
Make the tower
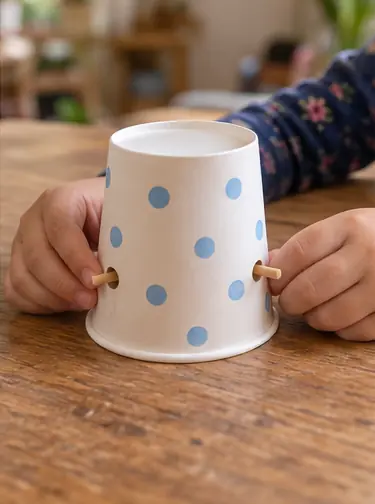
Grown-up step: poke a hole straight through both sides of the cup near the bottom. Turn the cup upside down.
 3
Add the shaft
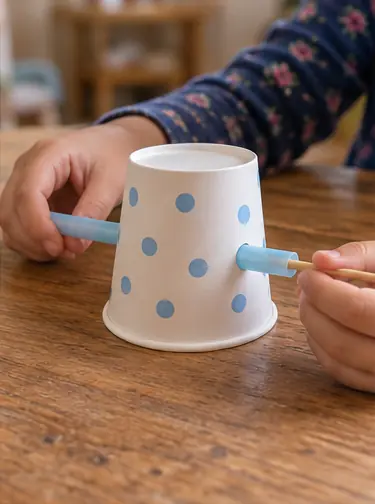
Push the wide straw through both holes. Slide the skewer through the straw so it spins freely.
 4
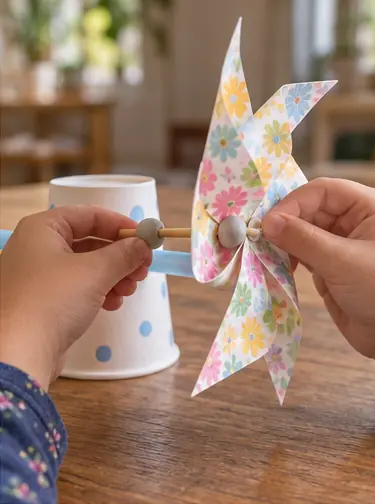
Mount the blades
Push one end of the skewer through the pinwheel center. Hold it in place with a bead of clay on each side.
 5
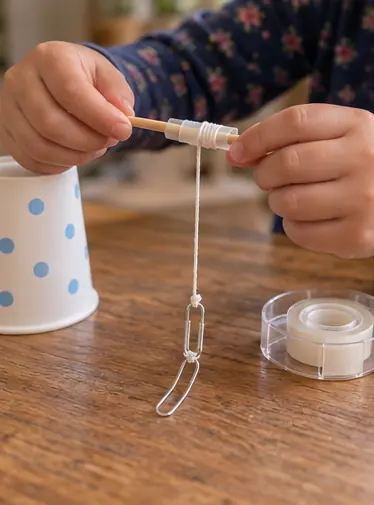
Tie on the load
Tape the thread to the other end of the skewer. Tie a paper clip to the bottom of the thread.
 6
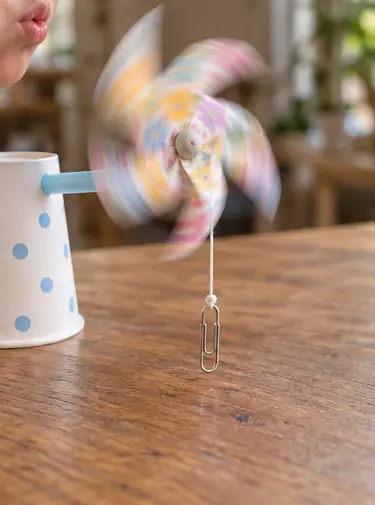
Blow and lift
Blow on the pinwheel or set it in front of a fan. Watch the thread wind up and lift the clip.
 7
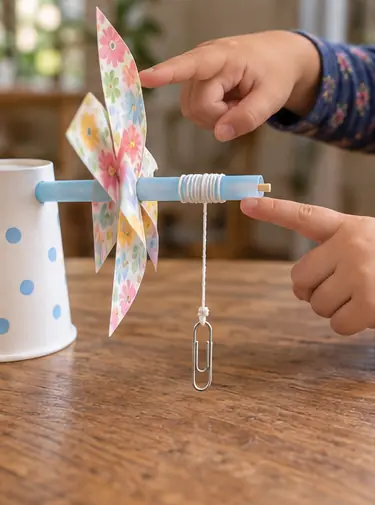
Talk about why
Wind pushes the angled blades and makes them turn. The spinning winds the thread like a fishing reel. Real windmills use that spin to pump water or make electricity.
 Edie's tip
Test with 1 clip, then add more. Count how many your windmill can lift.
Written by the DIY Project team. How we check · Report a mistake