What you'll need
Tools
- Soft flat paintbrushFind it →
- Egg carton to hold eggs while they dry
Find it links go to Amazon. As an Amazon Associate we earn from qualifying purchases. How we make money
How to make it
 1
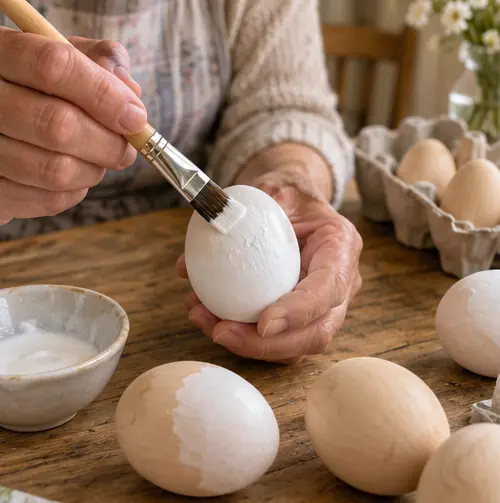
Paint the eggs white
Give each egg a coat of white paint. It makes the napkin colors brighter. Let them dry 20 minutes in the egg carton.
 2
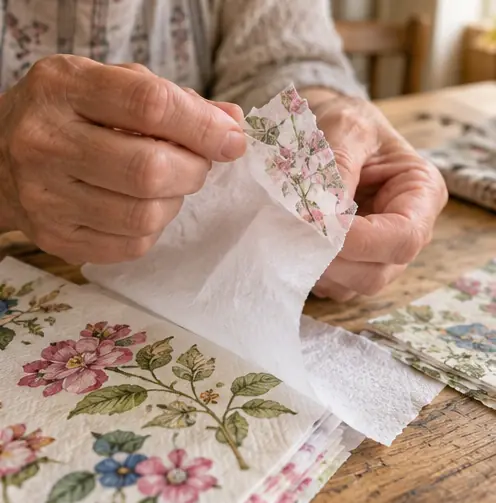
Separate the napkin
Peel the napkin layers apart. Keep only the thin printed top layer.
 3
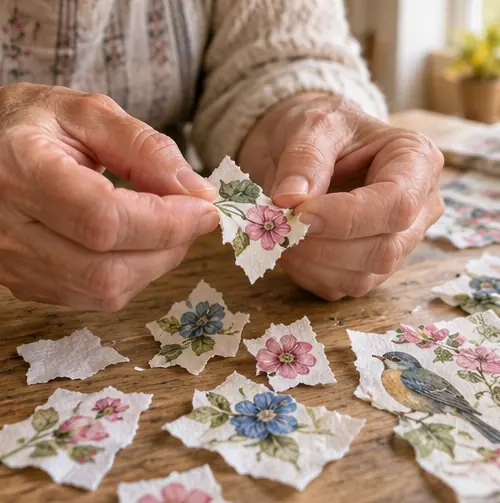
Tear small pieces
Tear out flowers or patterns into pieces about the size of a stamp. Torn edges blend in better than cut ones.
 4
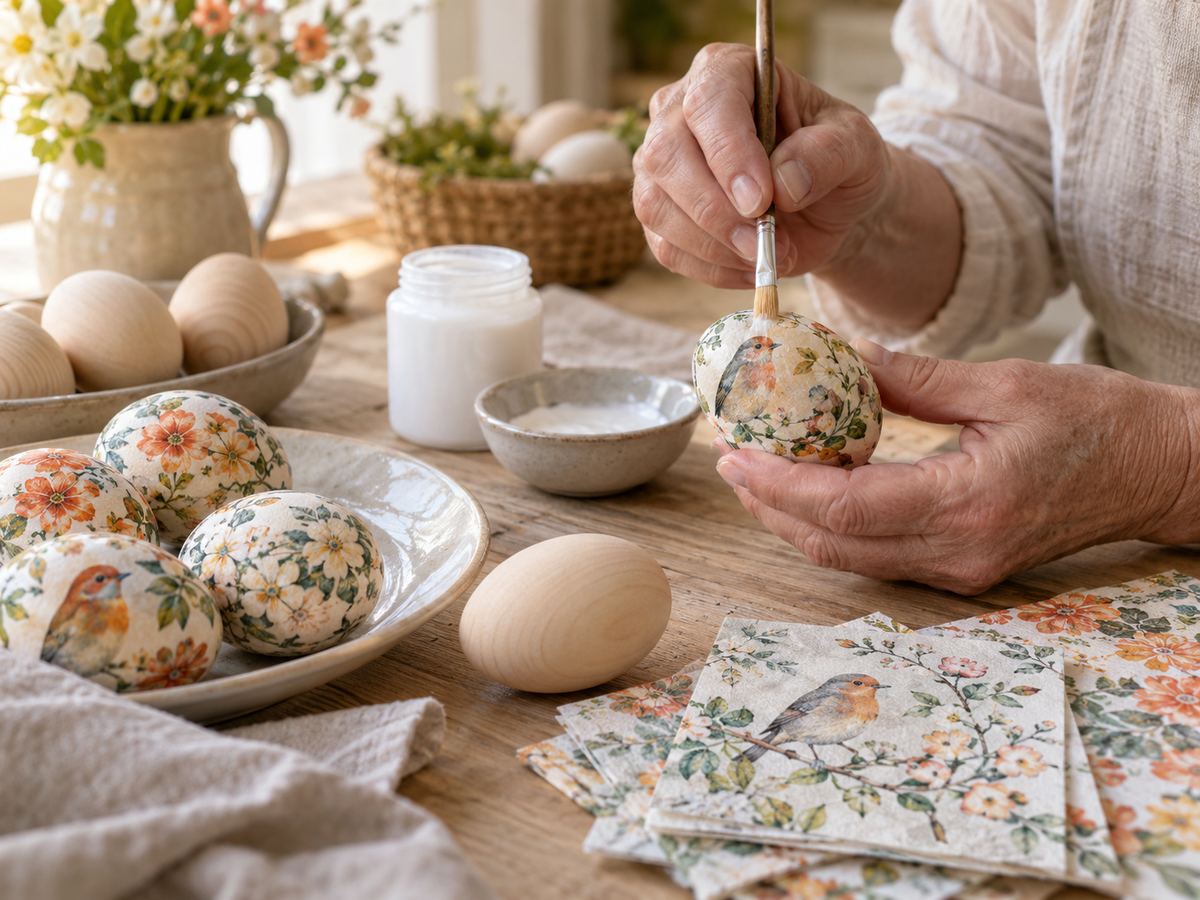
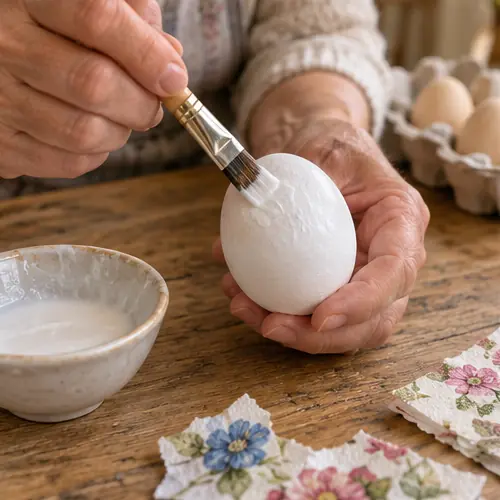
Brush on glue
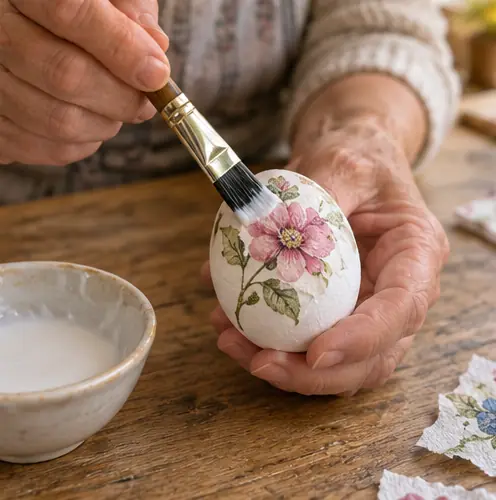
Paint a thin layer of glue on a small patch of the egg.
 5
Lay on the paper
Set a napkin piece on the glue and dab over it with the brush. Wrinkles are fine. They look like old china.
 6
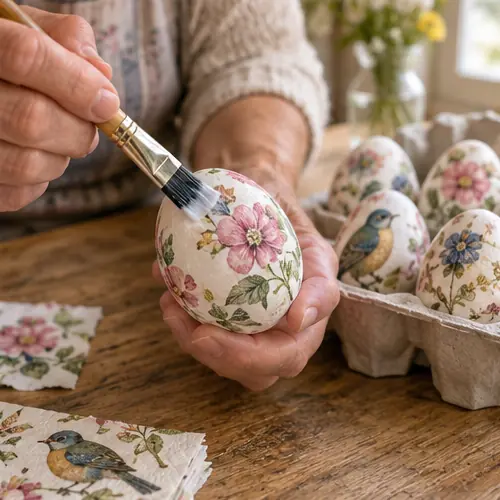
Seal the egg
Brush one more thin coat of glue over the whole egg. Set it in the carton to dry for 1 hour.
 Edie's tip
For low vision, pick napkins with big, bold prints in strong colors. They're easier to see and tear around.
Written by the DIY Project team. How we check · Report a mistake