What you'll need
Find it links go to Amazon. As an Amazon Associate we earn from qualifying purchases. How we make money
How to make it
Refrigerate any eggs you plan to eat and finish them within 1 week. Eggs left out over 2 hours are decorations only.
 1
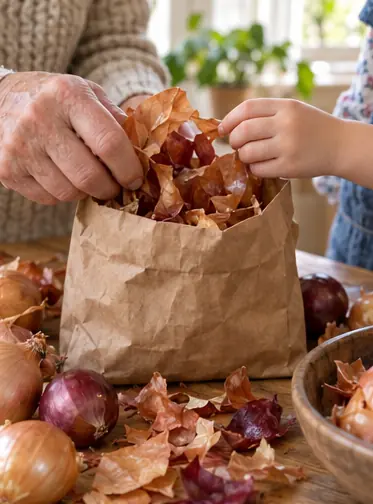
Save the skins
Collect the papery outer skins from onions over a week or two. Keep them in a paper bag.
 2
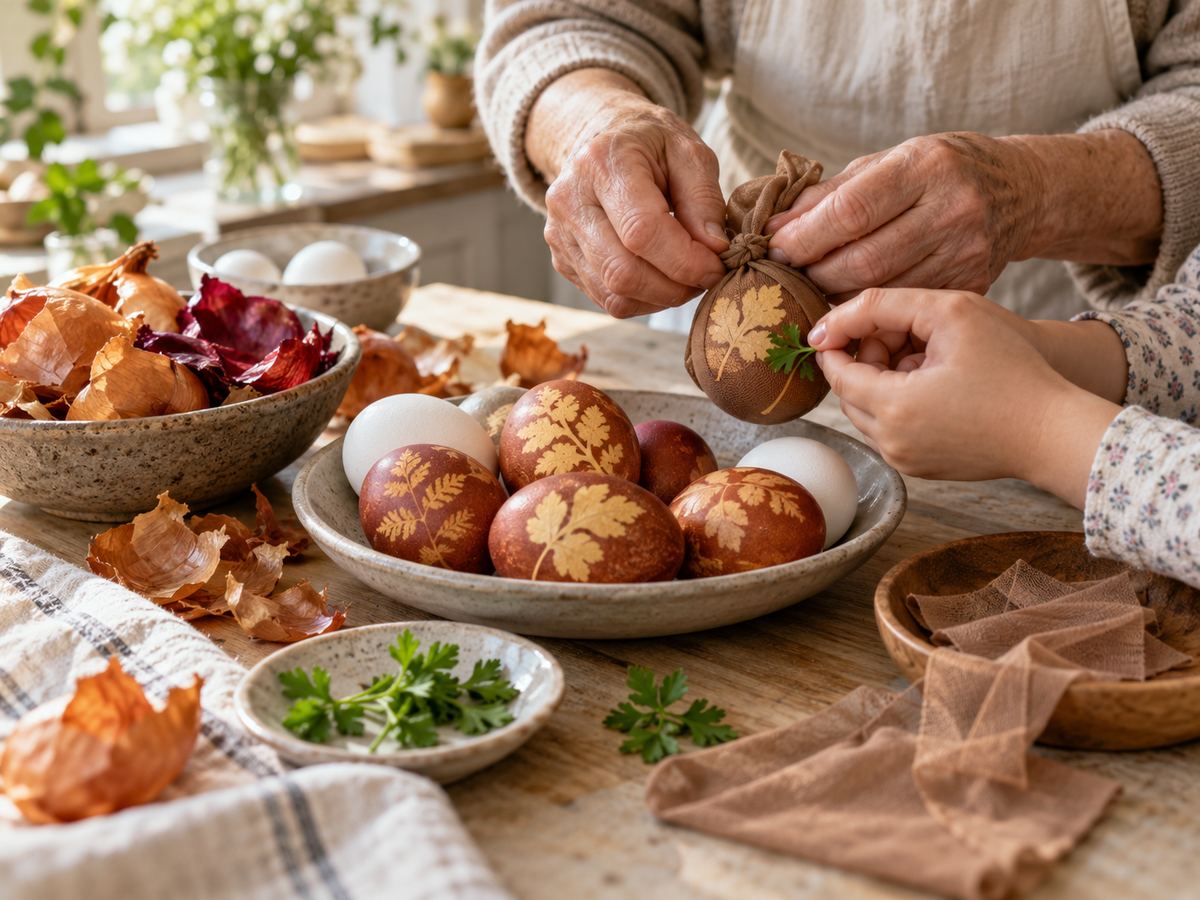
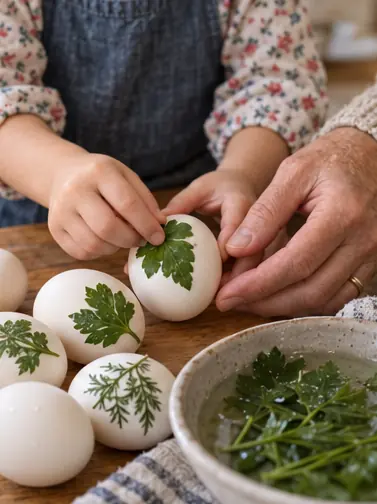
Press on a leaf
Lay a wet leaf flat on each raw egg. This is a great job for a grandchild.
 3
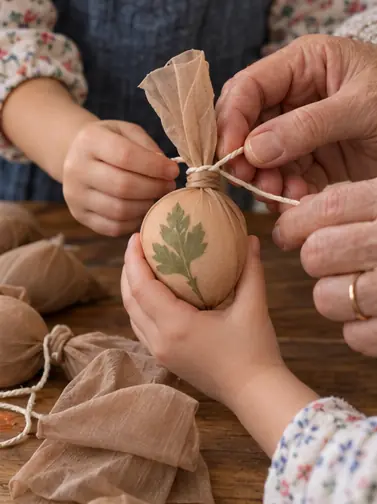
Wrap in nylon
Stretch a square of stocking tight over the leaf and tie it off behind the egg.
 4
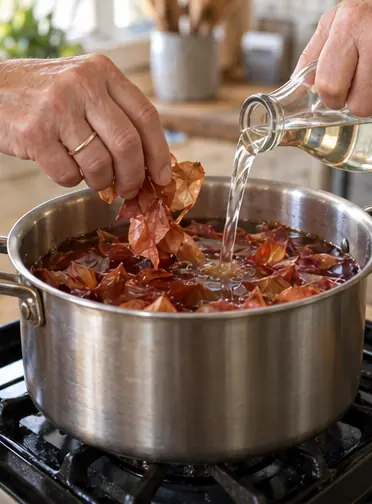
Grown-up step: boil the dye
Put the skins in the pot with enough water to cover the eggs. Add the vinegar and bring it to a simmer for 15 minutes.
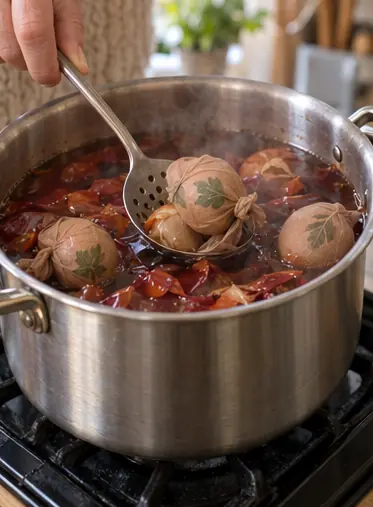 5
Grown-up step: cook the eggs
Lower the wrapped eggs in with a slotted spoon. Simmer 20 minutes, then turn off the heat and let them sit 20 more.
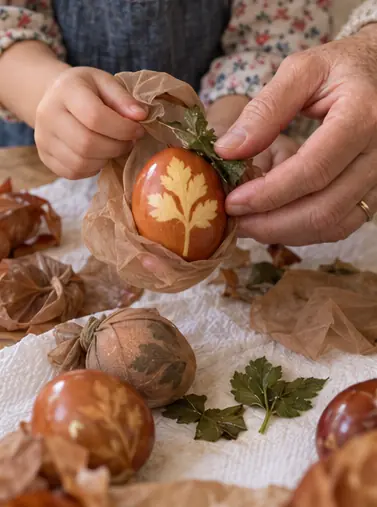 6
Unwrap the eggs
Lift them out and let them cool on paper towels. Cut off the nylon and peel off the leaf to see the print.
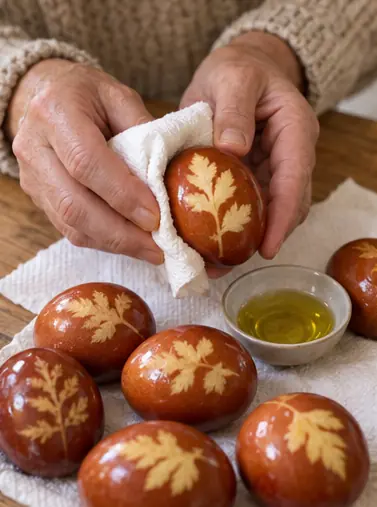 7
Polish them
Rub each egg with a drop of oil on a paper towel. The color goes deep and glossy.
 Edie's tip
Red onion skins give a darker, reddish brown. Mix both kinds for a basket with a range of shades.
Written by the DIY Project team. How we check · Report a mistake