What you'll need
Find it links go to Amazon. As an Amazon Associate we earn from qualifying purchases. How we make money
How to make it
Keep fingers clear of the staple gun's nose and point it only at the board.
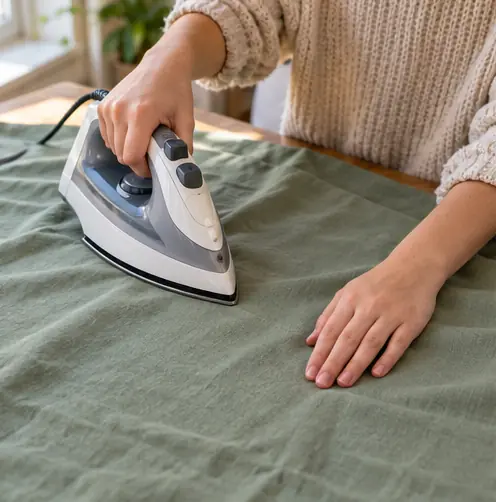 1
Iron the fabric
Press out the creases first. Wrinkles show more once it's stretched.
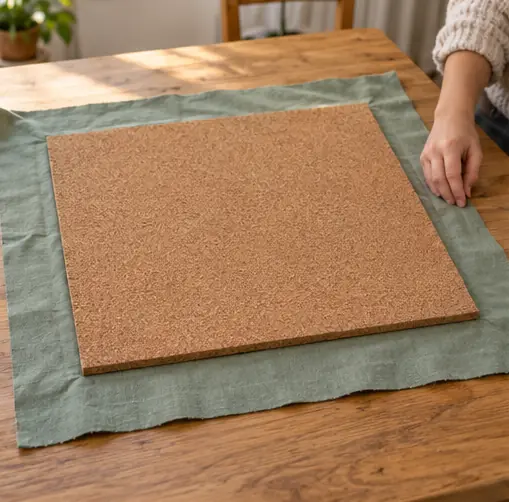 2
Lay it face down
Put the fabric pretty side down and the board on top. Leave 2 in of extra on all sides.
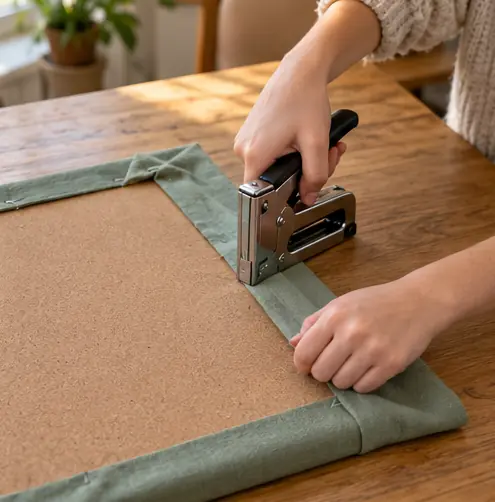 3
Staple the sides
Fold one edge over and staple the middle. Do the opposite side next, pulling snug.
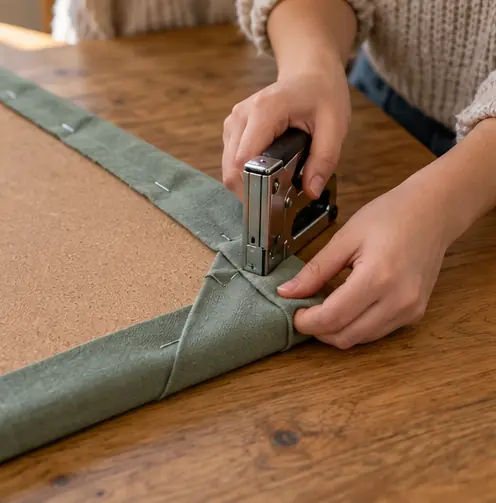 4
Fold the corners
Tuck corners like wrapping a present. Staple them flat.
 5
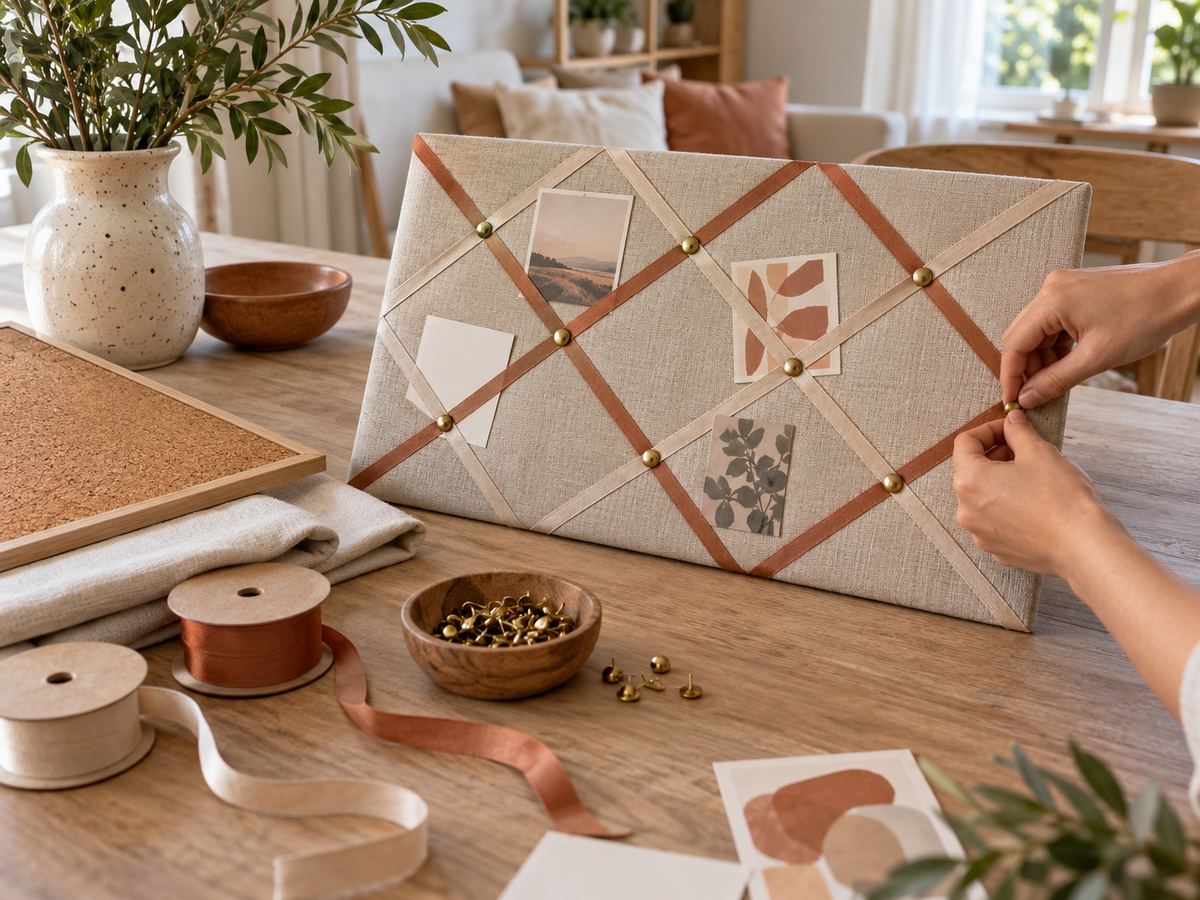
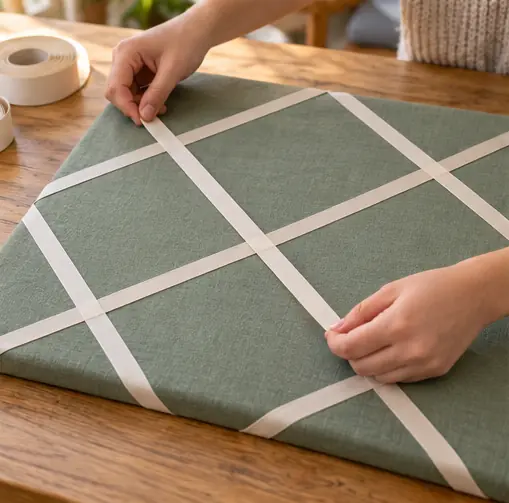
Add the ribbon
Stretch ribbon corner to corner in a diamond pattern. Staple the ends on the back.
 6
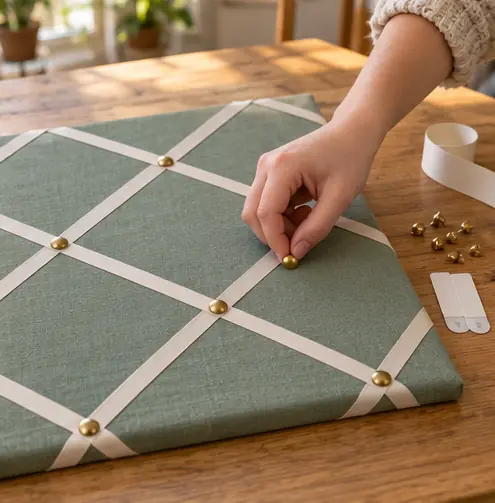
Pin the crossings
Push a thumbtack where ribbons cross. Hang it with picture strips rated for the board's weight.
 Edie's tip
Quilting cotton works best. Stretchy fabric goes wavy.
Written by the DIY Project team. How we check · Report a mistake