What you'll need
Find it links go to Amazon. As an Amazon Associate we earn from qualifying purchases. How we make money
How to make it
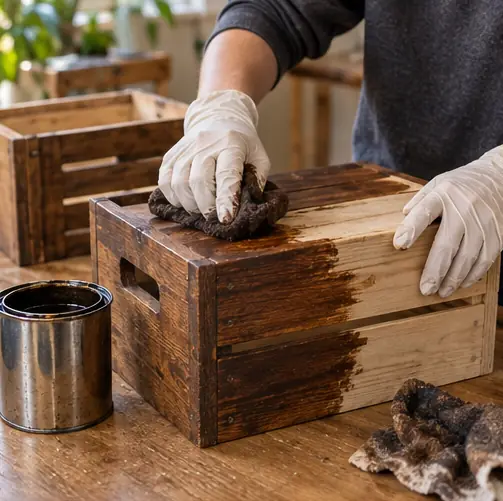
Stain in fresh air with gloves on, and lay used stain rags flat outside to dry since balled-up rags can catch fire.
 1
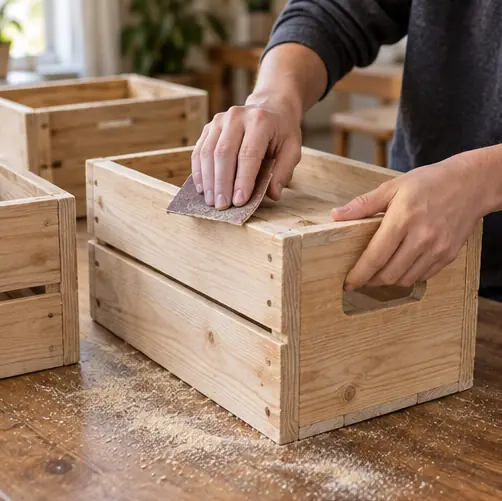
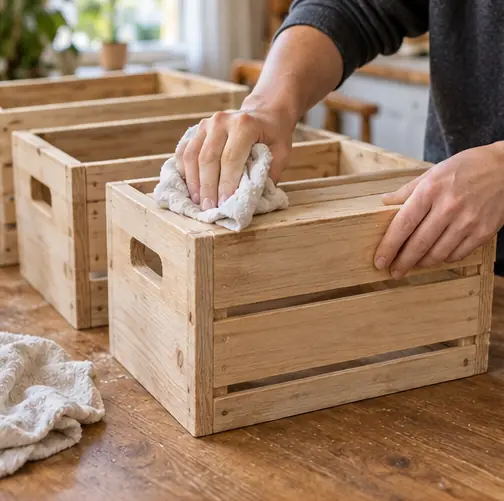
Sand the crates
Sand every edge and corner. You're done when nothing snags a sock.
 2
Wipe the dust
Wipe each crate with a barely damp rag.
 3
Stain them
Wear gloves. Rub stain on with a rag, wait 5 minutes, then wipe off the extra.
 4
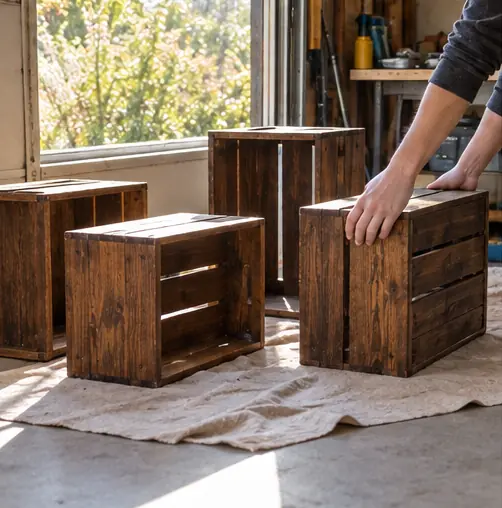
Let them dry
Leave them overnight in a garage or near an open window.
 5
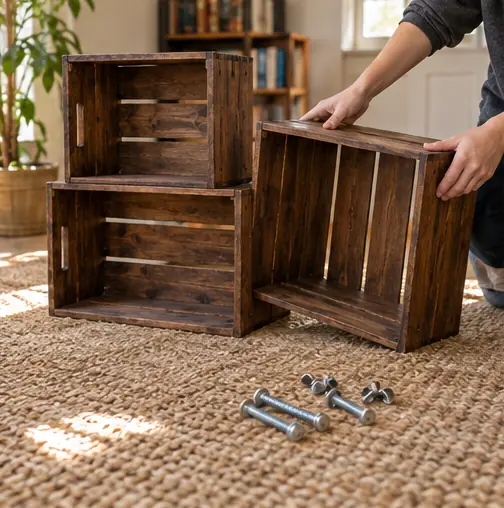
Plan the stack
Try a few layouts on the floor. Mix open sides facing out and up.
 6
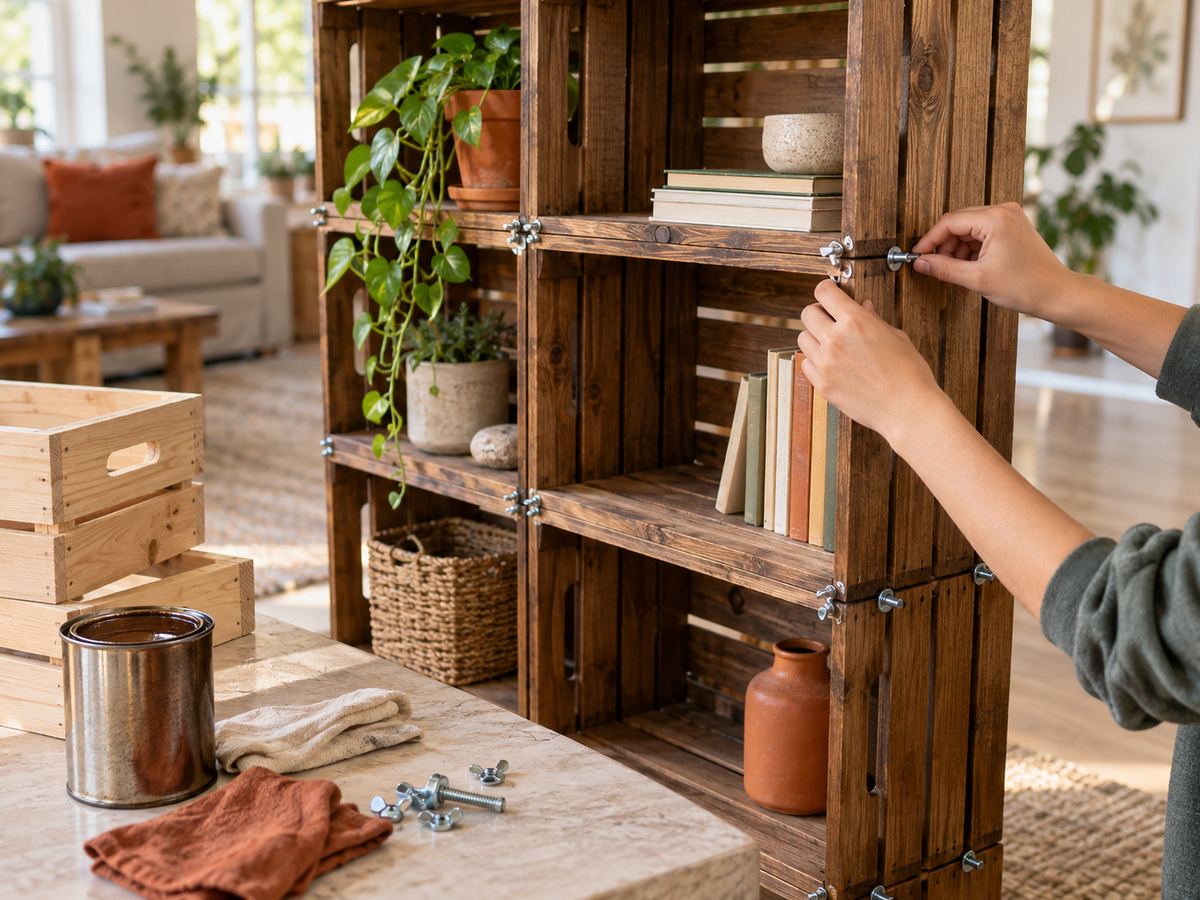
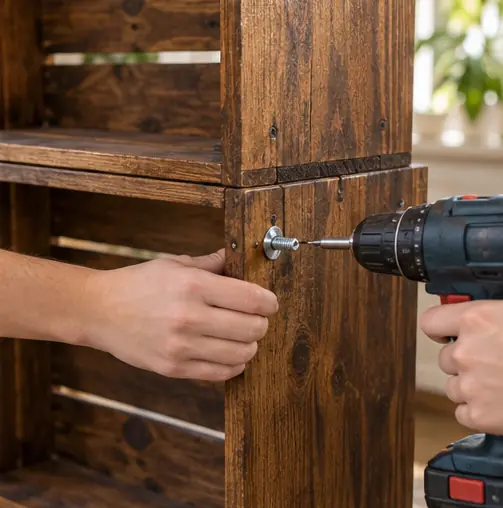
Bolt them together
Grown-up step: drill 1 hole through each pair of touching crates. Bolt them with wing nuts so they come apart later.
 Edie's tip
Keep the heaviest books in the bottom crate. Top-heavy shelves tip.
Written by the DIY Project team. How we check · Report a mistake