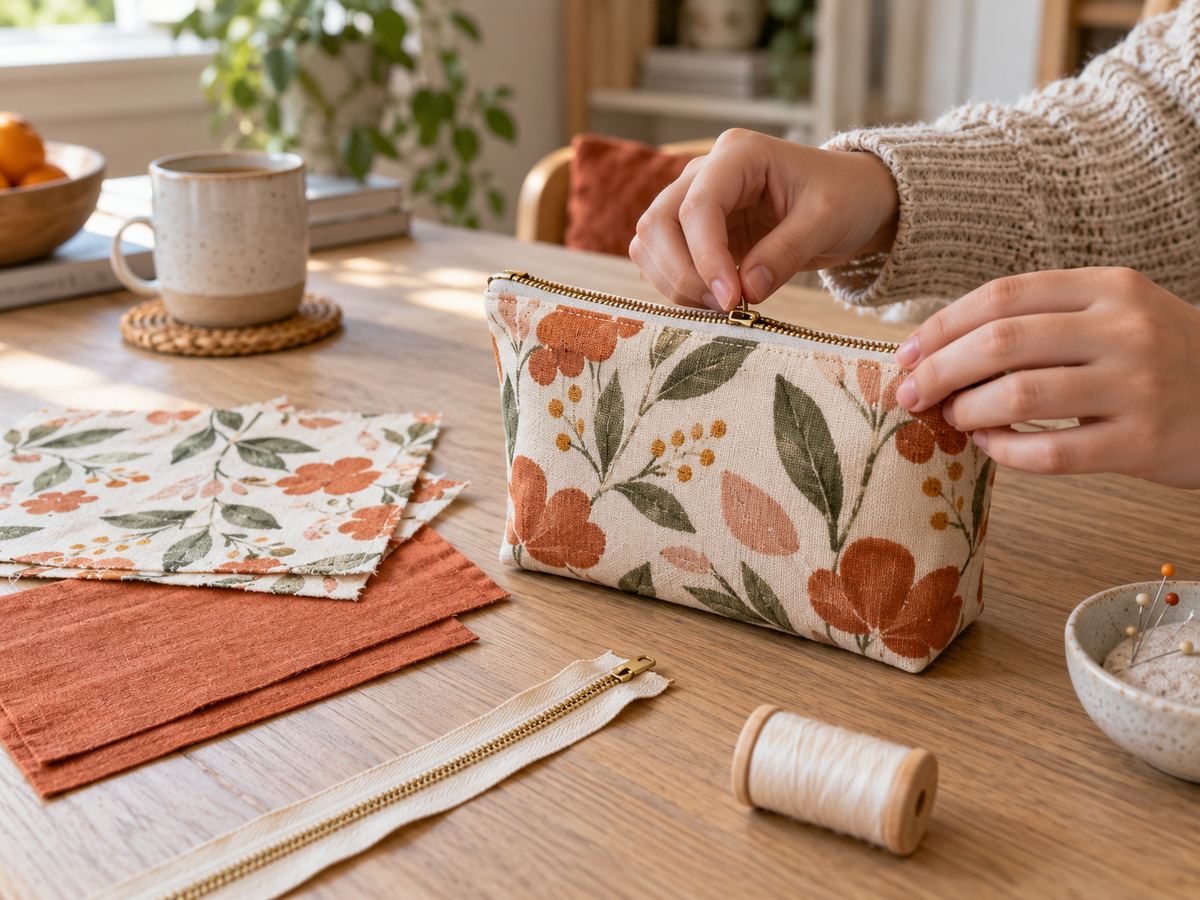
What you'll need
Find it links go to Amazon. As an Amazon Associate we earn from qualifying purchases. How we make money
How to make it
 1
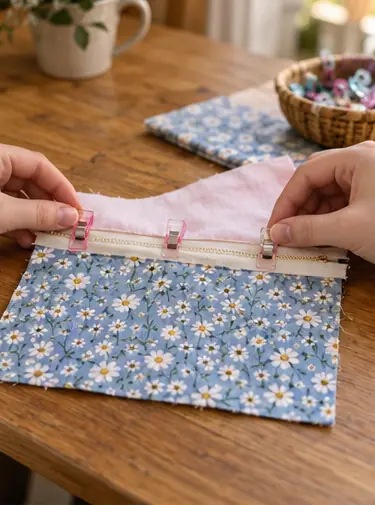
Stack the first side
Lay outer fabric face up, zipper face down on its top edge, then lining face down. Clip them.
 2
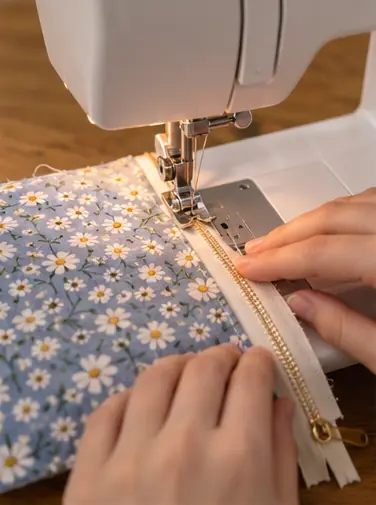
Sew the zipper in
Sew along the top with the zipper foot, close to the teeth.
 3
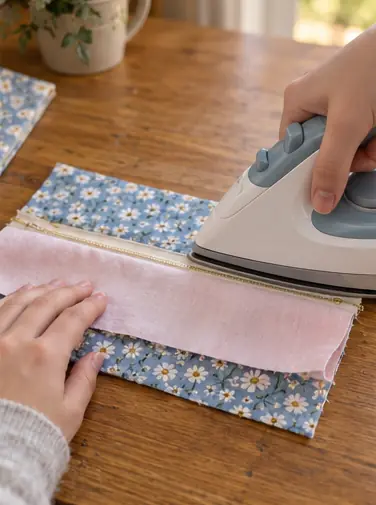
Press it open
Fold the fabrics back from the zipper and iron flat.
 4
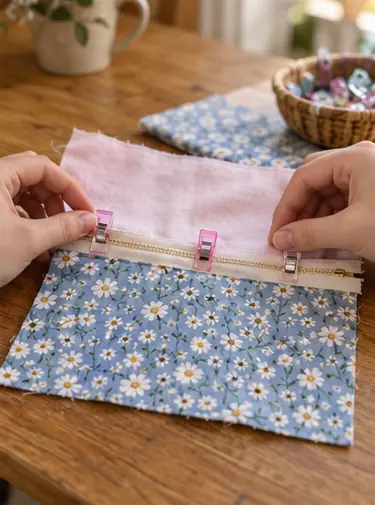
Do the other side
Repeat with the second outer and lining on the zipper's other edge.
 5
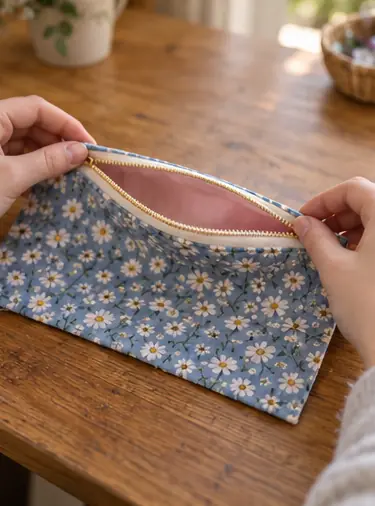
Open the zipper
Unzip it halfway. You'll need that gap to turn it later.
 6
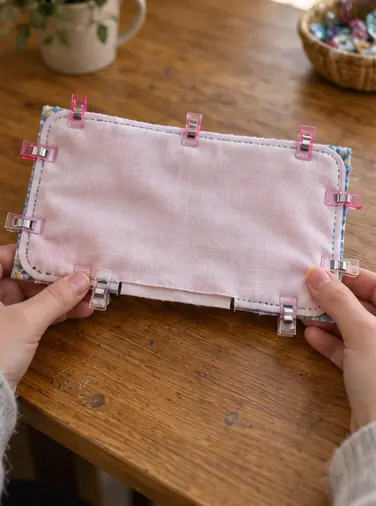
Sew the edges
Match outer to outer and lining to lining. Sew all around, leaving a 3 in gap in the lining bottom.
 7
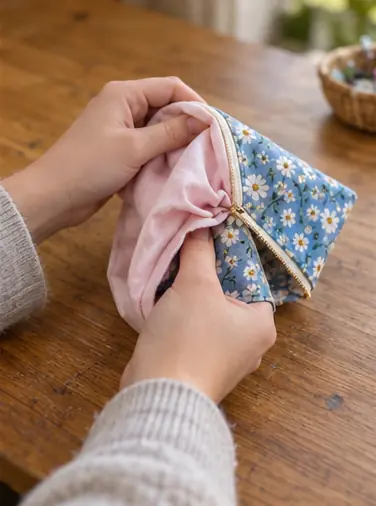
Turn and close
Pull it right side out through the gap. Sew the gap shut and push the lining inside.
 Edie's tip
Sew slowly past the zipper pull. Stop with the needle down and slide the pull out of the way.
Written by the DIY Project team. How we check · Report a mistake