What you'll need
Tools
- Table saw with riving knife and push sticksFind it →
- Crosscut sledFind it →
- Jointer and thickness planerFind it →
- Router with a sled and a wide flattening bit, or a drum sanderFind it →
- Router with a chamfer or roundover bitFind it →
- 6 to 8 bar clampsFind it →
- Random orbit sanderFind it →
- Safety glassesFind it →
- Hearing protectionFind it →
- Dust maskFind it →
Find it links go to Amazon. As an Amazon Associate we earn from qualifying purchases. How we make money
How to make it
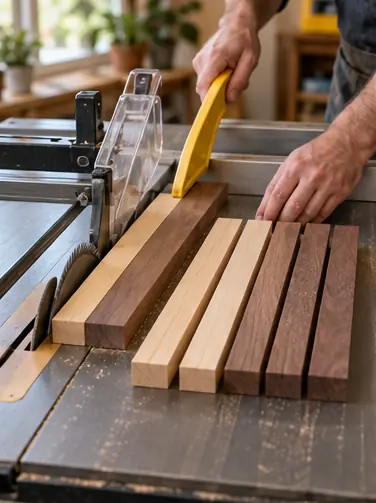
Use push sticks, a riving knife and a crosscut sled, wear eye and hearing protection, and never plane end grain.
 1
Rip the strips
Rip both boards into strips 1 1/2 in wide. Use a push stick and keep the riving knife on. You want 4 maple and 4 walnut.
 2
Glue the first panel
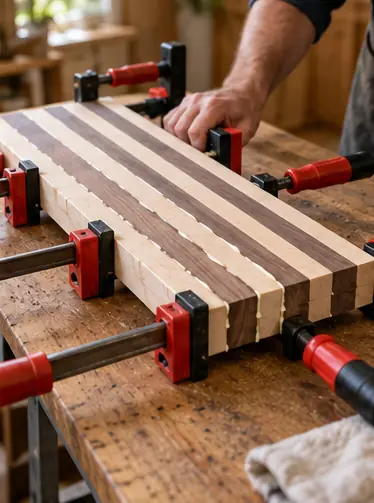
Alternate the colors and glue the strips face to face. Clamp every 6 in, alternating clamps above and below so it stays flat. Wait 24 hours.
 3
Flatten the panel
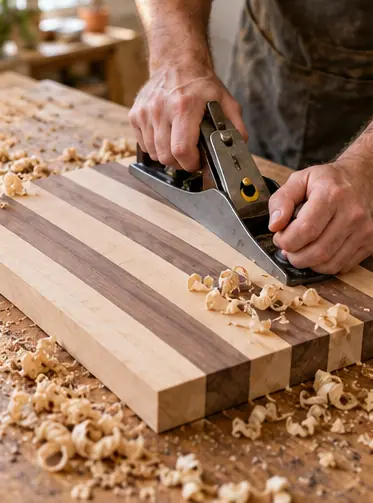
Scrape off dried glue. Plane both faces flat. This is still long grain, so the planer is safe here.
 4
Crosscut the slices
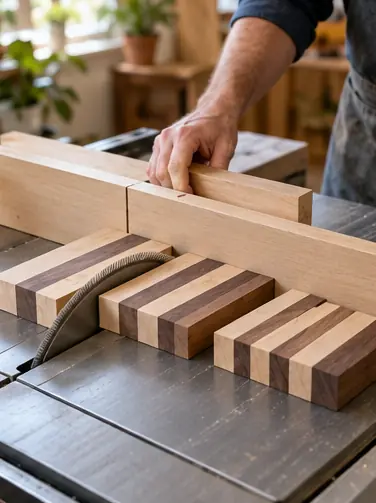
Cut the panel into slices 1 1/2 in wide on a crosscut sled. Never use the rip fence as a stop for crosscuts. You'll get 10 to 12 slices.
 5
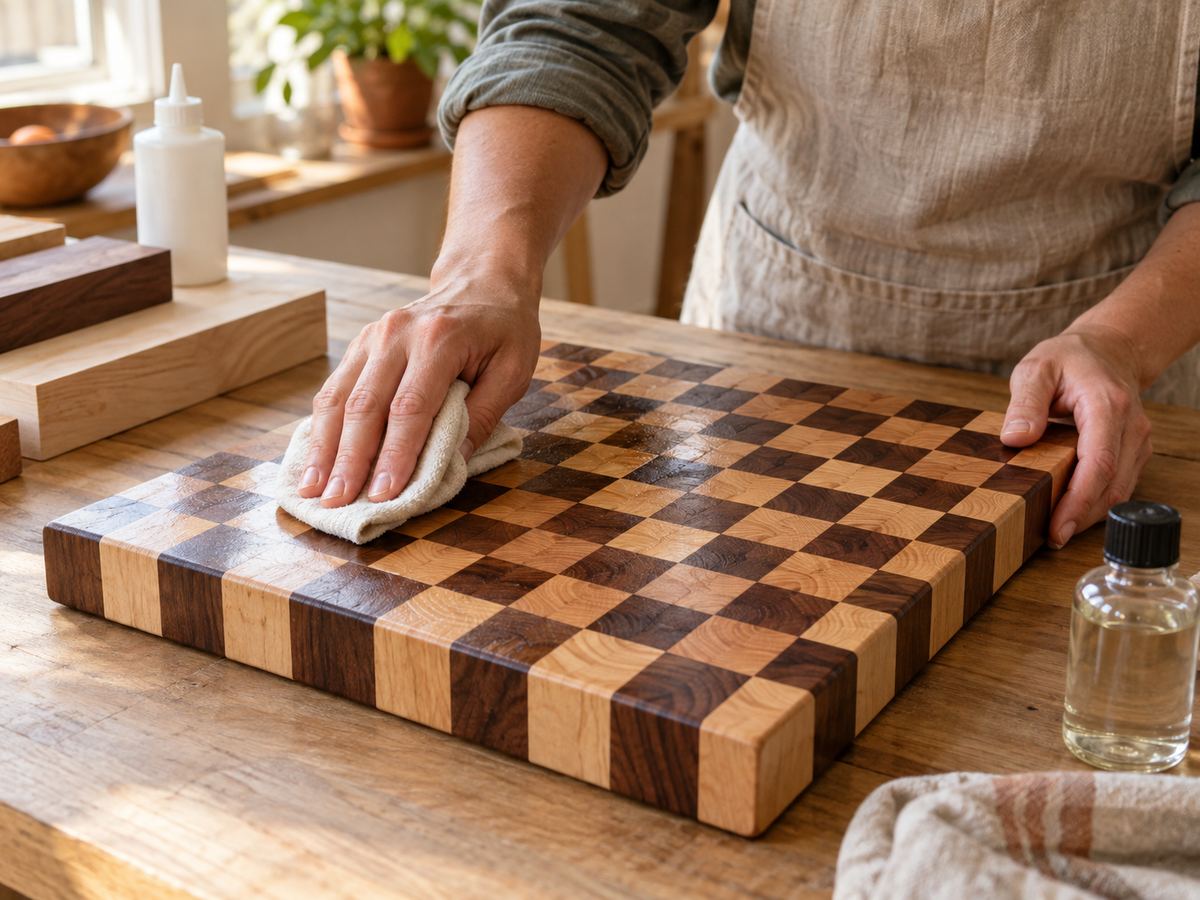
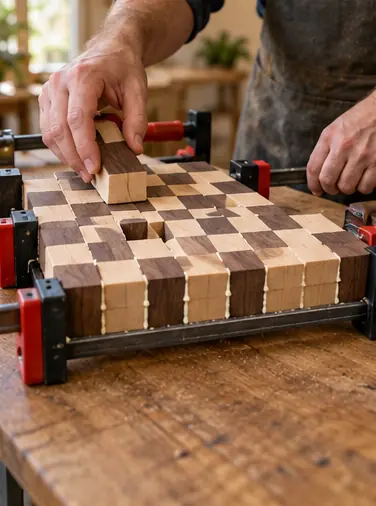
Arrange the checkerboard
Turn each slice so the end grain faces up. Flip every other slice end for end and the checkerboard appears. Glue and clamp like before. Wait 24 hours.
 6
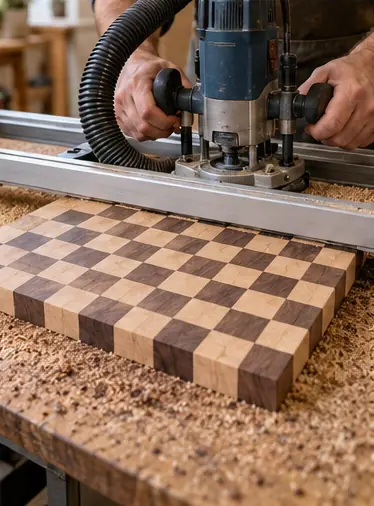
Flatten the end grain
Flatten both faces with a router sled or a drum sander. Never run end grain through a thickness planer. It can blow the board apart.
 7
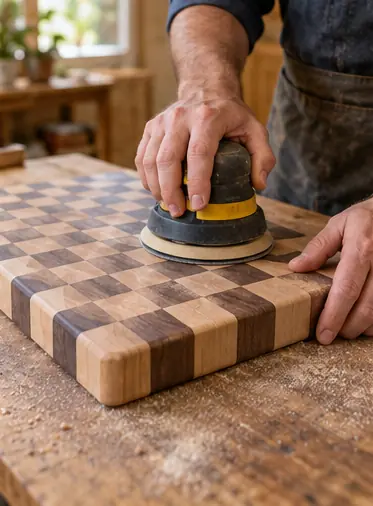
Shape and sand
Rout a chamfer or roundover on the edges. Sand 80, 120, 180 and 220, wiping with a damp rag before the last grit.
 8
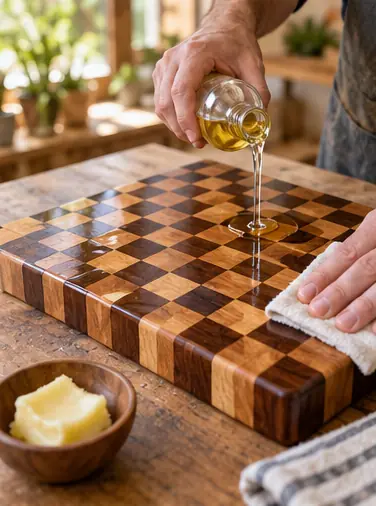
Oil it well
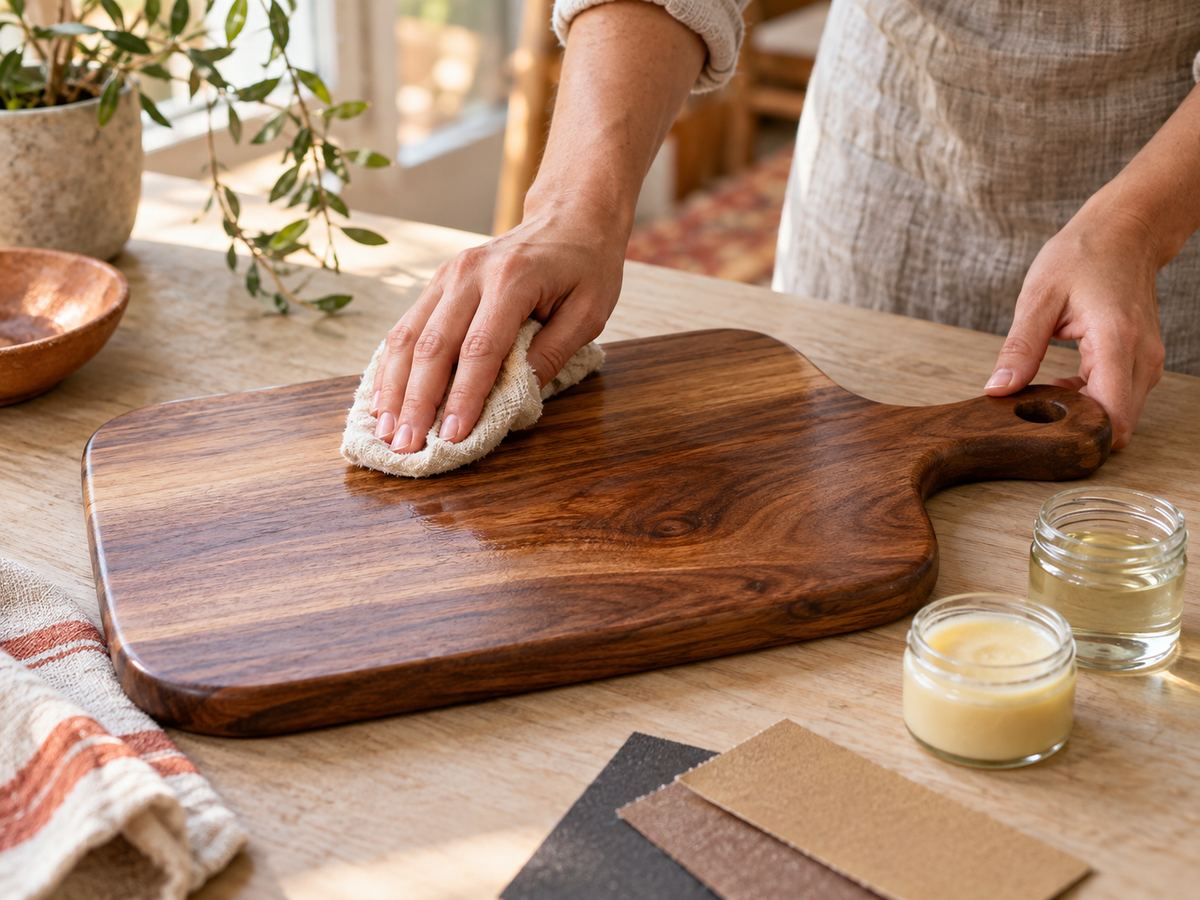
Flood it with mineral oil and let it soak overnight. Repeat until it stops drinking it in, then finish with board butter.
 Edie's tip
Glue up on a flat surface covered in packing tape. Squeeze-out won't stick to it, and a flat glue-up saves an hour of flattening.
Written by the DIY Project team. How we check · Report a mistake