What you'll need
Find it links go to Amazon. As an Amazon Associate we earn from qualifying purchases. How we make money
How to make it
Carve away from your body with your holding hand behind the blade, and use a bench hook so the block can't slip.
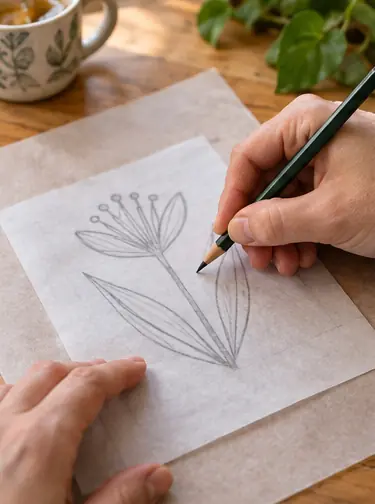 1
Draw the design
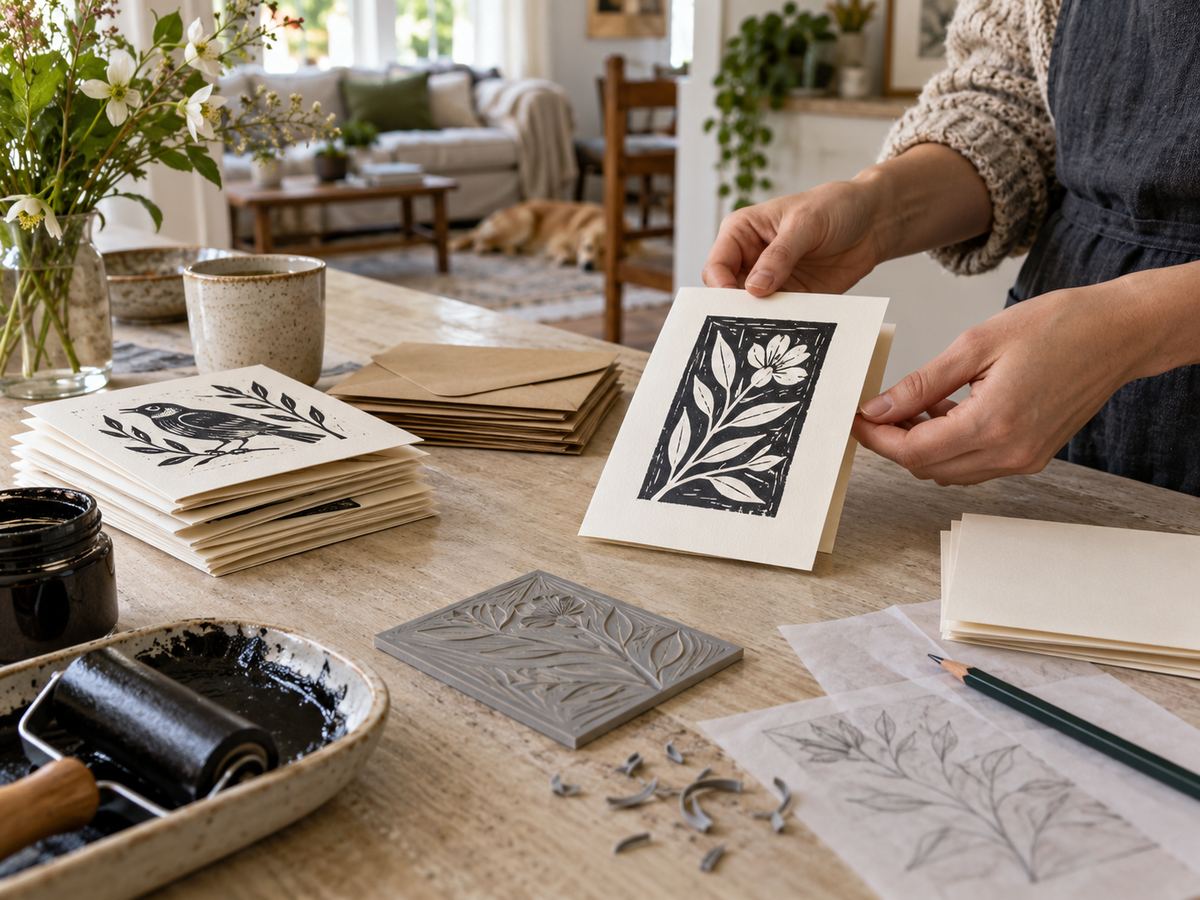
Sketch a simple design on tracing paper with a soft pencil. Bold shapes print best.
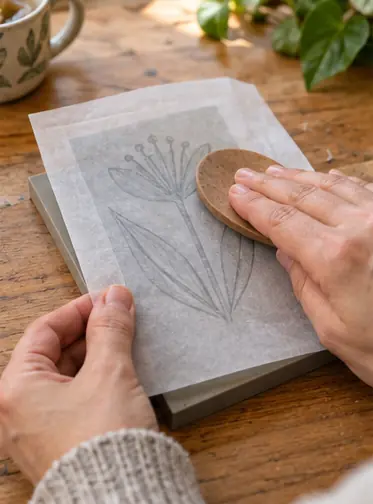 2
Transfer it
Flip the tracing paper onto the block and rub the back. The design transfers in mirror image, so words print the right way.
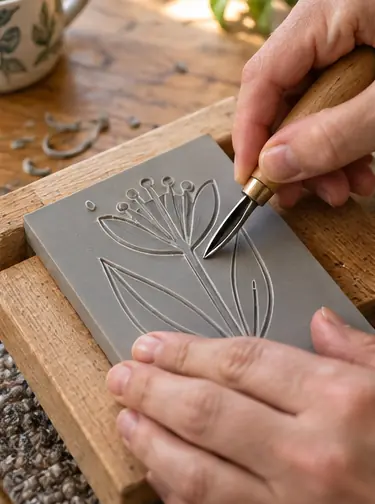 3
Carve the outlines
Set the block against the bench hook. Carve the outlines with the small V gouge, pushing away from you.
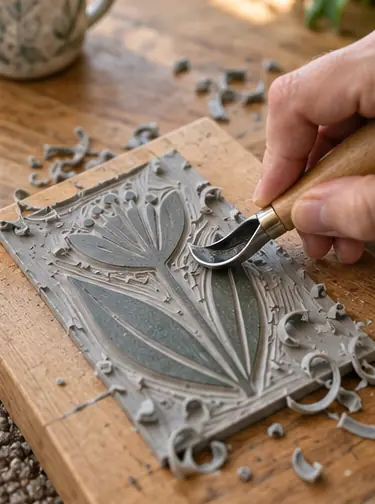 4
Clear the background
Scoop away the parts that stay white with the U gouge. Whatever you leave raised prints.
 5
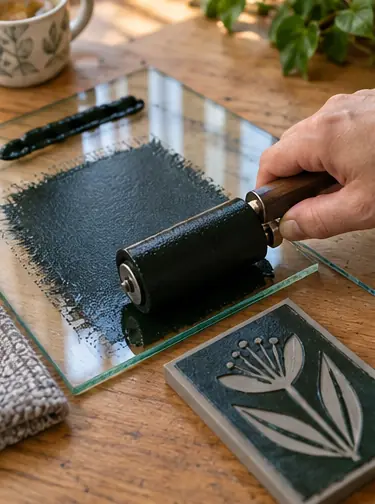
Roll the ink
Roll a thin line of ink on the glass until it sounds like a soft hiss. Roll it onto the block.
 6
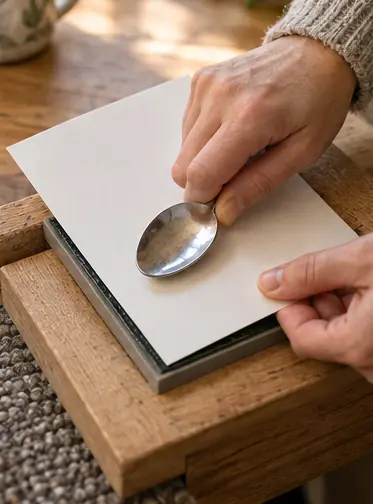
Print the card
Lay a card on the block and rub firmly with the back of a spoon. Peel it off slowly.
 7
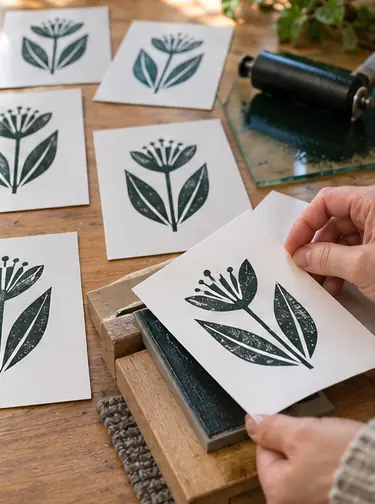
Dry and repeat
Re-ink before every print. Let the cards dry 24 hours before stacking.
 Edie's tip
Pull 2 test prints on scrap paper first. The first print always comes out pale while the block soaks up ink.
Written by the DIY Project team. How we check · Report a mistake