What you'll need
Find it links go to Amazon. As an Amazon Associate we earn from qualifying purchases. How we make money
How to make it
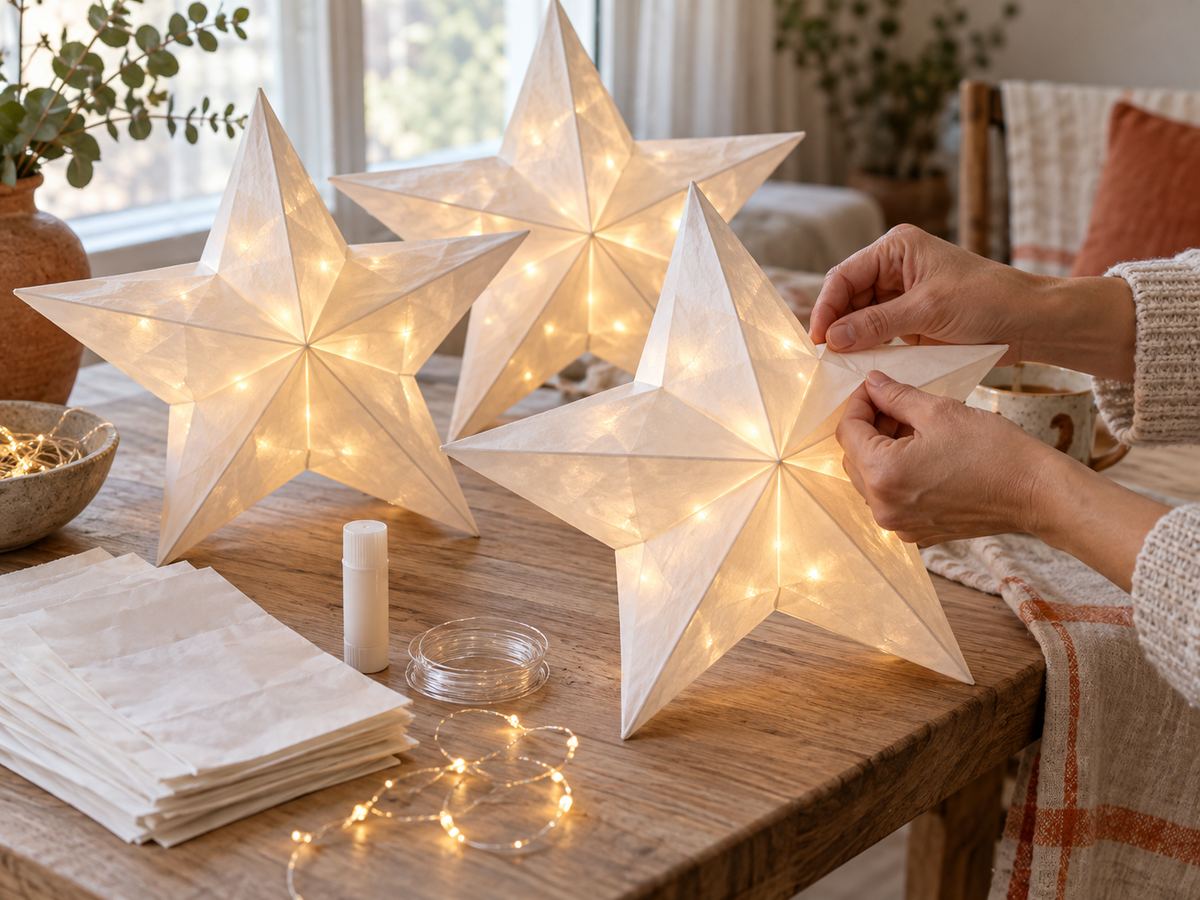
Use LED lights only, never candles, since paper stars catch fire fast.
 1
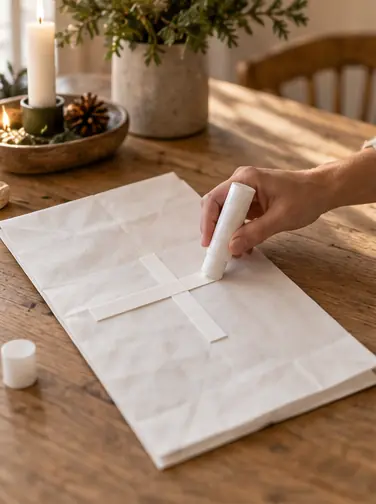
Glue a T
Lay a bag flat, bottom flap up. Glue a line across the flap's edge and a line from there down the middle to the open end. It makes a T.
 2
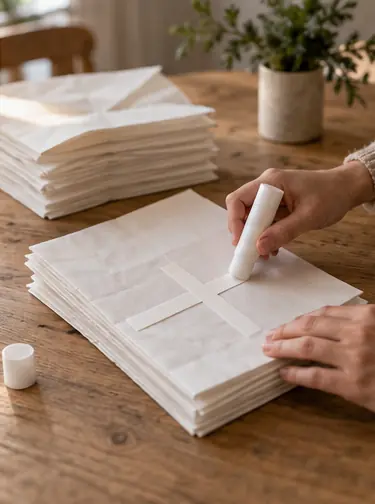
Stack the bags
Press the next bag on top, lined up exactly. Glue another T. Repeat until all 8 are stacked.
 3
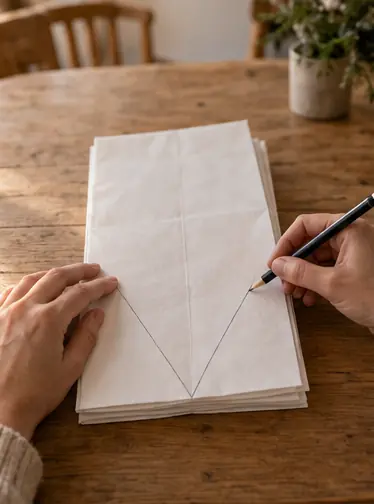
Draw the point
Draw a pointed V or a fancy shape on the open end of the stack. Keep it symmetrical.
 4
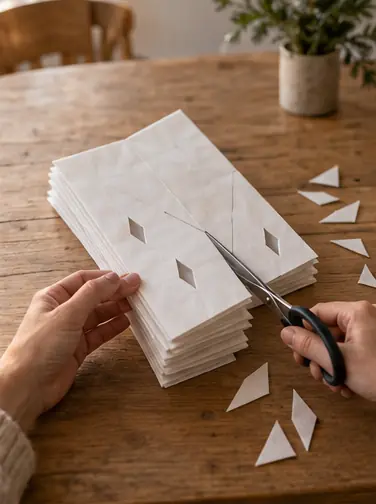
Cut the stack
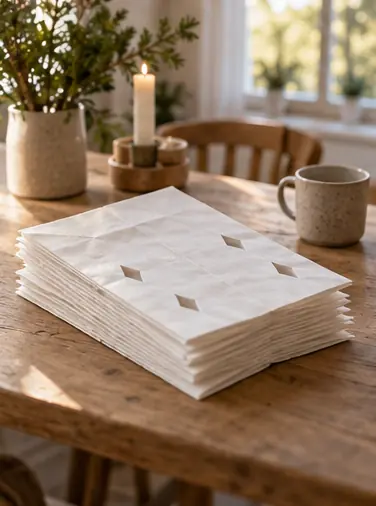
Cut through all 8 layers at once. Cut out a few small shapes along the sides for window patterns.
 5
Let it dry
Wait 15 minutes so the glue holds when you open it.
 6
Open the star
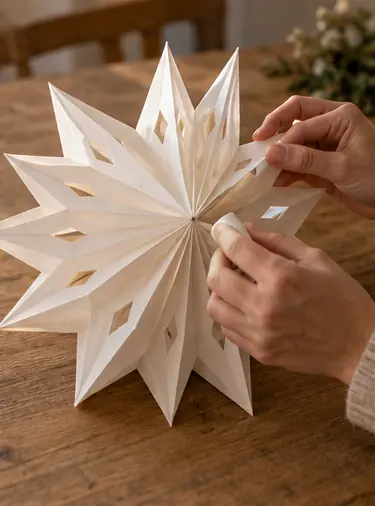
Fan the stack open all the way around. Glue the first bag to the last bag.
 7
Hang it
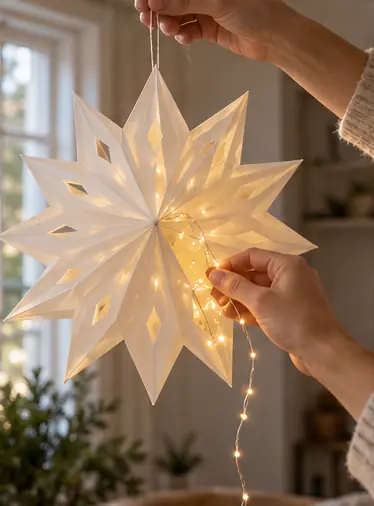
Punch a hole in one point and hang it with fishing line. Tuck LED lights inside for glow.
 Edie's tip
Glue lines must sit in exactly the same spot on every bag. A pencil mark on each one helps.
Written by the DIY Project team. How we check · Report a mistake