What you'll need
Find it links go to Amazon. As an Amazon Associate we earn from qualifying purchases. How we make money
How to make it
 1
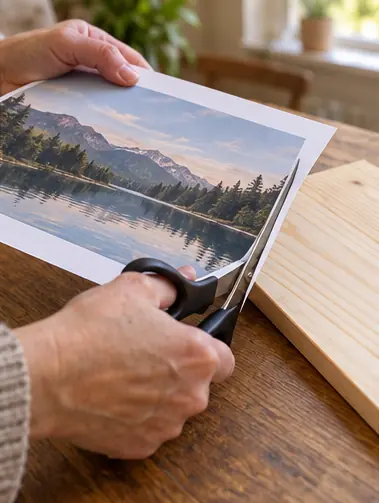
Prep the print
Print the photo on a laser printer, flipped left to right if it has words. Trim it to the board's size.
 2
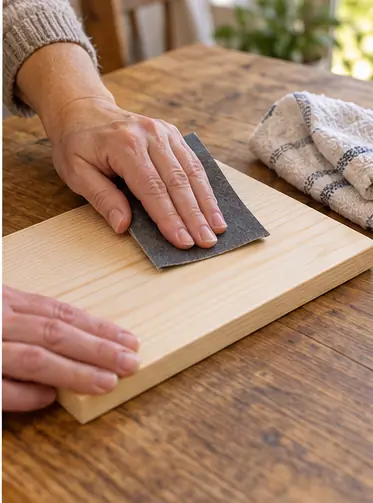
Sand the wood
Sand the face with 220 grit and wipe off the dust.
 3
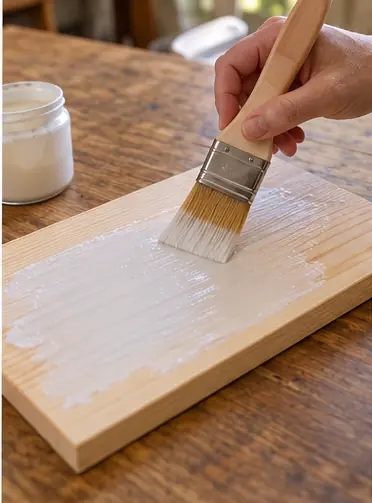
Brush on gel medium
Coat the board with an even layer of gel medium. Not too thin, or the image won't fully transfer.
 4
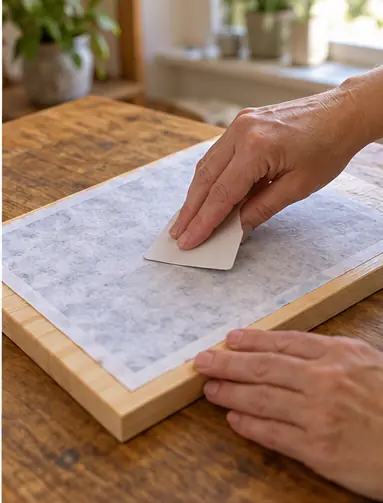
Press the print
Lay the print face down on the wet gel. Smooth it from the center out with a card to push out every bubble.
 5
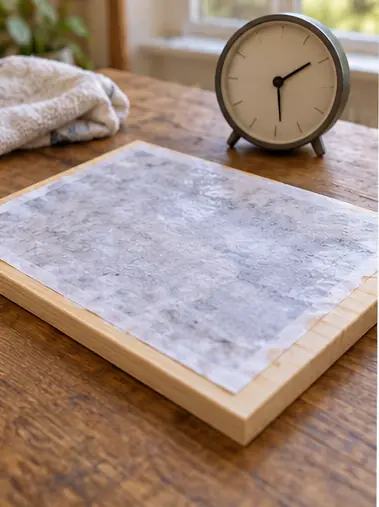
Wait overnight
Leave it at least 12 hours. Rushing this step peels the image off.
 6
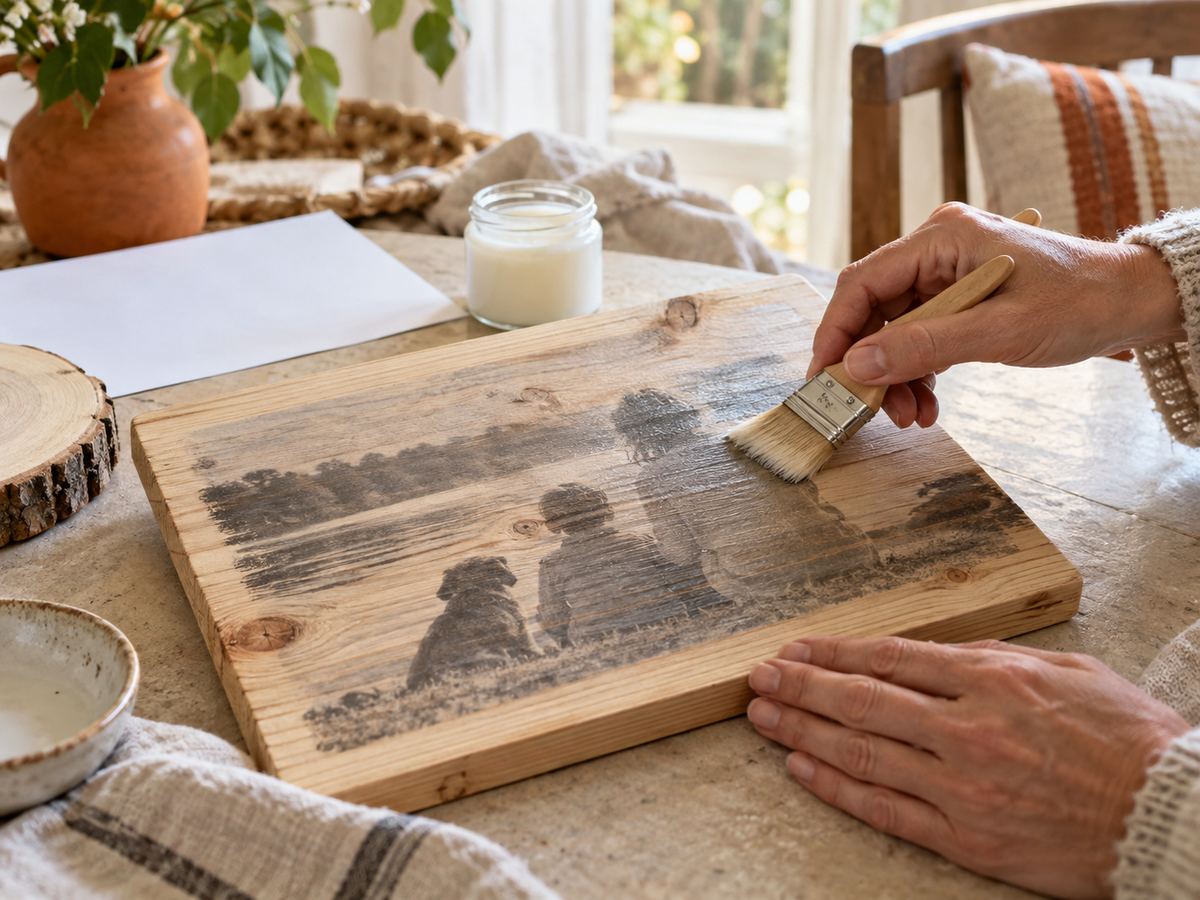
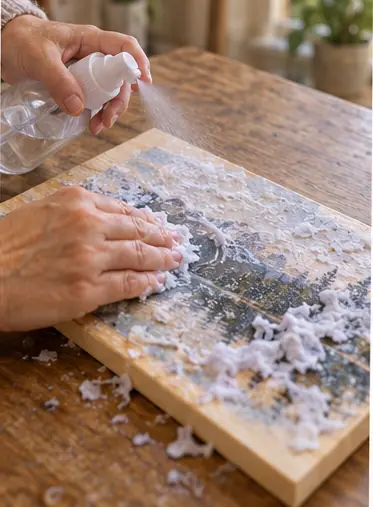
Rub off the paper
Mist the paper and rub it with your fingers in circles. The paper pills away and the photo appears.
 7
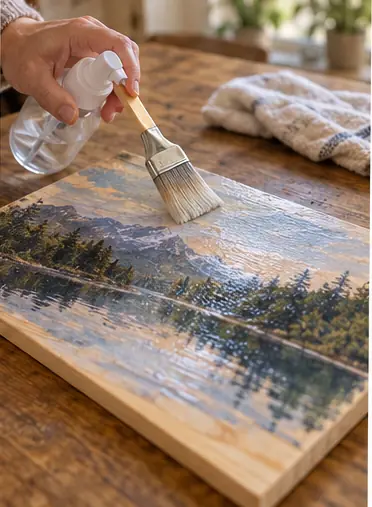
Rub again and seal
Let it dry. A white haze means more paper is left, so mist and rub once more. Seal with matte sealer.
 Edie's tip
Pick a photo with high contrast. Soft, dark photos get muddy on wood grain.
Written by the DIY Project team. How we check · Report a mistake