What you'll need
Find it links go to Amazon. As an Amazon Associate we earn from qualifying purchases. How we make money
How to make it
Wear work gloves and safety glasses, since cut can rims and punched holes are sharp, and spray paint outdoors.
 1
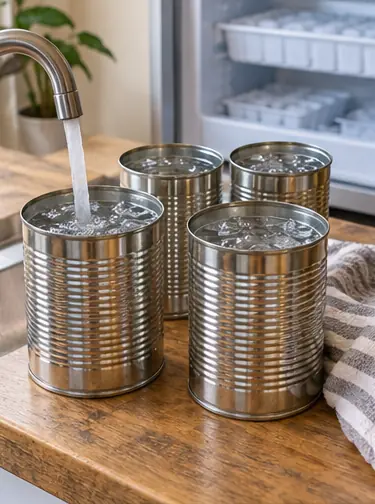
Freeze the cans
Fill each can with water and freeze it overnight. The ice keeps the can from denting as you punch.
 2
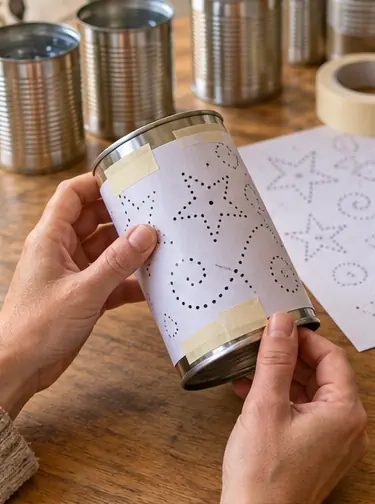
Tape on a pattern
Tape a paper pattern around the can. Stars, dots and swirls all work.
 3
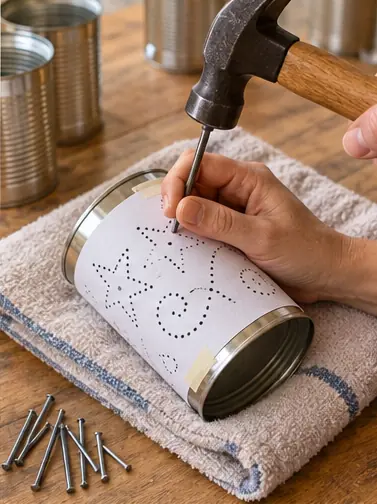
Punch the holes
Lay the can on a folded towel. Tap a nail through each dot with the hammer. Mix nail sizes for sparkle.
 4
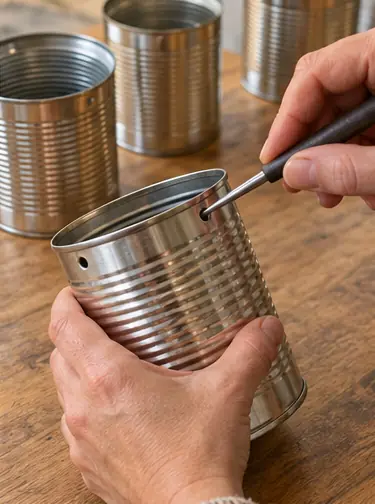
Punch the handle holes
Make 2 holes opposite each other, 1/2 in below the rim.
 5
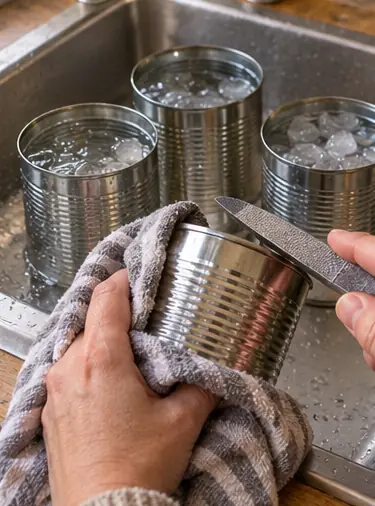
Thaw and dry
Let the ice melt in the sink and dry the cans. File any sharp burr on the rim.
 6
Paint them
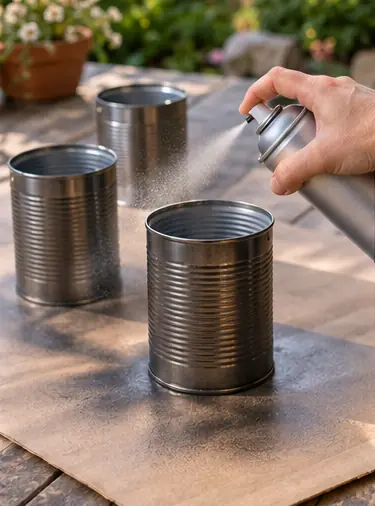
Spray paint the outside outdoors with 2 light coats.
 7
Add handles and light
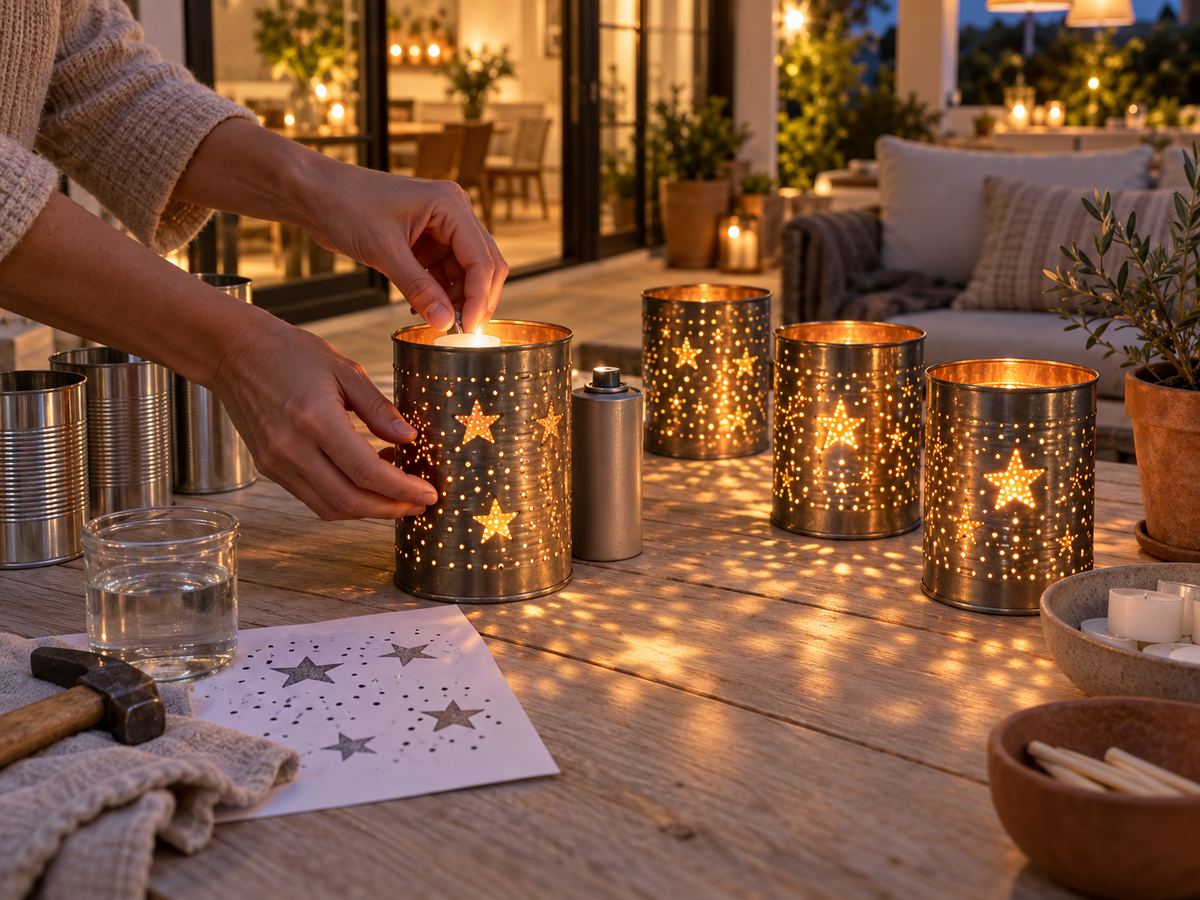
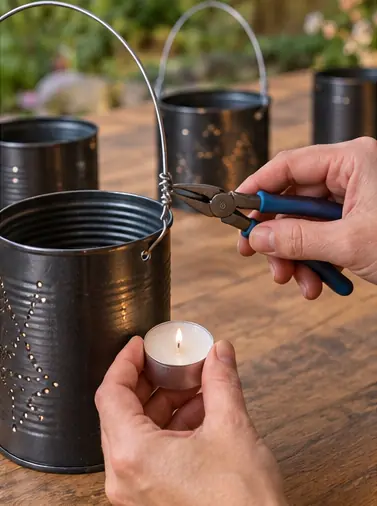
Thread wire through the handle holes and twist the ends with pliers. Drop in a tea light and wait for dark.
 Edie's tip
Use LED tea lights for lanterns you'll carry. The cans get hot with a real flame.
Written by the DIY Project team. How we check · Report a mistake